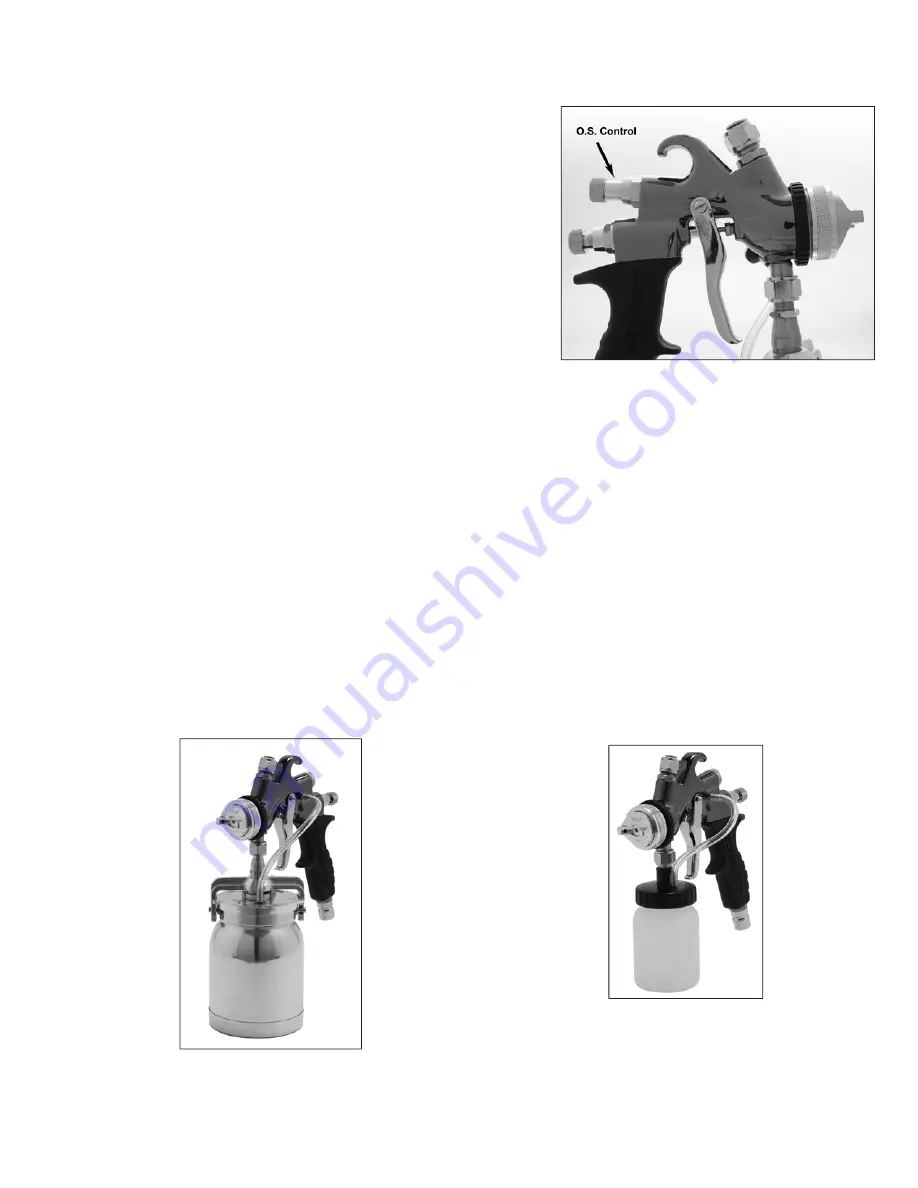
3.2 Installing And Using The O.S. (Overspray) Control
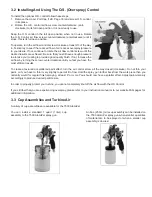
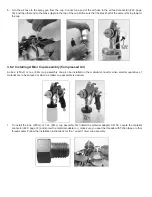
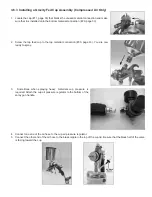
To install the optional O.S. control follow these steps:
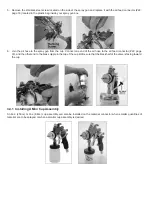
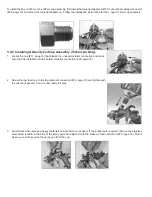
1. Remove the Upper Port Cap (12B, Page 33) and screw O.S. control
in its place.
2. Rotate the O.S. control air flow screw counterclockwise (anti-
clockwise) to its full open position. It is now ready to use.
Keep the O.S. control in the full open position when not in use. Rotate
the O.S. Control air flow screw counterclockwise (anti-clockwise) until it
stops, this is its full open position.
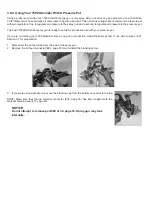
To operate, turn the air flow control screw clockwise at least 2/3 of the way
in. Test spray to see if the reduced flow of air reduces overspray/pressure
to your desire. If not, continue to rotate the air flow control screw until the
desired results are achieved. Be sure that you still have enough pressure
to atomize your coating to provide a good quality finish. If not, increase the
air flow by turning the screw counterclockwise until you feel you have the
most efficient results.
To create a textured or splattered paint effect, turn the air control screw all the way closed (clockwise). Do not thin your
paint, or if you have to, thin it very slightly to permit it to flow. Hold the spray gun further back from the work piece than you
normally would for regular finish spraying, at least 8” or more. You should now have a splatter effect. Adjust paint viscosity
accordingly to produce desired particle size.
In order to properly protect your turbine, you cannot completely shut off the air flow with the OS Control.
If you still feel that you are experiencing overspray, please refer to your instruction manual or to our website FAQ pages for
additional information.
3.3 Cup Assemblies and Turbine Air
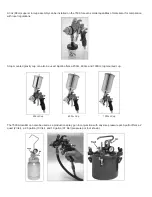
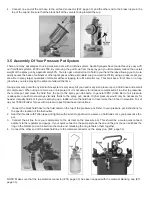
A variety of cup assemblies are available for the 7500 AtomiZer.
You can install a standard 1 quart (1 liter) cup
assembly to the 7500 AtomiZer spray gun.
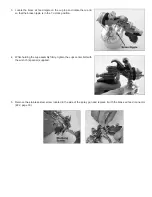
An 8oz. (250cc) mini-cup assembly can be installed on
the 7500 AtomiZer spray gun when smaller quantities
of material are to be sprayed or when a smaller cup
assembly is desired.
Summary of Contents for Apollo 7500 AtomiZer
Page 32: ...8 Diagram Parts List...


