TRUST 740C POWERC@M ZOOM
18 Windows Image Acquisition (WIA)
The driver programs are compatible with the Microsoft WIA standard. WIA is a
handy way of using your camera in Windows ME and XP.
U K
Install once only.
1)
Check that your computer has Windows XP or ME installed.
2)
Follow section 8.1 of the Quick Installation Guide to install the driver program
if this has not already been done.
3)
Follow the steps given in section 8.1 WIA will be active after this because it is
installed with the webcam driver programs.
4)
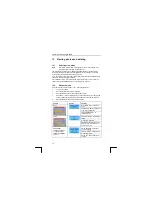
In Windows XP you will now see a window from which you can select an
application for your photos. See Figure 10. Windows ME will display a similar
window. Press Cancel here.
Use:
WIA can be used in a number of different ways. You do not have to use WIA; the
other methods described in the Quick Installation Guide also work. However, the WIA
method is usually handier.
Set the camera to PC Cam mode (section 15), connect it to the computer and select
one of the following possibilities:
a)
After connecting, Windows will display a window. Follow the instructions given
on the screen to transfer your photos to the computer. If you do not want to do
this click on Cancel. See Figure 10.
b)
WIA via Twain: Every application that supports Twain can be used directly to
send images to the computer. For more information see the help function in
your application.
c)
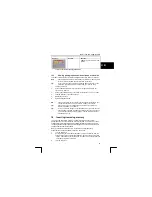
WIA via ‘My Computer’: Open My Computer. You will see 2 options at the
bottom of the screen (Figure 11), a video camera for live moving images and
a photo camera for calling up your photos. Double click on the camera to call
up your photos and follow the instructions on the screen.
MACINTOSH
19 Connecting the camera to a Mac
Mac OS 9.1 and later releases support the camera’s removable disk (USB Mass
Storage Device), so that you can also open the photographs you have taken on your
Macintosh system. Follow the instructions given below to do this.
1.
Turn on the Apple Macintosh.
2.
Switch on the camera.
3.
Connect the USB cable to the USB connection (7, Figure 1).
4.
Connect the other end of the USB cable to the Apple Macintosh.
5.
A hard disk icon entitled ‘CAMDISK’ will appear on your Apple Macintosh
desktop. Open this folder and then open the DCIM folder. This folder contains
the photographs which are stored in the camera’s memory.
6.
Double-click on a photograph to open it. The photograph will be opened in
your default image editing program or image viewer.
21

