66
TruVision 6MP and 12MP 360° Camera Configuration Manual
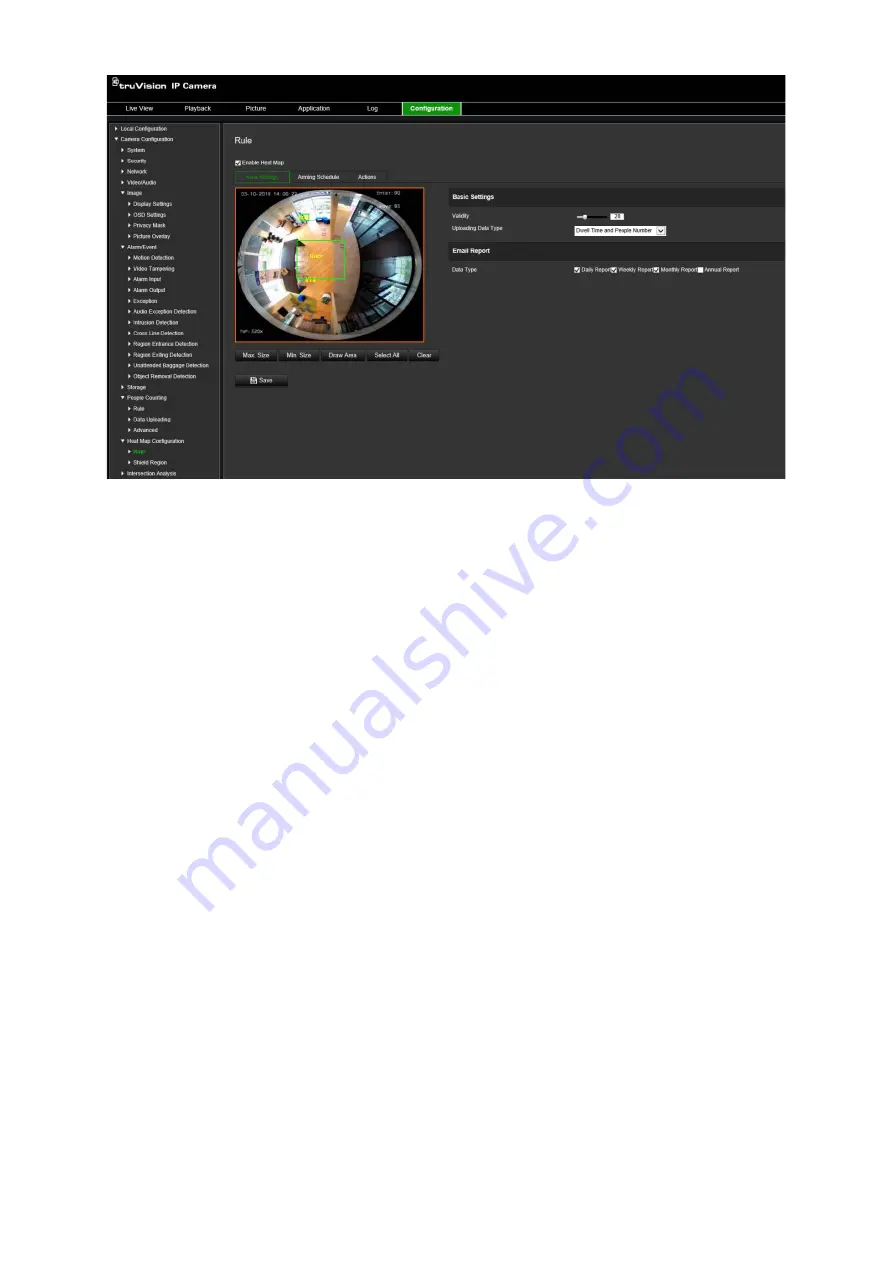
1) Click
Draw Area
to draw a detection area. Draw an area by left-clicking the end-
points in the live view window, and right-clicking to complete the area drawn.
Note:
Click
Select All
to select the whole live view window as the configured
area. Click
Clear
to delete the current drawn area.
2) Set the maximum and minimum sizes for valid targets. Targets smaller or larger
than the valid target size are not able to trigger detection.
Max. Size
: The maximum size of a valid target. Targets larger than this will not
trigger detection.
Min. Size
: The minimum size of a valid target. Targets smaller than this will not
trigger detection.
3) Click
Stop Drawing
when finished drawing.
4. Set the validity value. The range is between 0 and 100.
Validity:
The camera uses this value to judge if a target it detects is a valid or not.
An invalid target will not be included in the statistics. The higher value, the lower the
number of targets detected.
Important
: The validity value also impacts target detection for intersection analysis
(see “Intersection analysis statistics” on page 73) and people counting (see “People
counting statistics” on page 69).
5. Select the uploading data type:
Dwell Time and People Number
: Uploads the number of people detected and
average time they spent in the heat map area.
Dwell Time
: Uploads the average time people spent in the heat map area.
Note
: Please note that it takes up to one hour for counting results to be included in
the heat map report generated under the menu Application > Heat Map.


