27
28
6
. OPERATING PROCEDURE
(
fig
. 14)
17
mm
6
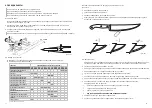
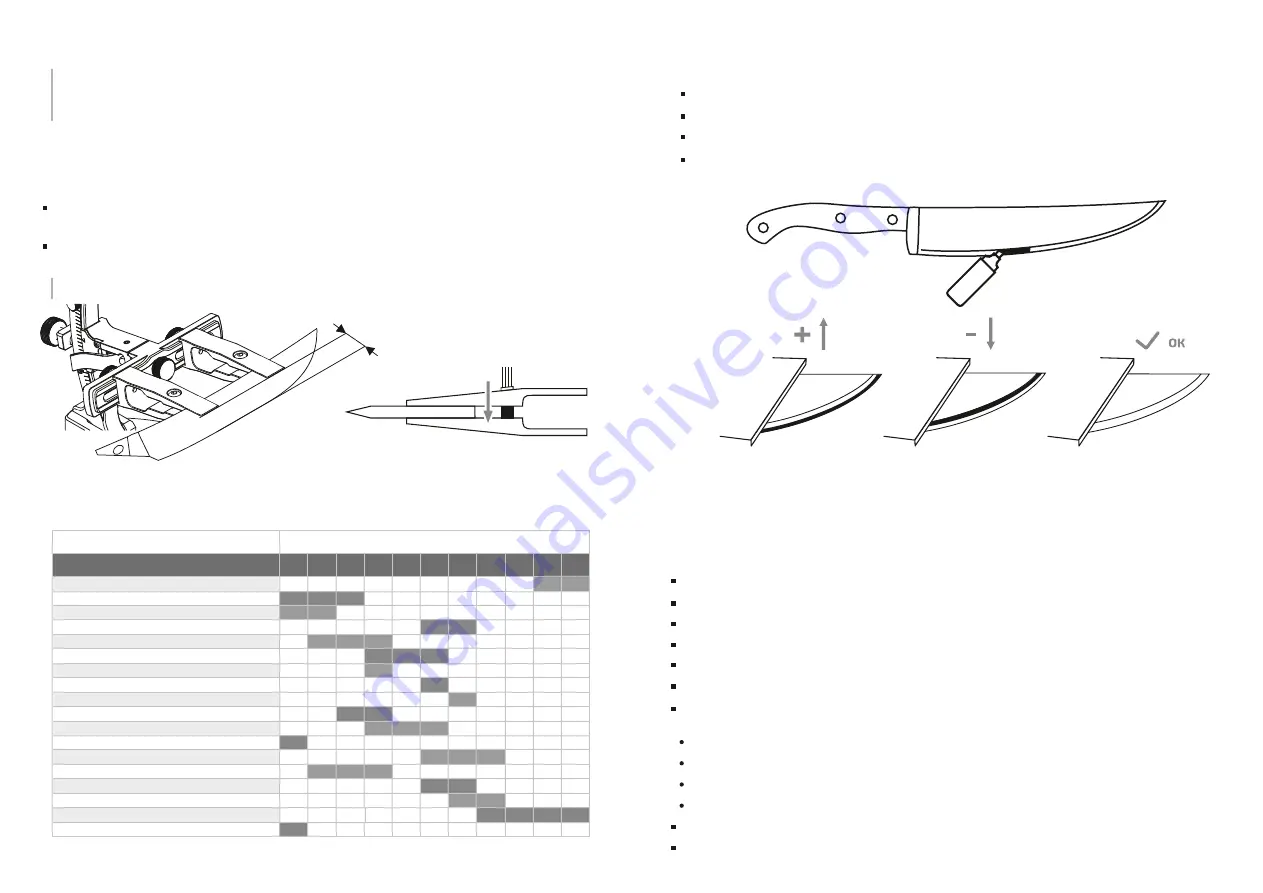
.2. Choosing the sharpening angle:
7.1.
Depending on the scope of the knife application, select the desired sharpening angle.
7.1.
Remember that you are working with a sharp knife. Be careful, when sharpening.
Carelessness during sharpening can lead to serious injuries.
Do not leave the device with the knife clamped unattended.
6
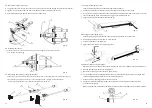
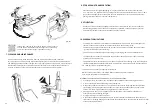
.1. Clamping the knife:
To prevent scratches on the surface of the knife it is recommended to tape the clamping spots
7.1.
before sharpening.
7.1.
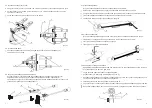
place the knife in the clamps so that the longest straight section of the knife is as parallel
7.1.
as possible to the frame;
7.1.
carefully tighten the clamp screws with a screwdriver. The jaws of the clamps should fit tightly,
7.1.
without gaps, to the knife;
7.1.
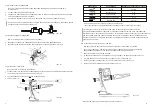
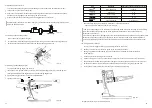
You can also sharpening a knife catching an existing angle.
To do this:
use a marker to paint over the secondary bevel;
7.1.
set the sharpening stone in the holder;
7.1.
run the sharpening stone over the painted area;
7.1.
adjust the angle so that with one movement of the sharpening stone, the marker
7.1.
is completely removed from the painted area
7.1.
(
fig
. 15)
Do not overtighten the screws to prevent the clamp jaws from bending in the opposite direction!
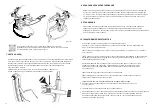
6.3. Knife sharpening:
Each knife, steel and abrasive has its own features by sharpening. The general principle of
6.3.
sharpening is described below, which can be changed depending on the characteristics of a
6.3.
particular knife.
6.3.
sharpening is done by moving away from yourself;
even by rough sharpening, the pressure of the sharpening stone on the knife should be minimal;
choose the gritness of the abrasive depending on the task;
sharpening on each side is carried out before the burr occurs;
the presence of a burr can be checked with your finger, with a careful movement on yourself;
if a burr appears, move the abrasive holder to the side and place it in the parking lot;
turn the knife over as described below. During all manipulations, be sure to hold the knife
by the handle:
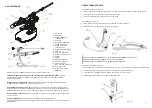
pull the lever of the rotary mechanism (1) towards you;
rotate the frame 180° holding on the knife handle
return the lever to its original position.
BE ESPECIALLY CAREFUL WHEN TURNING THE KNIFE OVER!
repeat sharpening on the second side of the knife;
step by step, sharpen with abrasives of the required grain size.
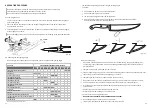
*the total sharpening angle is specified
TABLE KNIFE FOR MEAT AND VEGETABLES
STEAK KNIFE
BREAD KNIFE
KITCHEN KNIFE (HOME USE)
PROFESSIONAL CHEF’S KNIFE
PROFESSIONAL KITCHEN KNIFE
PROFESSIONAL FISH KNIFE
PROFESSIONAL MEAT KNIFE
PROFESSIONAL VEGETABLE KNIFE
TAPPING KNIFE
CARVING AND BONING KNIFE
FILLET KNIFE
KNIFE FOR FROZEN PRODUCTS
PENKNIFE
13-15 16-20
23-25
30-34 35-40 41-45 46-50 51-55 56-60
21-22
26-29
KNIFE TYPE
RECOMMENDED SHARPENING ANGLES (DEGREES)
CHOPPING KNIFE
STRAIGHT RAZOR
FOLDING AND HUNTING KNIFE (FOR SHARPNESS)
FOLDING AND HUNTING KNIFE (FOR KEEPING SHARPENING)


