13
11
User’s instructions
Switching on
1) Check that the gas service tap is opened at the gasmeter
and main power is on.
2) Check that pressure in central heating system is above
0.7 bar and below 1.5 bar with the pressure gauge
31
.
3) Open the gas tap
36
.
4) The boiler is now ready to use.
Hot Water
1) Turn main switch
23
to position
I
. The green "power on"
indicator
27
will light.
Turn the DHW temperature control knob clockwise
24
. The
DHW indicator will light
32
.
2) Turn on a hot water tap, the orange "burner on" indicator
will light
28
and the water will become hot.
Heating
1) Turn main switch
23
to on position
I
. The green "power
on" indicator
will light
27
.
Turn the CH temperature control knob clockwise
25
. The
CH indicator will light
33
.
3) If the room thermostat (if fitted), the boiler temperature
control
and the clock (if fitted) are all calling for heat,
the orange "burner on" indicator
will light and the
heating will be on.
When there is a need for hot water while the heating is on, it
is only necessary to turn on a hot tap. The heating will be
interrupted momentarily while the hot water is being
delivered. The boiler will switch back automatically to
heating when the tap is turned off.
Note:
If the boiler has been turned off for some time the first
attempt to light it may result in a lockout
If this
happens press the reset button
30
and the boiler will light.
To Turn Boiler Off Completely
1) Turn the main switch
23
to the off position
O
.
2) Turn the gas tap
36
OFF.
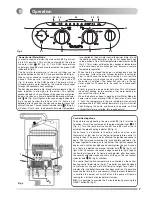
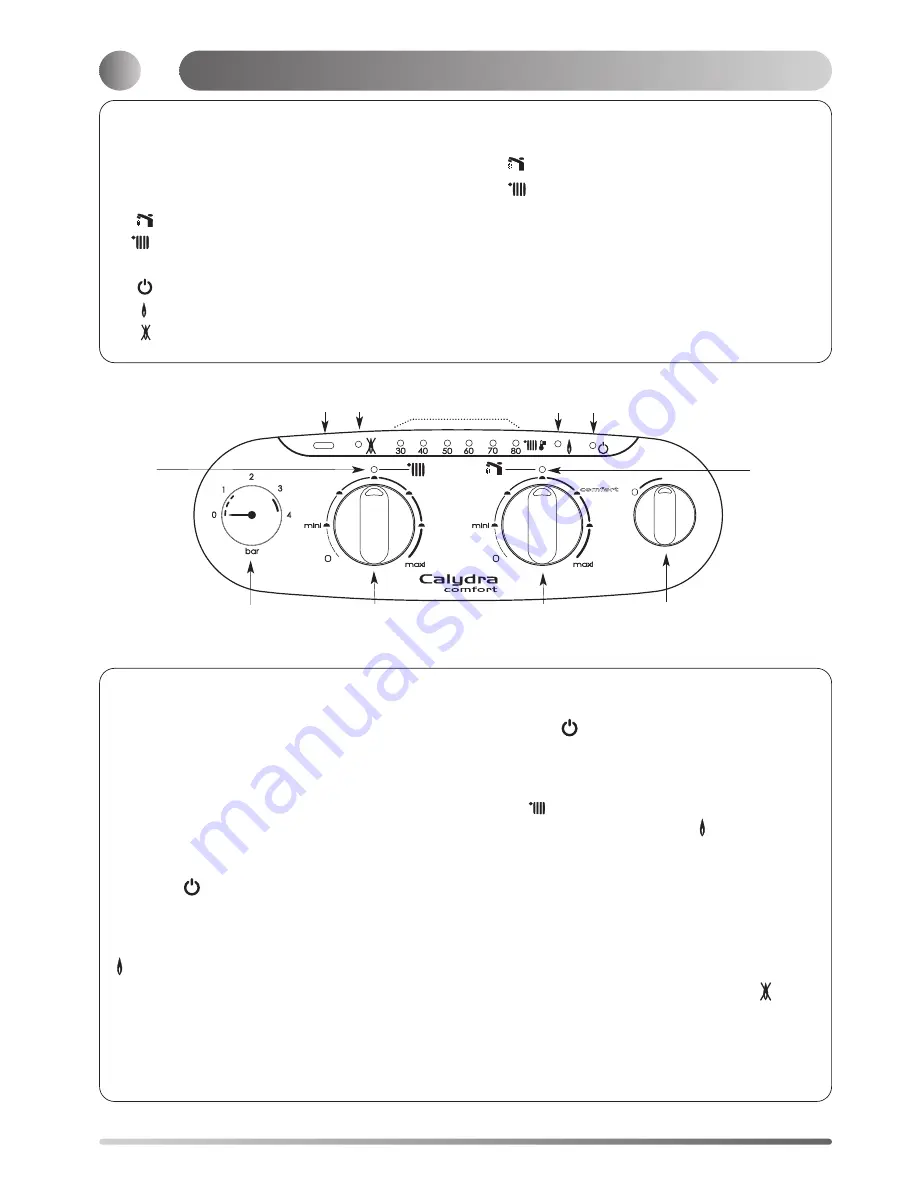
Control panel
(fig 17)
23. Two position Selector switch
O
= Switched OFF
I
= Switched ON
24.
= Domestic hot water temperature control knob
25.
= Heating flow temperature control knob
26. Heating temperature indicator lights
27.
Green indicator - Power ON
28.
Orange indicator - Burner ON
29.
Red indicator - Lock out / flame failure
30 “
RESET
” Reset button
31. Pressure gauge
32. =-
DHW mode
indicator
33.
=- Heating mode indicator
Isolating Taps
(fig 16)
taps shown in Open position
34. CH Flow isolating valve
35. Domestic hot water outlet
36. Gas service tap
37. Water service tap
38. CH Return isolating valve
I
reset
Fig.17
32
31
30
23
25
33
26
24
27
28
29
Summary of Contents for Calydra Comfort 100 Nat
Page 48: ...110...

