


User Manual B410PT
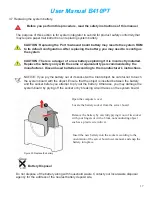
3.4 Install and Remove a Hard Disk Drive
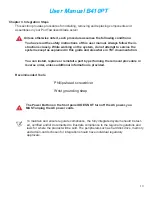
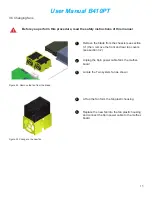
NOTICE: Extra care must be taken when handling and storing the hard drives. The carriers
provide some protection, but the hard drives can be damaged by rough handling. When
removing the hard drives from the storage system, place them on a padded surface. Never
drop the hard drives.
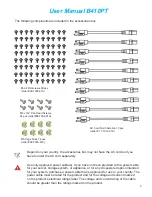
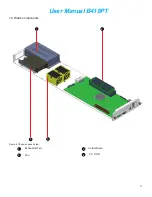
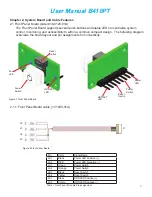
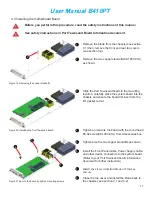
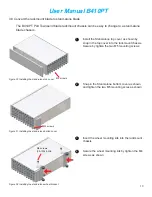
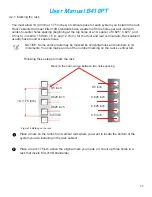
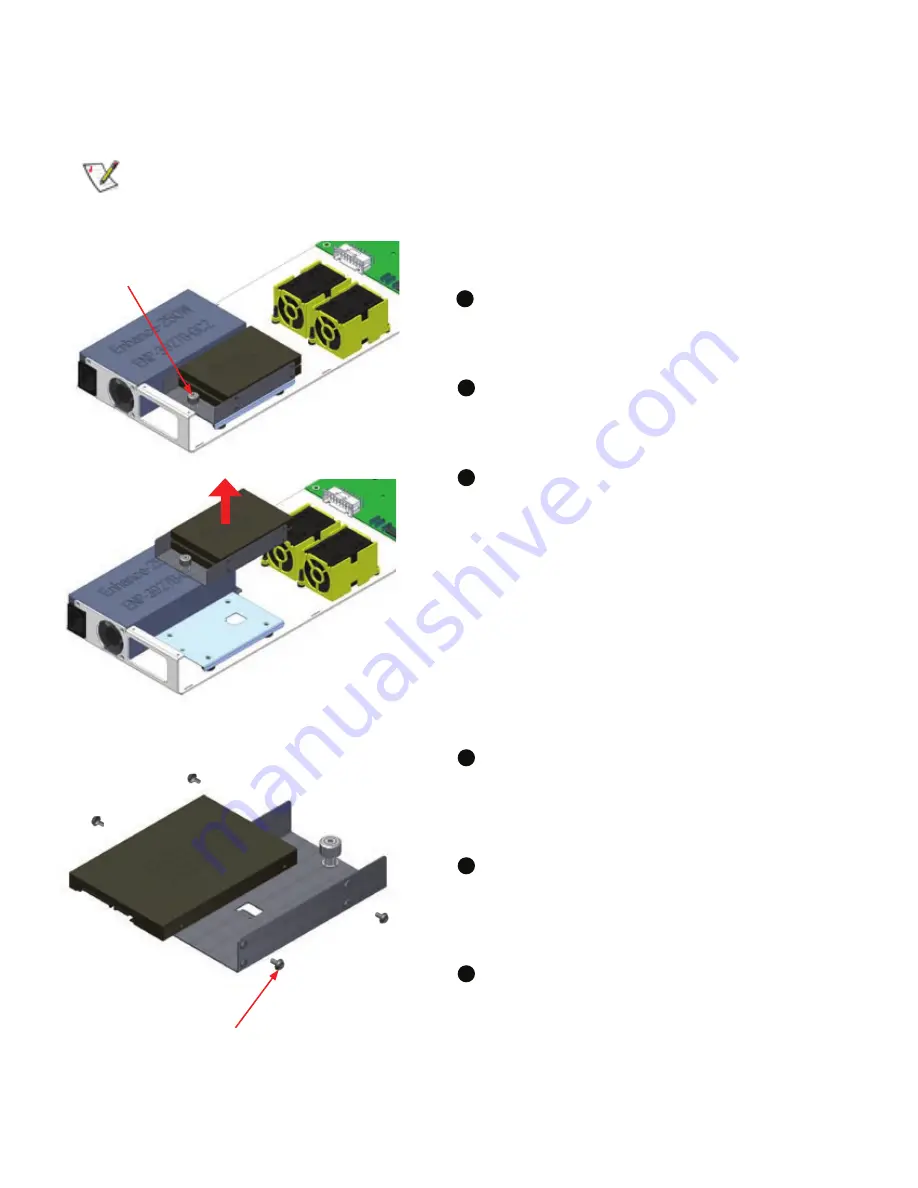
Figure 23 Secure the HDD on the mounting bracket
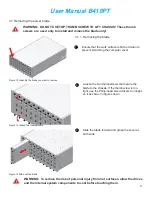
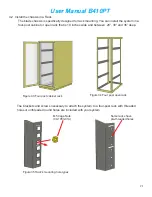
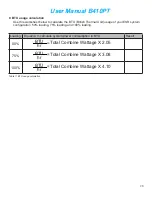
Untighten the 2.5” HDD mounting bracket thumb
screw as shown
Remove the blade from the chassis (see section
3.1) then, remove the front and rear top covers
(see section 3,2)
1
2
Untighten thumb screw
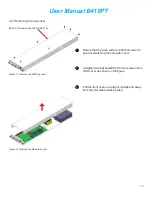
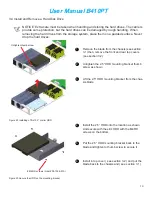
Lift the 2.5” HDD mounting bracket from the chas-
sis blade
3
Figure 22 installing of first 3.5” or slim HDD
14
15
Install the 2.5” HDD onto the location as shown.
And secure with the slim HDD with the M4 RH
screws on the bottom .
4
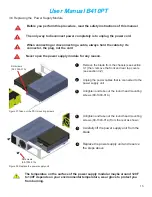
Install in top cover ( see section 3.2 ) and put the
blade back to the chassis and ( see section 3.1 )
6
#M4 RH screws (order #09-1006-01A)
Put the 2.5” HDD mounting bracket back to the
blade and tighten to thumb screw to secure it
5


