Use with PC:
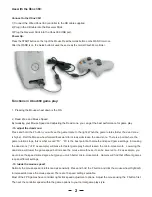
Plug the Wireless Receiver into your computer USB port, without pressing the Binding button on the Receiver.
The first time you plug the Stick into the port you will notice that Windows shows a message on the bottom right corner that says
– “Installing New Hardware.” Allow Windows to finish installing your drivers by selecting all the default options. When Windows
has finished, you will see a message on the bottom right corner that says “Your device is now ready to use.” It may go through
several pop-up windows to finish the device installation.
Press the START button on the top of the Mouse and press the Guide button on the WAND to power up.
Functions on PC gameplay:
1.
Mouse resolution setup:
CPI Settings:
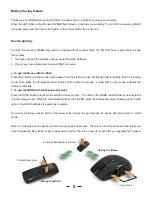
Press and hold the mouse F button and roll the mouse wheel forward to increase the mouse CPI settings and back-
ward to decrease the CPI settings. CPI settings are only applicable when using your mouse on the PC. LED on
mouse flash once indicates the 400CPI, 2 indicates the 800CPI, 3 indicates the 1200CPI, and 4 indicates the
1600CPI.
4
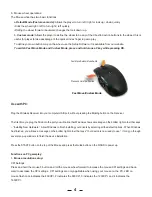
Fast Move/Custom Mode
Press and Hold The F button
Fast Move/Custom Mode Switch
6. Mouse wheel operations:
The Mouse wheel has two basic functions:
a.
Default Mode (Fast move mode):
Allows the player to turn left / right or look up / down quickly.
• Click the wheel right / left to turn right / left quickly.
• Rolling the wheel forward / backward changes the look down / up.
b.
Custom mode:
Allows the player to define the wheel to be any of the Xbox360 action buttons to the wheel, this is
useful for player to take advantage of the quicker index finger in game play.
To define your own button map on the wheel use the Setup Software, it is available from our website.
To switch Fast Move Mode and Custom Mode, press and hold mouse F key while pressing RS.


