3-2
Section 3: Pre-Operation
-
Self Loading Balefeeder
BF5000SL
Power Unit Hookup
• Connect hitch
(A)
to power unit
drawbar with pin.
• Connect 4 hydraulic quick couplers
(B)
to power unit hydraulic outlets.
• Make sure parking brake is
released before driving away.
• Raise jack when transporting.
When not in use, hydraulic hoses can
be securely stored by looping them
through hose support
(C)
.
A
B
C
Optional Bale Bumper Installation
To install the optional bale bumper:
1. Secure two BF5000-260 bumper plates
(A)
to top of frame on either side of machine
using four 5/8” x 1.75” hex bolts and 5/8”
lock nuts per side.
2.
Slide the two flange bearings
(B)
onto
either side of BF5000-A20 bumper roller’s
shaft
(C)
.
3.
Fasten the two flange bearings with four
7/16” x 1.5” bolts and 7/16” lock nuts to
inside face of bumper plates.
Optional Bale Extension Installation
1. Slide bale extension
(A)
tube ends into tube
holders
(B)
located on underside of bed
frame.
2. Align holder holes and bale extension holes
to desired position.
3. Secure in place with four BF5000-238 pins
(C)
and 1/8” x 1.5” hair pins.
C
B
A
A
A
C
B
B
Summary of Contents for BF5000SL
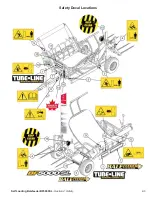
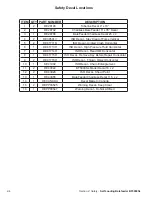
Page 9: ...Self Loading Balefeeder BF5000SL Section 2 Safety 2 3 Safety Decal Locations...
Page 34: ...8 12 Section 9 Parts Breakdowns Lists Self Loading Balefeeder BF5000SL Loading Arm...
Page 44: ...10 1 Torque Values Imperial Self Loading Balefeeder BF5000SL Torque Values Imperial...
Page 45: ...Self Loading Balefeeder BF5000SL Torque Values Metric 11 1 Torque Values Metric...
Page 48: ......


