background image

14

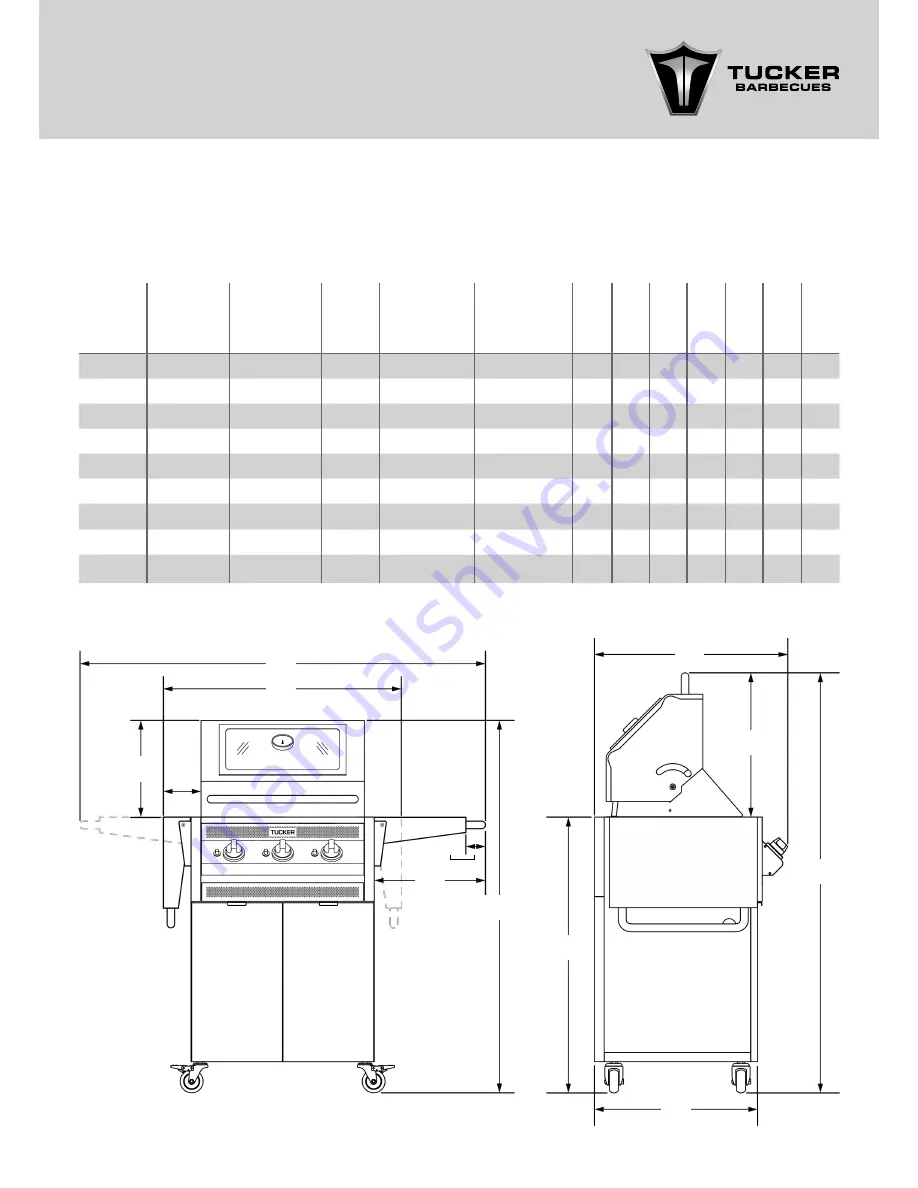
DIMENSIONS OF GTR BARBECUES WITH 

ROASTING HOODS INSTALLED ON CABINET 

TROLLEYS 

(Measurements are in mm)

Model

Width with

shelf open

(A)

Width with

shelf closed

(B)

Depth

(C)

Height with

Hood Open

 (D)

Height with

Hood Closed

(E)

(F) (G) (H) (I) (J) (K) (L)

GTR SS

1205

665

635

1370

1220

370 70 100 320 470 900 550

GTR3

1340

800

635

1370

1220

370 70 100 320 470 900 550

GTR3SS

1760

1220

635

1370

1220

370 70 100 320 470 900 550

GTR4

1500

960

635

1370

1220

370 70 100 320 470 900 550

GTR4SS

1920

1380

635

1370

1220

370 70 100 320 470 900 550

GTR5

1660

1120

635

1370

1220

370 70 100 320 470 900 550

GTR5SS

2080

1540

635

1370

1220

370 70 100 320 470 900 550

GTR6

1820

1280

635

1370

1220

370 70 100 320 470 900 550

GTR6SS

2240

1700

635

1370

1220

370 70 100 320 470 900 550

A

B

E

K

L

C

J

D

F

I

H

G

Summary of Contents for GTR SERIES

Page 1: ...INSTRUCTIONS FOR GTR SERIES BARBECUES ON CABINET TROLLEYS MODELS GTR3 GTR4 GTR5 GTR6 GTR3 SS GTR4 SS GTR5 SS GTR6 SS GTR3 S GTR4 S GTR5 S GTR6 S IMPORTANT PLEASE READ ALL INSTRUCTIONS BEFORE YOU ASSEMBLE INSTALL OR OPERATE THIS APPLIANCE ...

Page 2: ... INSTRUCTIONS INSTALLATION INSTRUCTIONS WARNINGS SPECIFICATIONS DIMENSIONS GAS INSTALLATION AND LEAK TEST PROCEDURE OPERATING INSTRUCTIONS COOKING HINTS TROUBLESHOOTING SERVICE MAINTENANCE WARRANTY 3 4 10 12 13 16 19 20 21 23 24 CONTENTS ...

Page 3: ...If you smell gas 1 Shut off gas supply to appliance 2 Extinguish any open flame 3 Open lid or hood 4 If odour continues immediately call your gas supplier or your Fire Department Do not use or store flammable materials in or near this appliance Always leak test check hose connections after filling cylinders Check cylinder condition for rust and that the date stamp is current as every gas cylinder ...

Page 4: ...arge Flare Guards Small Flare Guards Plate and grill Grease tray Hose and regulator Cabinet Trolley Control Valve adjustment screwdriver Check that you have the correct gas type Barbecue i e L P GAS red sticker NAT GAS black sticker The Gas Type Label is located on the righthand side of the Barbecue Body GTR BBQs can be installed with either a Flat Hinged weather cover Lid or a Roasting Hood Make ...

Page 5: ... when it is attached 3 As you push in each catch on the back of the Hinge just lift the Door away from the Cabinet to remove it 4 Now that the Doors are removed remove any packaging away from the insides of the Cabinet Trolley and the ends of the Roasting Hood This will allow the Roasting Hood to be removed from inside of the Cabinet Trolley a lot easier 5 Once you have got the Roasting Hood out o...

Page 6: ... the photo below The bolts need to be carefully lined up as they screw into nuts welded inside the sides of the BBQ Body 12 Bolt the handles to the end of the side shelf NOTE The holes in the brackets are oversized and may require a washer to be fitted to avoid the head of the nuts from pulling through the holes in the brackets NOTE Push the bolt through the hole in the shelf bracket first and the...

Page 7: ...gs that fit into corresponding slots on the top of the BBQ 19 Slide the angled tags on the front of the base of the Roasting Hood into the corresponding slots in the front of the BBQ You will need to angle the base of the Roasting Hood down toward the front of the BBQ so that it allows the tags to slot into the BBQ easier NOTE The Flare Guards are only required beneath the open Cooking Grill secti...

Page 8: ...he back of the BBQ for secure attachment 21 Now place the Rear Cooking Shelf into the rear of the Roasting Hood onto the support brackets 22 The Roasting Rack and Pan are both used when Roasting and can be stored away inside the Cabinet Tolley until required NOTE The Rear Cooking Shelf can be stored away inside the back of the Roasting Hood if not required ...

Page 9: ... from the bottom and inside you will see the Grease Tray it should be located roughly in the middle of the base of the BBQ Pull out the Grease Tray it should slide in and out easily between the two locating rails Make sure there are no cable ties attached restricting it from sliding in and out Slide the Grease Tray back into position and fold down the hinged front panel to secure it in place 24 Th...

Page 10: ... that can safely support the BBQ The Cabinet Trolley is fitted with lockable Stainless Steel Castors when you have your BBQ installed into position the brakes on the Castors must be locked to avoid the Cabinet Trolley from moving during use Do not locate the barbecue near combustible materials or surfaces either above or around the barbecue such as overhanging trees bushes or flammable liquids and...

Page 11: ... examples the same principles apply to any other shaped area Both ends open Open side at least 25 of total wall area 30 or more in total of the remaining wall area is open and unrestricted OPEN AT SIDE AT LEAST 25 OF TOTAL WALL AREA 30 OR MORE IN TOTAL OF THE REMAINING WALL AREA IS OPEN AND UNRESTRICTED OPEN SIDE AT LEAST 25 OF TOTAL WALL AREA 30 OR MORE IN TOTAL OF THE REMAINING WALL AREA IS OPEN...

Page 12: ...e assembly connection to the appliance is fitted by the manufacturer The appliance inlet is 3 8 S A E male and is located in the base of the BBQ on the righthand side at the front The minimum capacity propane cylinder for this barbecue is 4 KG Warning in freezing conditions the pressure of Propane gas can be reduced in the Cylinder Tank causing a lack of gas pressure this may affect the way the ba...

Page 13: ...35 370 70 100 540 900 550 GTR3 1340 800 635 1440 935 370 70 100 540 900 550 GTR3SS 1760 1220 635 1440 935 370 70 100 540 900 550 GTR4 1500 960 635 1440 935 370 70 100 540 900 550 GTR4SS 1920 1380 635 1440 935 370 70 100 540 900 550 GTR5 1660 1120 635 1440 935 370 70 100 540 900 550 GTR5SS 2080 1540 635 1440 935 370 70 100 540 900 550 GTR6 1820 1280 635 1440 935 370 70 100 540 900 550 GTR6SS 2240 1...

Page 14: ...00 550 GTR3 1340 800 635 1370 1220 370 70 100 320 470 900 550 GTR3SS 1760 1220 635 1370 1220 370 70 100 320 470 900 550 GTR4 1500 960 635 1370 1220 370 70 100 320 470 900 550 GTR4SS 1920 1380 635 1370 1220 370 70 100 320 470 900 550 GTR5 1660 1120 635 1370 1220 370 70 100 320 470 900 550 GTR5SS 2080 1540 635 1370 1220 370 70 100 320 470 900 550 GTR6 1820 1280 635 1370 1220 370 70 100 320 470 900 5...

Page 15: ...ng Surface of the BBQ Minimum Side Clearance Allow 200mm Minimum Rear Clearance Allow 200mm Rear Wall 100mm Side Walls 100mm Above BBQ with out Roasting Hood 800mm Above BBQ from top of Roasting Hood 800mm MINIMUM CLEARANCES SURROUNDING BBQ BODY TO COMBUSTIBLE MATERIALS ARE AS FOLLOWS MINIMUM CLEARANCES ABOVE COOKING SURFACE OF BBQ TO COMBUSTIBLE WALLS If the BBQ is installed into a tucker GTR zer...

Page 16: ...Photo of what a good connection looks like i e no bubbles If leaks are still present do not use the barbecue contact the place of purchase or your local dealer The GTR Cabinet Trolley has been designed so as the Gas Cylinder can be stored securely inside the Cabinet There is a securing chain at tached inside the right hand Cabinet Doors and a manual lighting match holder is also attached to the ch...

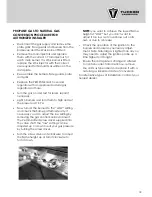
Page 17: ...rates correctly and is safe for the operator to use The gas inlet connection must have a thread in accordance with AS ISO 7 1 or AS 1722 2 For connection to a natural gas bayonet fitting a gas regulator must be fitted at the inlet of the appliance and an approved 10mm class A natural gas hose no longer than 2 metres going from the gas regulator to the bayonet point complying with AS1869 must be us...

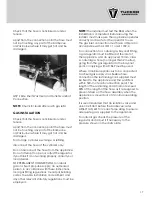
Page 18: ... KPA Now turn all the burners to the LOW setting and check the flame pattern is steady if necessary you can adjust the low setting by removing the gas control knobs and insert the 2 4mm slotted screw driver supplied into the valve shaft the low setting can be adjusted up or down to suit your gas pressure by turning the screw driver Turn the screw driver anti clockwise to adjust the flame height up...

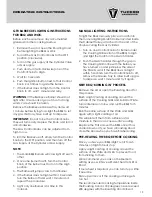
Page 19: ...he Knob and turn it anti clockwise The Gas Control Knobs can be adjusted from high to low To turn the Barbecue off simply turn the Control Knobs to the OFF position and then turn off the Gas Supply at the Cylinder or Gas Supply 1 Remove the Lid or open the Roasting Hood before lighting the BBQ or Wok 2 Turn all the Gas Control Knobs to the OFF position clockwise 3 Turn on the gas supply at the Cyl...

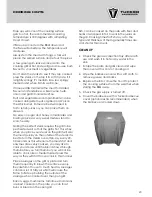
Page 20: ...tside of the steak it is best to turn the steaks over often say every 20 30 seconds as this will ensure the meats fat and enzymes are evenly cooked you may like to cook your steaks until the blood shows through them before you turn them but you will not be able to cook rare or medium rare steaks this way as they will start to overcook in this manner Place sausages on the grill or plate and turn th...

Page 21: ...onnected properly as the ignition lead might just need to be firmly connected into either the ignition probe or the ignition button correctly The lead may be damaged also One of the burners won t light Check the throat of the burner for a blockage remove the air mixture cap and gauze on the throat of the burner and push a screwdriver up it to clear the blockage Control knobs are stiff Remove the k...

Page 22: ...arbecue doesn t seem to be as hot anymore Check burner inlet and burner port holes for blockages or regulator pressure Insects maybe in the burners Check the injectors are not blocked on the control valves ...

Page 23: ... a wire brush Make sure the ports are clear from obstructions unscrew the air mixture cap and gauze from the throat of the burner periodically and brush away any dust spider webs or insect nests that may have built up replace them and screw them back on When replaced turn each burner on and check that the flame pattern is good you can adjust the air mixture by turning the cap on the end of the bur...

Page 24: ...and freight charges both ways is to be paid by the owner No liability is accepted for loss or damage during transit 2 The appliance is installed by a qualified person and operated and maintained in accordance with the instructions supplied Repairs and service must be carried out by an authorized person 3 Installation must conform to the standards laid down by the local codes or in the absence of l...

Reviews: