7
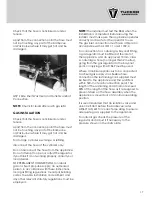
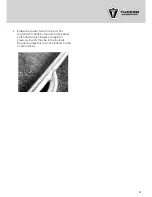
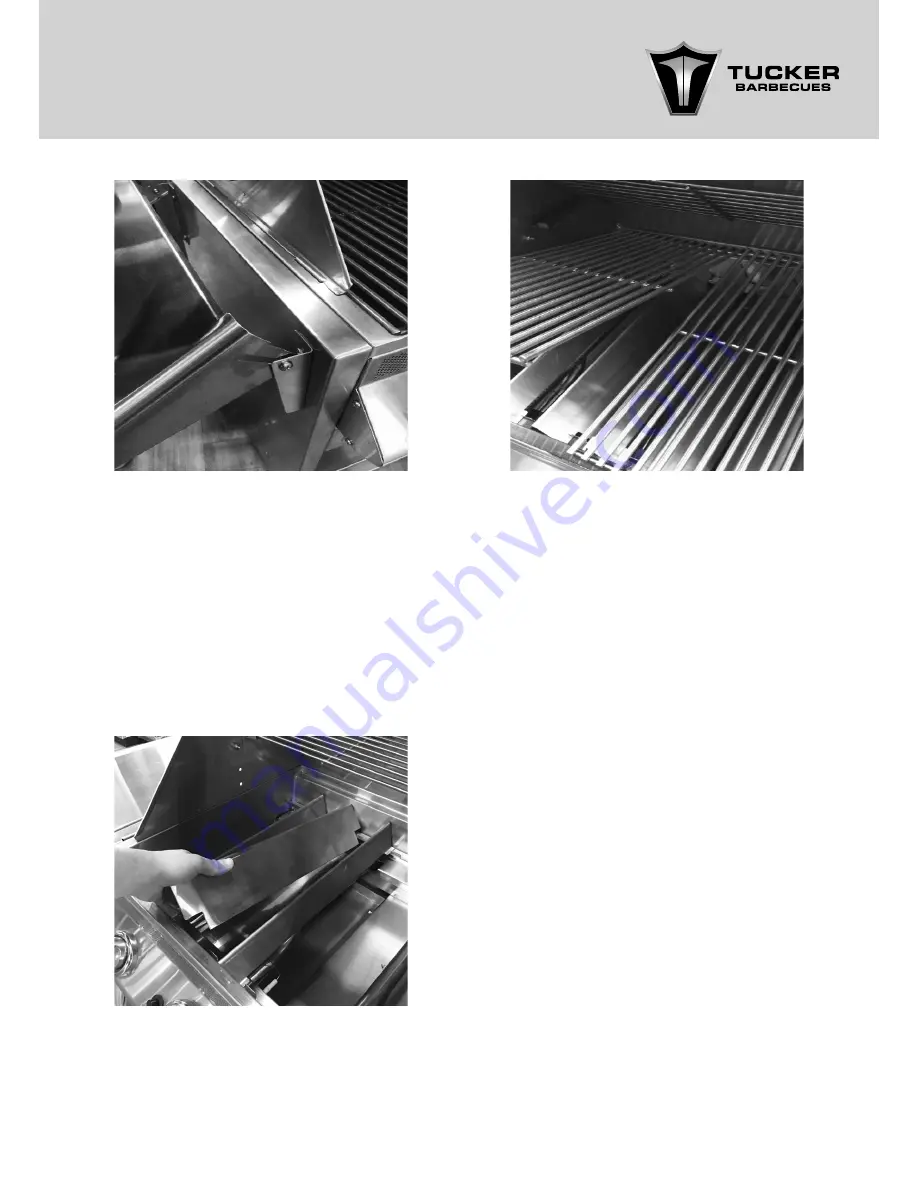
14. Next, place the Flare Guards into position
inside the BBQ.
15. Next place the Cooking Grills into the BBQ
above the Flare Guards and place the Solid
Hot Plate next to them.
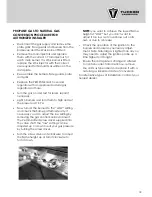
16. The Roasting Hood can now be fitted.
Remove any packaging, cable ties and
components from inside the Hood. You
should have a Rear Cooking Shelf, Roasting
Rack, Drip Pan and Handle for the Roasting
Hood inside.
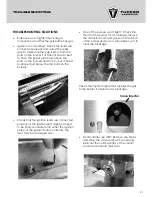
17. First attach the Handle onto the front of the
Roasting Hood with the nuts provided.
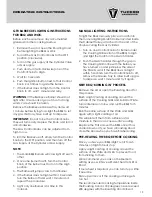
18. To fit the Roasting Hood onto the BBQ, the
base of the Roasting Hood has 4 x locating
tags that fit into corresponding slots on the
top of the BBQ.
19. Slide the angled tags on the front of
the base of the Roasting Hood into the
corresponding slots in the front of the BBQ.
You will need to angle the base of the
Roasting Hood down toward the front of the
BBQ so that it allows the tags to slot into the
BBQ easier.
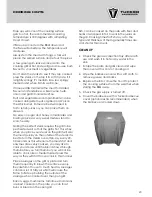
NOTE:
The Flare Guards are only required
beneath the open Cooking Grill section of the
BBQ.
NOTE:
The Flare Guards are NOT to be placed
under the Solid Cooking Plate as it will reduce
the ability of the BBQ to heat the Solid Cooking
Plate.
The smaller Flare Guards are to be placed
above each of the Burners that will be sitting
below the Cooking Grills.
The Larger Flare Guards are to be placed in
between each of the smaller Flare Guards.


