5.3 The driver Installation of CameraLink
PCIe
x1
x4
x8
x16
1.0
250MB/s
1GB/s
2GB/s
4GB/s
2.0
500MB/s
2GB/s
4GB/s
8GB/s
3.0
985MB/s
3.9GB/s
7.8GB/s
15.7GB/s
Connect the camera to the PC after successfully intalling the CameraLink grabber.
Open the U disk which comes with the camera, double click the cameralink driver
and follow the [Next] button to [finish] the installation.
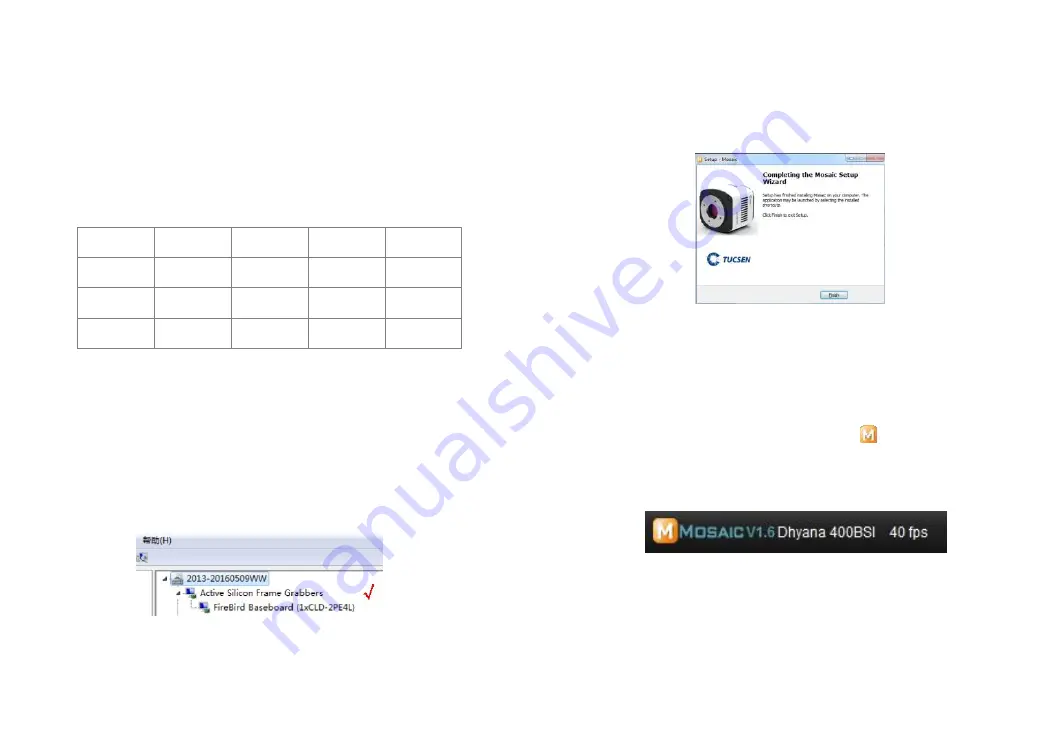
After the camera Cameralink driver is installed, open the Device Manager of your
computer. When the driver is successfully installed, the Cameralink frame grabber
will appear under Device Manager, as shown below.
Turn off the computer and open the cover of the host. Select the appropriate PCIe
slot (Bandwidth is more than 850 MB/s) to insert the CameraLink frame grabber.
Secure the computer with a screw and then restart the computer. Connect the
camera to the interface of the computer's frame grabber via two Cameralink
cable.
- 15 -
- 16 -
6. Software Installation
6.1. Double-click the software to start the installation and follow the [Next] button to
finish the installation.
6.2. After finish the installation, software shortcut will be created on the desktop.
Note: If previous version Mosaic was installed in your PC, the installer will automatically
detect it and ask to remove it first before install the new one. If the previous installed
Mosaic is still running, it will ask to close the software and then start the installation.
6.3. Double-click the Mosaic shortcut to start the software. Software will auto
detect the device and start the preview. The status bar will display the version number
of the software, the camera model, and the current real-time frame rate.
Note: If camera connect correctly, the software will automatic identify camera and enter
pre-view status during startup .If get software error,it could be the camera is not
detected by the PC or the driver is not installed properly. Please reinstall the driver.


