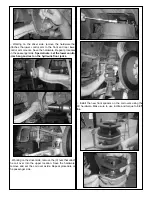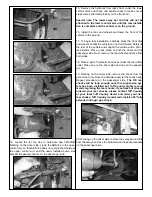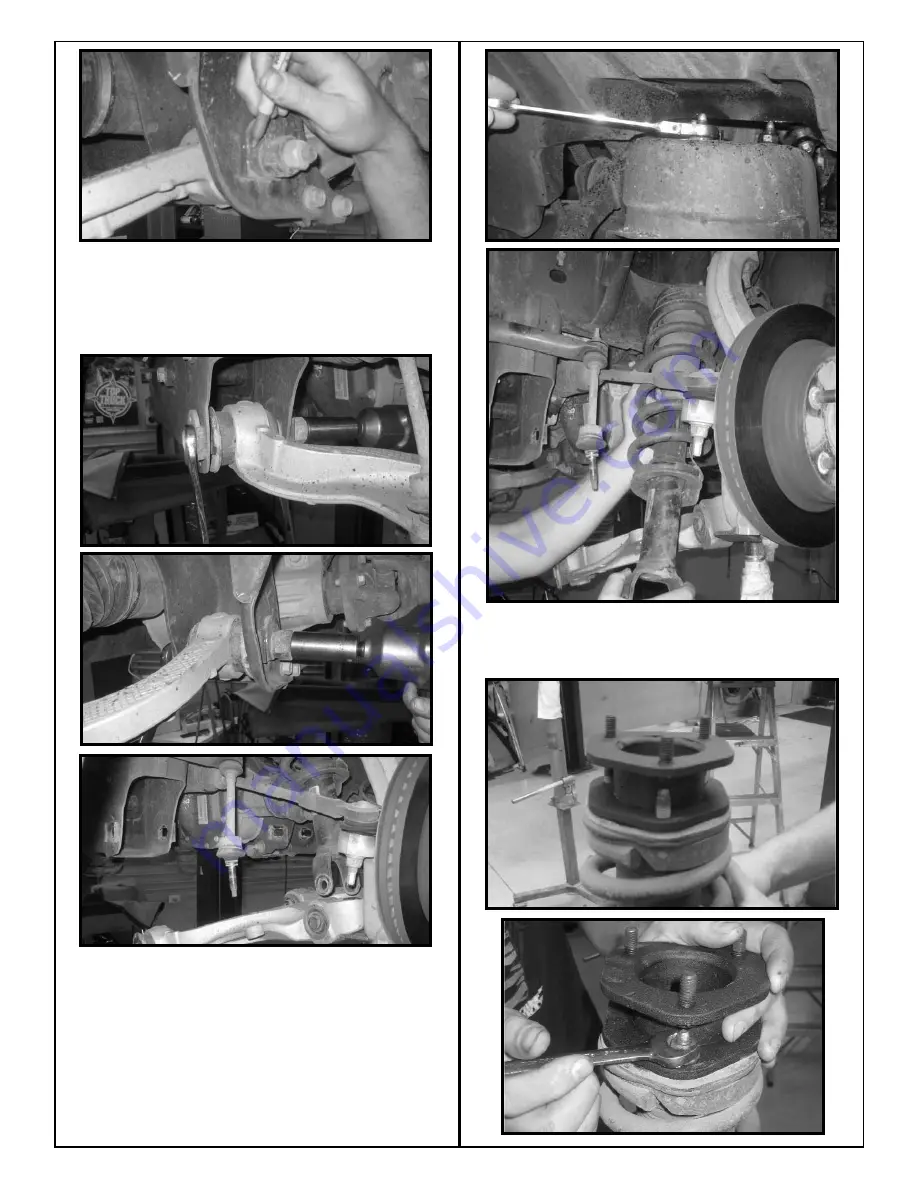
6. Working on the driver side, remove the hardware that
attaches the lower control arm to the front and rear lower
control arm mounts. Save the hardware. Repeat procedure
on the passenger side.
Special note: Let the lower control
arms hang and rest on the hydraulic floor jacks.
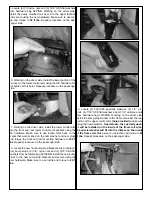
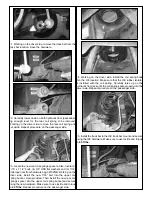
7. Working on the driver side, remove the (3) nuts that attach
the coil over into the upper location. Save the hardware.
Remove and set the coil over aside. Repeat procedure on
the passenger side.
8. Install the new front spacers on the coil overs using the
OE hardware. Make sure to use loctite and torque to
32 ft
lbs.


