background image

CXT-200 Corner Multi-Funtional Trainer

www.tuffstuffitness.com

9

Important Safety Instructions

It is the responsibility of the facility owner and/or owner of the equipment to review the Owner’s Manual with their facility

personnel and understand all Danger, Warning and Caution labels affixed on the machine. It is the responsibility of the floor 

personnel to instruct users on proper operation of the equipment and review all danger, warning and caution labels.


SERIOUS INJURY OR DEATH CAN OCCUR 

IF THESE SAFETY PRECAUTIONS ARE NOT OBSERVED:

1.  Obtain a medical exam before beginning any exercise program.
2.  Read and understand Owner’s Manual and all 

Danger, Warning 


and Caution

 labels before using this equipment. If you still need 


help, seek assistance from floor personnel. 

3. 

Inspect the equipment

 before each use for wear and tear, loose 


fittings, worn or frayed cables and frame welds.  DO NOT USE if it 


appears to be inoperable or damaged.

4.  Stop exercising if you feel faint or dizzy. Consult a physician if you  
 

are experiencing pain.

5. 

Use this equipment only for the intended use and for      


exercise(s) shown on page 30-34.

6.   Keep body, clothing and hair clear from all moving parts. Do not


attempt to free any jammed parts by yourself.

7.   Always warm-up before and cool-down after weight training.  
 

Warm-up for 10-15 minutes with stretching and cardiovascular 


exercises. Cool-down should include light stretching exercises for 


5-15 minutes.

8.   Never hold your breath – will limit the flow of oxygen to your brain  
 

and may cause dizziness. The most often used breathing pattern is


inhaling during least resistance and exhaling during maximum 

 resistance.
9.  Do not use accessories or accessory attachments that are not 
 

recommended by TFI.

10.  Make sure selector pin is completely inserted. Use only the selector
  

pin provided by the manufacturer.

11.  Never pin the weights in an elevated position. Do not use the 
 

machine if found in this condition.

Facility Safety Guidelines and Practices

1.  Read and understand the Owner’s Manual before assembling, 
 

servicing or using the equipment. 

2.  Equipment to be installed by TFI Authorized Dealer or 
 

Professional Service Company approved by TFI.

3.  Make sure each machine is set up and operated on a solid level 
 

surface. Do not install equipment on an uneven surface.

4.        

Anchoring of equipment must be completed

 at time of 


installation and inspected prior to use. Failure to anchor the 


machine to the floor could cause the machine to tip or fall over 


due to incorrect usage and misuse, and could result in serious 


injury or death.

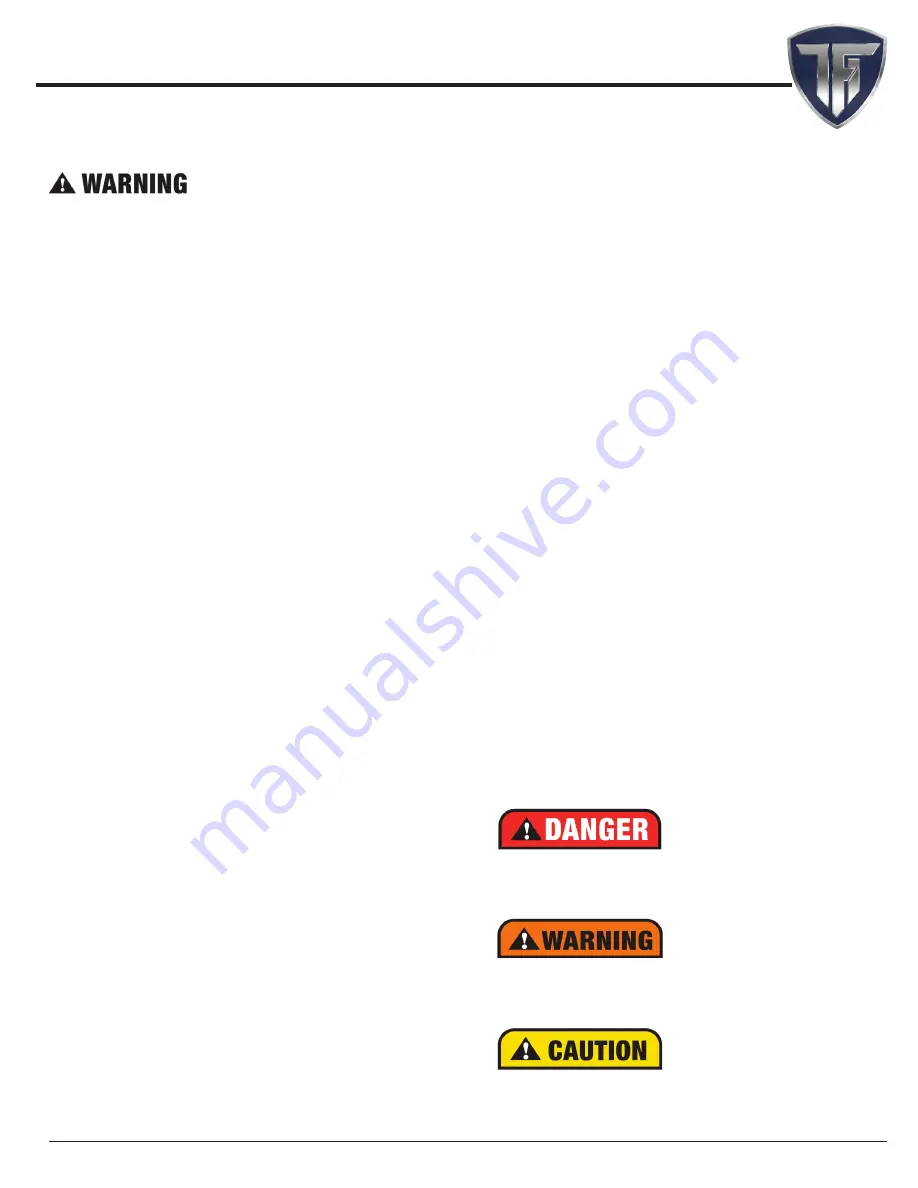
DANGER:

 indicates an imminently hazardous situation which, if not 

avoided, will result in death or serious injury.

WARNING:

 indicates a potentially hazardous situation which, if not 

avoided, will result in death or serious injury.

CAUTION:

 indicates a hazardous situation which, if not avoided, could 

result in minor or moderate injury.

5.  Provide an adequate safety perimeter between the machine, 
 

walls and other equipment to ensure that the facility has proper 


clearance for usage and training.

6.  Post and disclose all safety, rules and regulations on a bulletin 
 

board easily accessible to users. 

7.  Perform regular maintenance (see Inspection Label). Pay special 
 

attention to areas most susceptible to wear and tear, including but 


not limited to cables, pulleys and rubber grips. 

8. 

Do not

 lean against or pull on the framework, weight stack or 


any component at all times.

9. 

Children must not

 be allowed near the equipment. Teenager must  


be supervised.

10.  Replace immediately all parts at first sign of wear or damage. If 
 

unable to replace worn or damaged components/parts, remove 


machine from service until the repair is made.

11.  Use only genuine TuffStuff replacement parts. Failure to do so will 
 

void warranty and could result in serious injury or death to the users.

12.  

Do not remove

 any decals affixed to the machine. Replace if 

 damaged.
13.  

Do not alter or modify

 the original manufacturer’s weight stack  


with any add-on incremental weights, weight plates or 


dumbbells except those with standard factory installed option.

14.  Maintain a service contract with a TFI Authorized Dealer or a 
 

Professional Service Company approved by TFI. Keep a service 


log of all maintenance and repair activities. NOTICE: It is the sole 


responsibility of the owner or facility operator to ensure that regular


maintenance is performed.

Summary of Contents for CXT-200

Page 1: ...thorized Dealer or a service company approved byTFI 3 Provide trained personnel supervision and correct usage of the equipment 4 Provide scheduled inspection maintenance repairs and must be performed...

Page 2: ...ONS For CXT 225 option Page 37 38 WARRANTY Page 39 Table of Contents TuffStuff Fitness International Inc continually engages in research related to product improvements Please take the time to careful...

Page 3: ...CXT 200 Corner Multi Funtional Trainer www tuffstuffitness com 3 OVERHEAD SPECIFICATIONS L 60 X W 60 X H 84 PRODUCT WEIGHT 645 lbs MAX LOAD WEIGHT LIMIT 400 lbs...

Page 4: ...Corner Multi Funtional Trainer www tuffstuffitness com 4 121 121 123 130 131 126 122 129 124 127 127 116 133 118 117 114 128 120 132 134 Carefully read ALL Danger Warning Caution labels posted on the...

Page 5: ...CXT 200 Corner Multi Funtional Trainer www tuffstuffitness com 5 121 121 114 128 119 115 125 122 129 124 127 133 118 117 120 132 Carefully read ALL Danger Warning Caution labels posted on the machine...

Page 6: ...CXT 200 Corner Multi Funtional Trainer www tuffstuffitness com 6 118 133 129 127 117 126 130 131 120 128 119 121 114 123 122 Carefully read ALL Danger Warning Caution labels posted on the machine...

Page 7: ...ss by contacting our service department at 1 888 884 8275 service tuffstuff net service1 tuffstuff net 125 113 124 132 134 SECURE BAR CATCH Make sure it is fully engaged while in use or after use SAFE...

Page 8: ...CXT 200 Corner Multi Funtional Trainer www tuffstuffitness com 8 Anchoring Unit Holes on shoe plates are provided for anchoring the unit to the floor See anchoring hole locations below...

Page 9: ...afety Guidelines and Practices 1 Read and understand the Owner s Manual before assembling servicing or using the equipment 2 Equipment to be installed byTFI Authorized Dealer or Professional Service C...

Page 10: ...he text Some pieces may have extra holes that you will not use Use only those holes indicated in the instructions and illustration NOTE With so many assembled parts proper alignment and adjustment is...

Page 11: ...AIRS INSPECTED BY Performregularmaintenance seeInspectionLabel Payspecialattentiontoareasmostsusceptibletowearandtear including butnotlimitedtocables pulleysandrubbergrip TFIrecommendsyoumaintainaserv...

Page 12: ...CATE A WORN CABLE REPLACE IMMEDIATELY IMPORTANT NOTE DAMAGED OR WORNED CABLE AS SHOWN ABOVE MAY DAMAGE THE PULLEY S YOU MUST INSPECT THE PULLEYS AT THIS TIME FOR WEAR AND TEAR REPLACE IF NEEDED NECKIN...

Page 13: ...nal Trainer www tuffstuffitness com 13 42 34 2 3 34 35 20 Step 1 100 Fully Tighten FullyTighten Wrench tighten all hardware in this step NOTE 1 It is strongly recommended that two people participate i...

Page 14: ...CXT 200 Corner Multi Funtional Trainer www tuffstuffitness com 14 34 43 34 24 10 24 43 34 34 35 9 Step 2 Loosely Tighten 70 LooselyTighten Loosely tighten all hardware in this step...

Page 15: ...34 38 38 41 35 34 35 27 34 Step 3 NOTE 1 AFTER COMPLETING THIS STEP FULLY FASTEN ALL PREVIOUS STEPS THAT WHERE LEFT LOOSELY TIGHTEN 100 Fully Tighten FullyTighten Wrench tighten all hardware in this a...

Page 16: ...ional Trainer www tuffstuffitness com 16 71 31 31 71 31 98 17 100 32 100 98 31 32 17 Step 4 100 Fully Tighten FullyTighten Wrench tighten all hardware in this step NOTE 1 For 200 Lbs weight stack opti...

Page 17: ...CXT 200 Corner Multi Funtional Trainer www tuffstuffitness com 17 Step 5 100 Fully Tighten FullyTighten Wrench tighten all hardware in this step NOTE 1 Raise guide rods and assemble hardware as shown...

Page 18: ...ch label firmly against the weight stack 7 Allow labels to stand for 2 days to allow adhesive to cure fully 8 Open the lube package provided and apply a thin film of lubricant around the first 3 inche...

Page 19: ...www tuffstuffitness com 19 Step 7 Hi Low Cable A B C D F G H I J K E 18 NOTE 1 SOME PARTS NOT SHOWN FOR CLARITY 2 PULLEY LABEL E IS BEHIND THE MACHINE SEE NEXT PAGE FOR LOCATION 3 AFTER PULLEY LABELED...

Page 20: ...Multi Funtional Trainer www tuffstuffitness com 20 Step 7 Hi Low Cable Continued CONTINUED FROM PREVIOUS PAGE ON PULLEY K 29 68 91 69 60 60 70 4 29 29 136 M E N K L O 75 29 90 18 58 29 68 91 69 60 60...

Page 21: ...www tuffstuffitness com 21 A B C D F G H I J K E 18 Step 8 Hi Low Cable NOTE 1 SOME PARTS NOT SHOWN FOR CLARITY 2 PULLEY LABEL E IS BEHIND THE MACHINE SEE NEXT PAGE FOR LOCATION 3 AFTER PULLEY LABELED...

Page 22: ...CXT 200 Corner Multi Funtional Trainer www tuffstuffitness com 22 K L M E N O 75 29 90 18 58 Step 8 Hi Low Cable Continued CONTINUED FROM PREVIOUS PAGE ON PULLEY K...

Page 23: ...CXT 200 Corner Multi Funtional Trainer www tuffstuffitness com 23 A B E C D 75 29 73 19 58 Step 9 Lat Low Cable...

Page 24: ...CXT 200 Corner Multi Funtional Trainer www tuffstuffitness com 24 75 29 73 19 58 Step 10 Lat Low Cable A B E C D...

Page 25: ...XT 200 Corner Multi Funtional Trainer www tuffstuffitness com 25 137 140 88 138 137 61 139 137 138 SAME AS OTHER SIDE SAME AS OTHER SIDE SAME AS OTHER SIDE STEP 2 STEP 1 STEP 3 Step 11 Anti Twist Cabl...

Page 26: ...200 Corner Multi Funtional Trainer www tuffstuffitness com 26 Step 12 100 Fully Tighten FullyTighten Wrench tighten all hardware in this step 36 63 33 36 62 36 33 33 36 33 36 62 36 33 33 36 33 36 33...

Page 27: ...FOR 6 X 4 1 4 PLATE 2 NYLON PULLEY SPLIT LOCK WASHER B Z P 1 2 ROUND TURNTABLE 4 1 2 ID COLOR CHART GRAY SUB ASSEMBLY PARTS BLACK HARDWARE CXT 200 REV2 Item No Description Rev Part No Qty Item No Desc...

Page 28: ...CREW B Z P 1 4 20 X 1 2 LABEL DANGER DO NOT LEAN AGAINST OR PULL LABEL DANGER USE THIS EQUIPMENT ONLY LABEL DANGER CHECK RETAINING NUT 1 5 X 1 LABEL CXT 200 EXERCISE CHART 6 X 29 FACILITY SIGN BE ALER...

Page 29: ...ent only for the exercises as shown Know your limitations If you are new to weight training always start with lighter weight learn how to perform the exercise correctly and train at a controlled rate...

Page 30: ...ations If you are new to weight training always start with lighter weight learn how to perform the exercise correctly and train at a controlled rate of speed Warm up properly with stretchings calisthe...

Page 31: ...re new to weight training always start with lighter weight learn how to perform the exercise correctly and train at a controlled rate of speed Warm up properly with stretchings calisthenics or cardiov...

Page 32: ...new to weight training always start with lighter weight learn how to perform the exercise correctly and train at a controlled rate of speed Warm up properly with stretchings calisthenics or cardiovasc...

Page 33: ...ations If you are new to weight training always start with lighter weight learn how to perform the exercise correctly and train at a controlled rate of speed Warm up properly with stretchings calisthe...

Page 34: ...t over load purchased separately See collars Collars must be Fig B 3 Pay special attention to the Safety Stoppers CXT 225 Owner s Manual part part 2 3 Be sure they are fully engaged into the Prongs CX...

Page 35: ...t your TuffStuff RetailerorCustomerService 888 884 8275 1 1 2 2 5 The illustrations above depict the Weight Lift Bar 8 disengaged setting which is used during exercise 6 DANGER The Safety Stoppers 2 3...

Page 36: ...hino CA 91710 before returning any defective equipment This warranty gives you specific legal rights and you may also have other rights which may vary from state to state ThiswarrantyappliesonlyintheU...

Reviews: