19
DRUM SECTION ASSEMBLY
CONTINUED
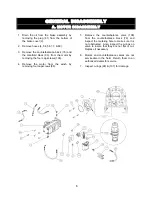
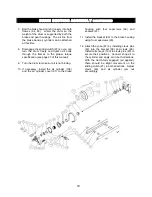
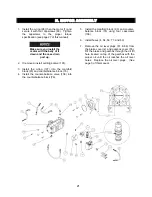
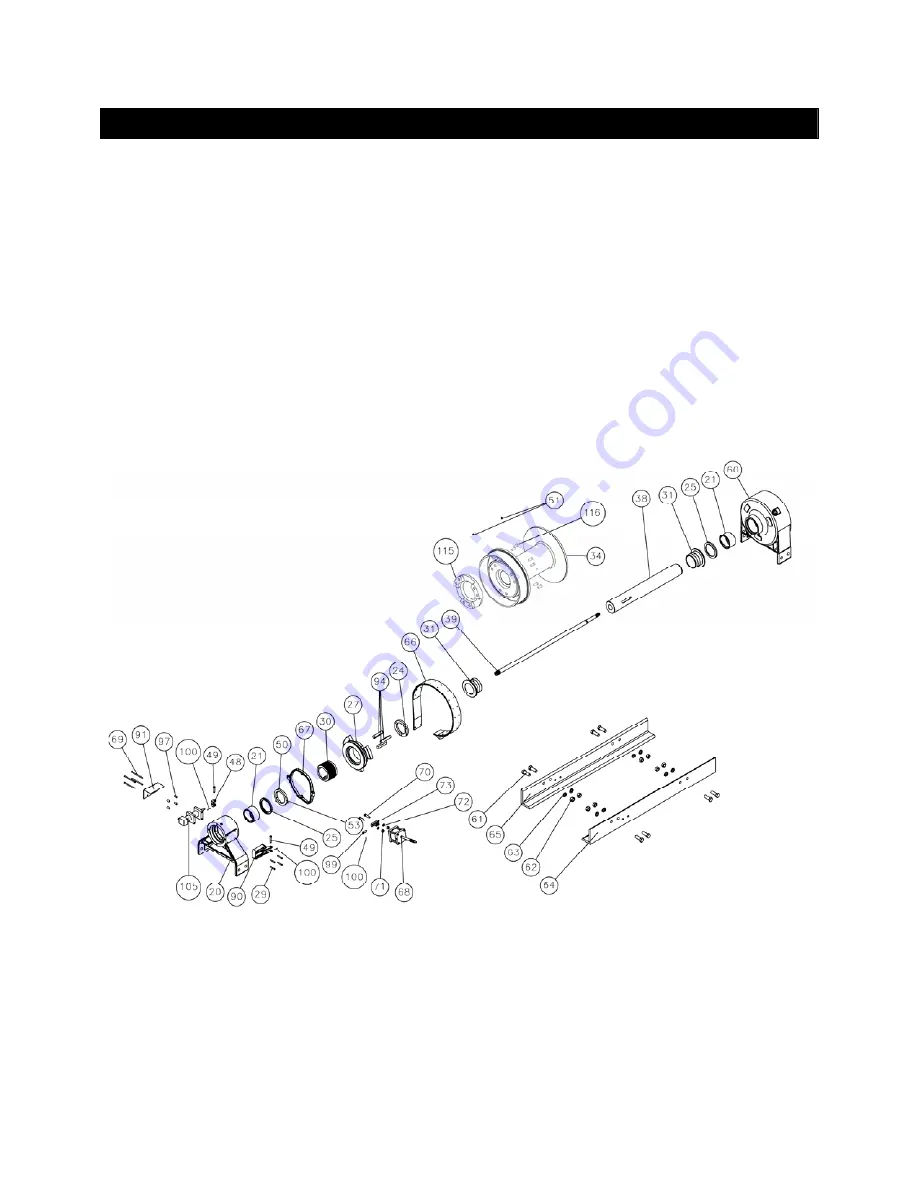
7. Bolt the brake housing (20) loosely into both
frames (64, 65). Lower the drum so the
weight of the drum is supported by both the
brake and gear housings. The air line from
the brake band air cylinder can be attached
at this time.
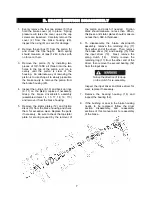
8. Disengage the sliding clutch (27) so you can
turn the drum freely and tighten all bolts
through the frames to the proper torque
specification (see page 27 of this manual).
9. Turn the drum to make sure it is not binding.
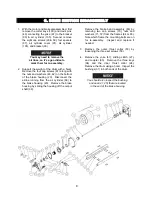
10. If necessary, install the air cylinder (105)
and the air cylinder cover (91) to the brake
housing with four capscrews (69) and
spacers (97).
11. Install the bracket (90) to the brake housing
using four capscrews (29).
12. Attach the yoke (67) by installing clevis pins
(49) into the bracket (90) and clevis (48).
Install cotter keys (100) to clevis pins (49) to
secure their positions. Connect shop air to
the cylinder and apply air in both directions.
With the clutch fully engaged (air applied),
there should be slight movement on the
sliding clutch (27) in both directions. Adjust
clevis (48) and air cylinder jam nut
accordingly.
Summary of Contents for Rufnek Intelliguard 80
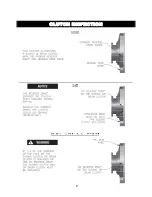
Page 9: ...9 CLUTCH INSPECTION ...
Page 26: ...26 VISCOSITY CHART ...

