1 5
English
Use
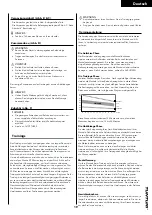
Adjusting the support feet
The equipment is equipped with 2 support feet. If the equipment is
not stable, the support feet can be adjusted.
-
Turn the support feet as required to put the equipment in a stable
position.
‼ NOTE
-
The machine is the most stable when all support feet are turned
fully in. Therefore start to level the machine by turning all support
feet fully in, before turning out the required support feet to stable
the machine. .
Adjusting the vertical seat position
The vertical seat position can be adjusted by setting the seat tube
to the required position. With the leg almost straight, the arch of the
foot must touch the pedal at its lowermost point.
- Loosen the seat tube adjustment knob.
-
Move the seat tube to the required position.
- Tighten the seat tube adjustment knob.
Adjusting resistance
To increase or decrease resistance, turn the adjustment knob at
front of the rowing frame cover clockwise (+ direction) to increase
resistance and Counterclockwise (- direction) to decrease resistance.
The scale above the knob (1-8) helps you find and reset a suitable
resistance.
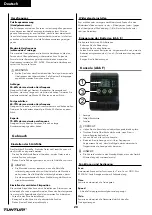
Replacing the batteries (Fig E )
The console is equipped with 2 AA batteries at the rear of the
console.
- Remove the cover.
- Remove the old batteries.
-
Insert the new batteries. Make sure that batteries match the (+) and
(-) polarity markings.
- Mount the cover.
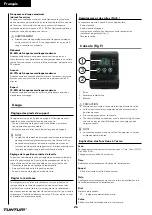
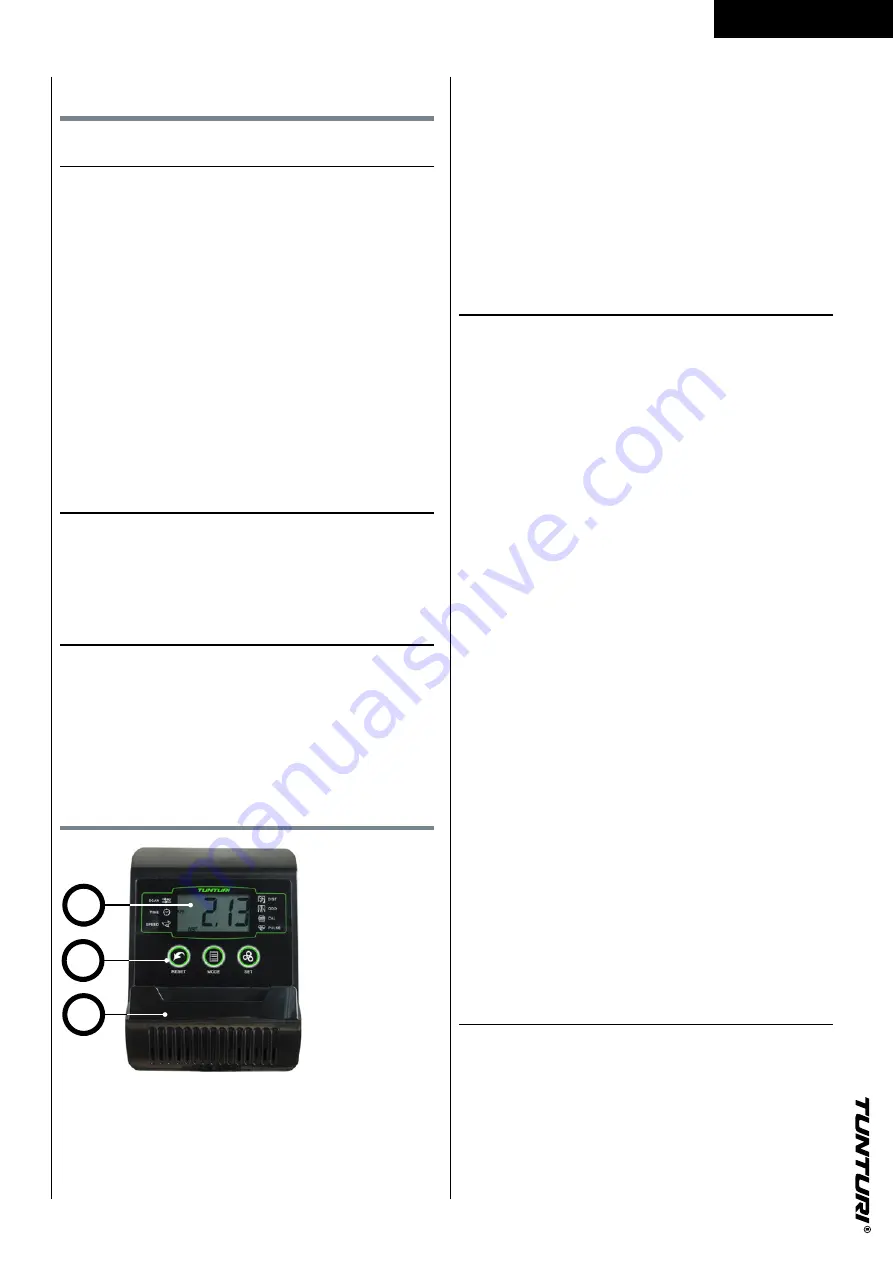
Console (fig F)
1
3
2
1. Display
2. Tablet/ book support
3. Buttons
⚠ CAUTION
•
Keep the console away from direct sunlight.
•
Dry the surface of the console when it is covered with drops of
sweat.
• Do not lean on the console.
•
Only touch the display with the tip of your finger. Make sure that
your nails or sharp objects do not touch the display.
‼ NOTE
•
The console switches to standby mode when the equipment is
not used for 4 minutes.
Explanation Display functions
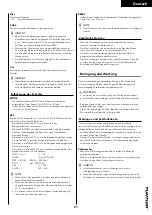
Scan
Automatically scan functions for : Time, Speed, ODO, Dist, RPM &
Cal.
Each display will be hold 4 seconds
Time
Automatically accumulates workout Time when exercising.
Speed
- Displays current training speed.
Odo
Automatically accumulates the number of strokes for all exercise
sessions.
Dist
Distance for the workout.
- M
Indicates parameters in meter.
Pulse
Display current heart rate if measured.
‼ NOTE
•
Before measuring your pulse rate, please place your palms of
your hands on both of your contact pads and the monitor will
show your current heart beat rate in beats per minute(BPM) on
the LCD after 6~7 seconds.
•
During the process of pulse measurement, because of the
contact jamming, the measurement value may be higher than
the virtual pulse rate during the first 2~3 seconds, then will
return to normal level.
•
The measurement value cannot be regarded as the basis of
medical treatment.
Cal
Automatically accumulates Calorie burnt when exercising.
‼ NOTE
•
This data is a rough guide for comparison of different exercise
sessions which cannot be used in medical treatment
Explanation of buttons
MODE
-
Press MODE button to select console functions; Time, Speed, Dist,
ODO, Cal. & Pulse
-
Push and hold for 4 seconds to reset: Time, Count, Dist & Calorie.
SET
Set the values for: Time, Count, Dist & Calorie when not in scan
mode.
- Press SET button to set console in goal input mode.
Summary of Contents for 8717842028261
Page 2: ......
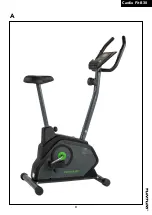
Page 3: ...3 Cardio Fit B30 A...
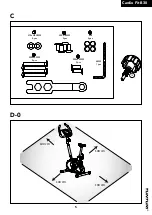
Page 4: ...10 i 8x 20MM 8pcs M8x60MM 4pcs M8x35MM 2pcs 6MM 1pcs M8x16MM 4pcs M8 4pcs 4 Cardio Fit B30 B...
Page 6: ...10 8x 20MM 8pcs M8x60MM 4pcs M8x35MM 2pcs 6MM 1pcs M8x16MM 4pcs M8 4pcs 6 Cardio Fit B30 D 1...
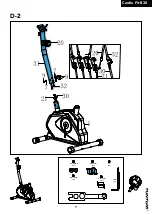
Page 7: ...10 8x 20MM 8pcs M8x60MM 4pcs M8x35MM 2pcs 6MM 1pcs M8x16MM 4pcs M8 4pcs 7 Cardio Fit B30 D 2...
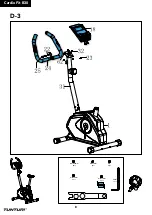
Page 8: ...10 8x 20MM 8pcs M8x60MM 4pcs M8x35MM 2pcs 6MM 1pcs M8x16MM 4pcs M8 4pcs 8 Cardio Fit B30 D 3...
Page 10: ...10 8x 20MM 8pcs M8x60MM 4pcs M8x35MM 2pcs 6MM 1pcs M8x16MM 4pcs M8 4pcs 1 0 Cardio Fit B30 D 5...
Page 12: ..._ _ AA A A _ _ AA A A 1 2 Cardio Fit B30 E F...
Page 57: ......
Page 58: ......


