8
9
Run 3.0 - OWNER’S MANUAL
ENGLISH
ALIGN THE BELT ACCORDING TO THE FOLLOWING
INSTRUCTIONS:
1. Turn the power switch on and increase the treadmill’s
speed to 5 km/h (3 mph).
2. If the belt drifts to the left, turn the left adjustment bolt
1/4 turn clockwise and the right adjustment bolt 1/8 turn
anti-clockwise. If the belt drifts to the right, turn the right
adjustment bolt 1/4 turn clockwise and the left adjustment
bolt ¼ turn anti-clockwise.
3. If the belt remains centered the adjustment is correct.
If not, continue to make small adjustments as above
until the belt is correctly aligned. If the belt is allowed run
across to one side for long periods of time the edges of
the belt may be damaged and the treadmill may not
continue to operate correctly. Any damage to the belt
caused by the lack of necessary adjustment will not be
covered by the warranty.
ADJUSTING THE BELT TENSION
The belt must be tensioned if it begins to slip on the rollers.
In normal use, however, keep the belt as loose as possible!
The belt tension is adjusted by turning the same screws
as used for aligning the running belt. If turning the screws
will not effect the belt tension, please contact your local
Tunturi dealer.
1. Increase the treadmill’s speed to 5 km/h (3 mph).
2. Turn both adjustment screws an equal amount, ¼ turn
clockwise.
3. Try to slow the belt down by holding onto the handrails
and braking as you walk (as if you were walking downhill).
If the belt slips, turn another 1/4 turn and repeat the test.
When braking heavily the belt may slip. If the belt keeps
slipping despite repeated adjustments, please contact
your local Tunturi dealer.
MALFUNCTIONS
NOTE!
Despite continuous quality control, defects
and malfunctions caused by individual components may
occur in the equipment. In most cases it’s unnecessary to
take the whole device in for repair, as it’s usually sufficient
to replace the defective part. Always give the model,
serial number of your equipment and in case of
malfunctions also conditions of use, nature of malfunction
and any error code.
When you encounter unusual behavior from the treadmill,
simply turn the power switch off, wait 1 minute and turn
the power switch on to reset the treadmill. This should
clear incidental errors and ready the treadmill for normal
operation again. If after you have reset the treadmill
by turning the power switch off and on again, and the
treadmill is still not operational, contact your local Tunturi
dealer for service.
If you require spare parts, always give the model, serial
number of your equipment and the spare part number for
the part you need. The spare part list is at the back of this
manual. Use only spare parts mentioned in the spare part
list.
ERROR CODES
The user interface will display information about
operational faults.
E1: Speed sensor error. Unplug the electrical cord from
the wall outlet and from the treadmill, wait 1 minute and
turn the power switch on again. If treadmill recovers to
normal operation, you may continue to use the treadmill.
Otherwise, call the dealer for service.
E3: Lift motor error. Unplug the electrical cord from the
wall outlet and from the treadmill, wait 1 minute and
turn the power switch on again. If treadmill recovers to
normal operation, you may continue to use the treadmill.
Otherwise, call the dealer for service.
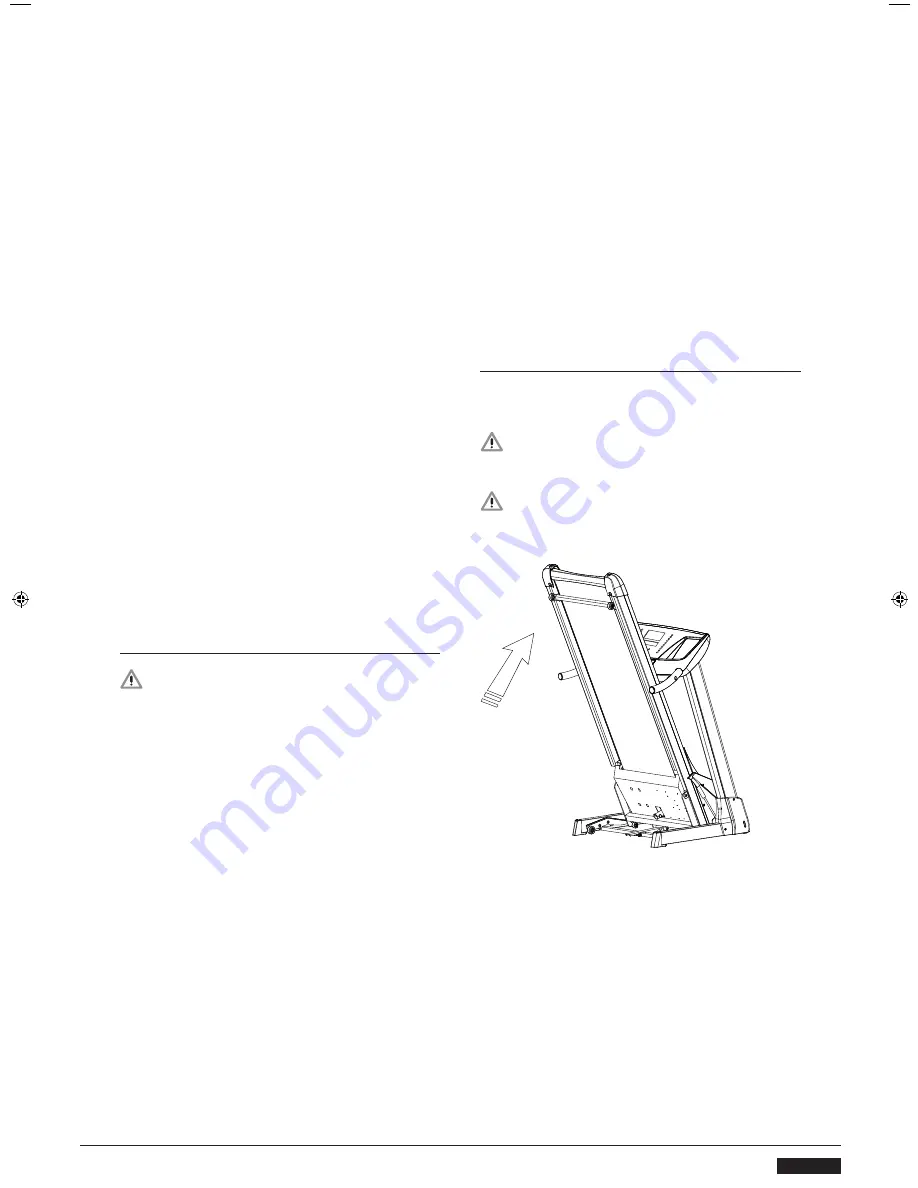
MOVING AND
STORAGE
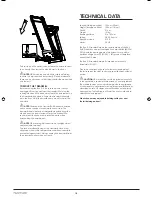
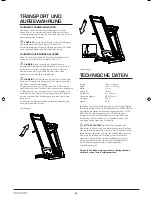
After assembly is complete, you may fold the machine
into the upright position for storage. To hold the machine,
raise the desk until it locks in to position.
NOTE!
Make sure you hear the click sound of the
deck locking into position. This is to ensure the deck is
locked in place and will not drop back down.
NOTE!
Make sure the treadmill’s elevation is at 0
before folding the deck. If the elevation is not at 0, folding
will damage the mechanism.
120918_RUN 3.0_manual.indd 9
9/20/2012 5:09:40 PM
Summary of Contents for Classic RUN 3.0
Page 81: ...81...


