


20
21
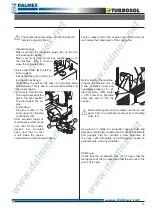
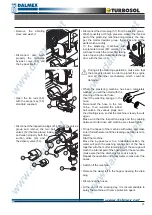
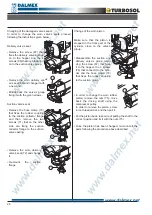
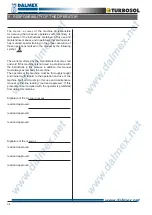
• Remove the vibrating
sieve and wash it.
• Disconnect and wash
properly the discharge
by-pass curve (47) and
the by-pass itself.
• Open the tie rods (48)
with the proper key (35)
standard supplied.
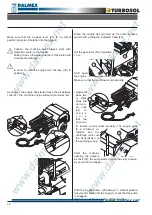
• Disconnect the inspection plugs (41-49) from the valve’s
group and remove the two ball
valves (42) that are placed inside,
and wash properly both the
suction valve (43) and
the delivery valve (50).
• Disconnect the drain plug (51) from the suction group.
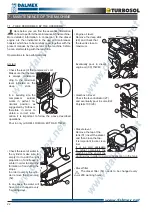
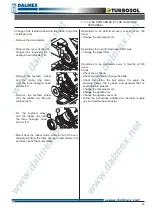
• Wash (possibly with high pressure water) the internal
part of the plastering machine and precisely: the hop-
per, the mortar deviator group, the valves and all the
parts which are dirty.
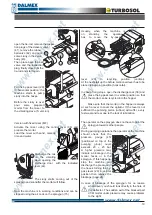
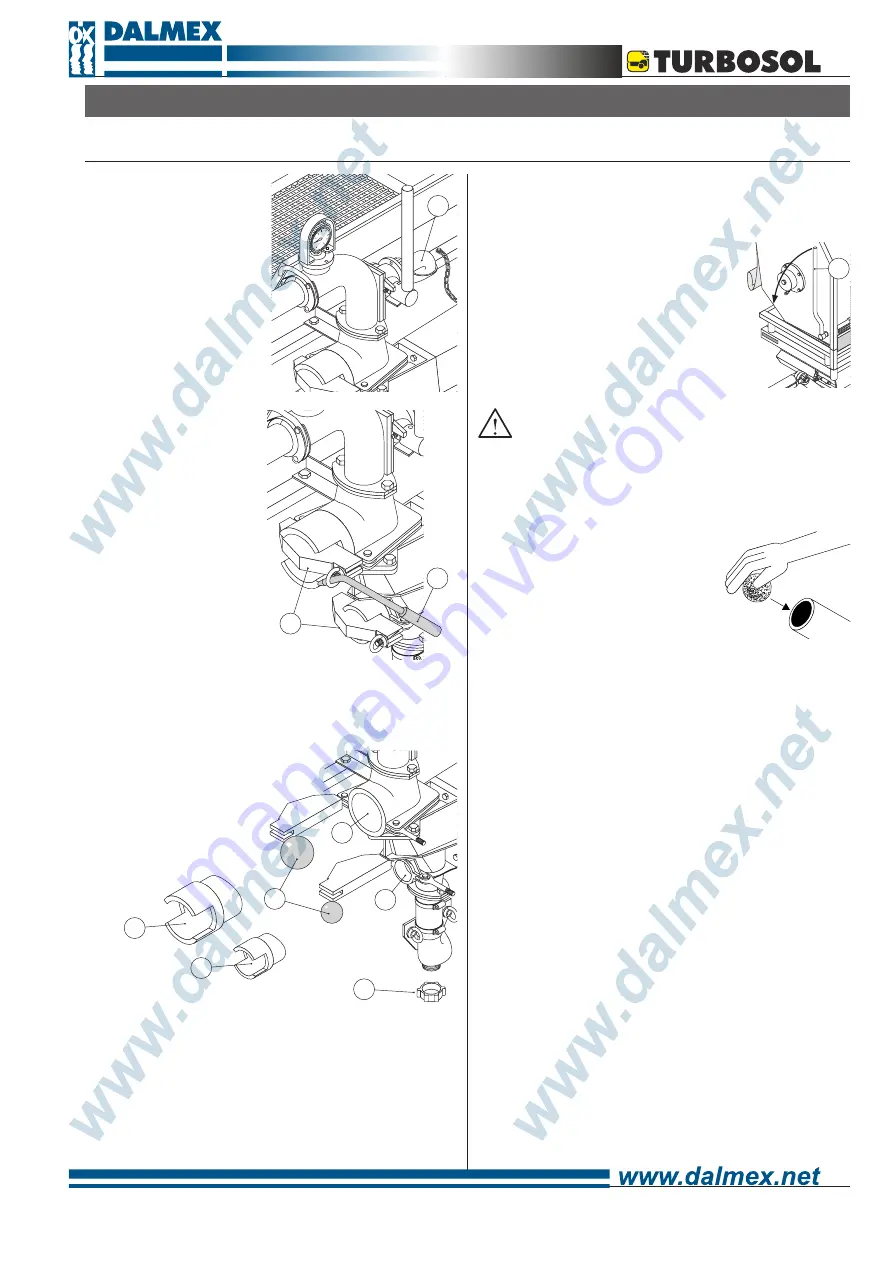
In the plastering machines with
incorporated mixer (MF version), you
will have to wash the mixer first taking
care of opening the material discharge
door with the lever (44).
During all the cleaning operations, make sure that
the bonnet is closed in order to protect the engine
and all the other mechanisms which could be
damaged.
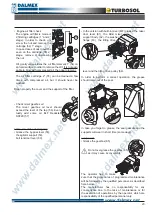
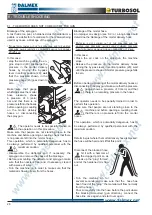
• When the plastering machine has been completely
washed, you will then start with the
cleaning of the mortar hose.
Insert the washing sponge in the
hose.
Re-connect the hose to the ma-
chine, then re-install the rubber
ball valves, the various plugs and
the vibrating sieve, so that the machine is ready to work
again.
Make sure that the inspection plugs and the coupling
between mortar hose and machine are closed tightly.
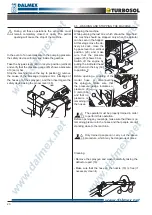
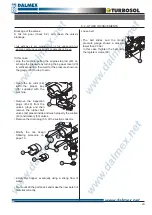
• Fill up the hopper of the machine with water, and make
sure it full with water until the cleaning operation is com-
pleted.
Start the machine.
Move the by-pass lever to a horizontal position, the
water will push the washing sponge out of the hose,
together with the mortar remaining in it; the sponge will
wash the internal part of the hose itself at the same time
(make sure that the discharge air cock is open).
Repeat the operation until clear water comes out of the
hoses.
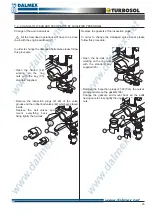
• Switch off the machine.
• Remove the water left in the hopper opening the drain
plug.
• Disconnect the hoses.
• At the end of the working day, it is raccomandable to
spray the machine with some protection agent.
48
35
47
50
43
41
42
51
44
49
Summary of Contents for UNI 30 D
Page 4: ...4 ...


