

30
31
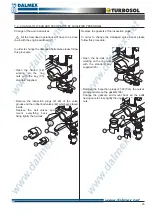
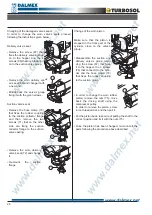
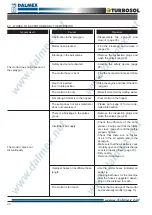
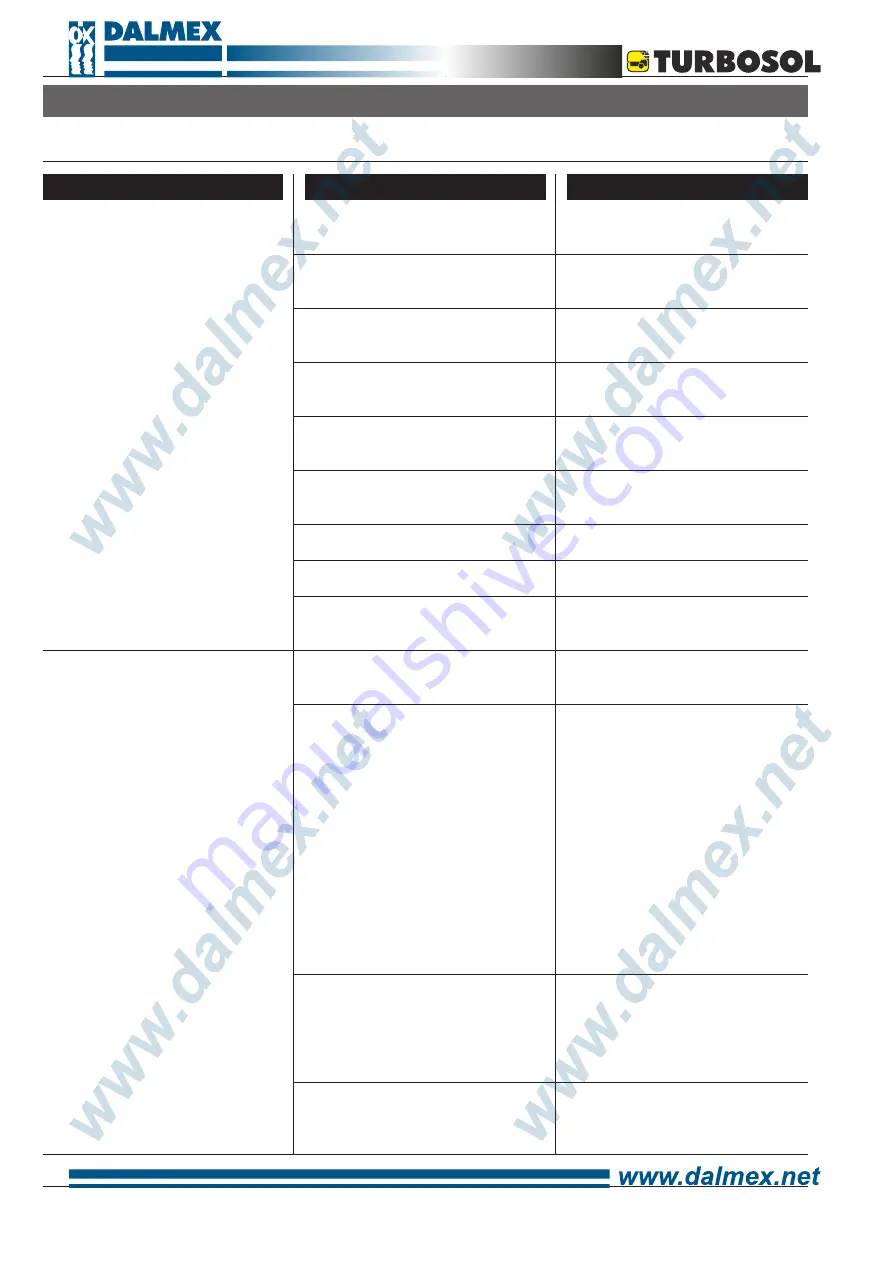
• Disassemble the sprygun and
clean it (page 28).
• Find the blockage and remove it
(page 28).
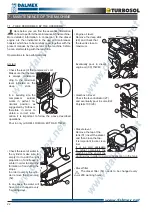
• Remove the inspection plugs and
wash the valves (pag. 29).
• Activate the safety device (page
20).
• Find the bent part and make it strai-
ght.
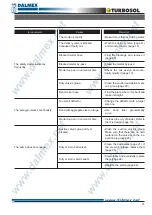
• Stop the engine and insert the desi-
red gear.
• Make it more fluid by adding water.
• Pour mortar in the hopper.
• Please go to page 31 for more de-
tailed information.
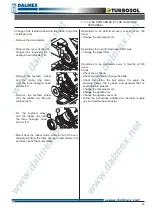
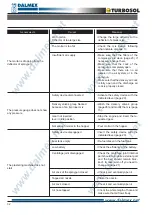
• Remove the inspection plugs and
wash the valves (pag. 29).
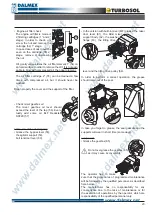
• Check the efficiency of the com-
pressor, being sure that the filters
are clean (page 23) and that belt is
properly tighted.
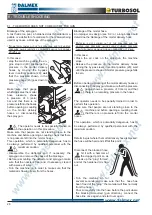
• Check that there are no losses
of air in the air system and in the
spraygun.
• Make sure that the air delivery cock
is totally open and the air discharge
cock is properly closed (page 18).
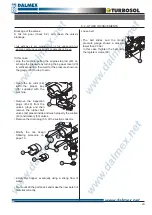
• Dirty nozzle.
Remove it and clean it.
• Use the mortar hoses indicated on
page 14.
• Use original hoses for the machine
and the hoses suggested depen-
ding on the distance to reach.
• Check the mix design of the mortar
and eventually modify it (page 13).
Obstruction in the spraygun
Mortar hose blocked
Blockage in the ball valves
Safety device not activated
The mortar hose is bent
Gear not inserted,
lever in idle position
The mortar is too dry
Not enough mortar is in the hopper
The pump does not suck material or
does not compress it
There is a blockage in the valves
group
Insufficient air supply
Improper hoses or insufficient hose
length.
The mortar is too reach
The mortar does not come out of
the spraygun
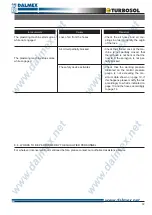
The mortar comes out
discontinuosly
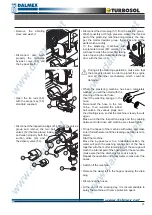
8.3 - WORKS TO BE PERFORMED BY THE OPERATOR
I
NCONVENIENTS
C
AUSES
R
EMEDIES
Summary of Contents for UNI 30 D
Page 4: ...4 ...


