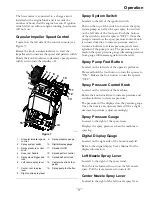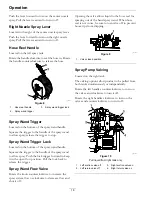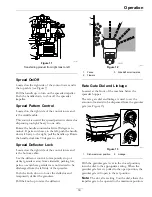
Operation
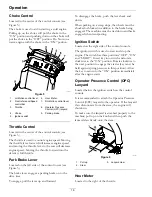
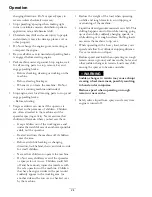
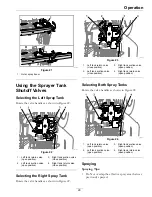
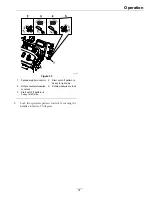
g312650
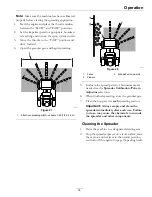
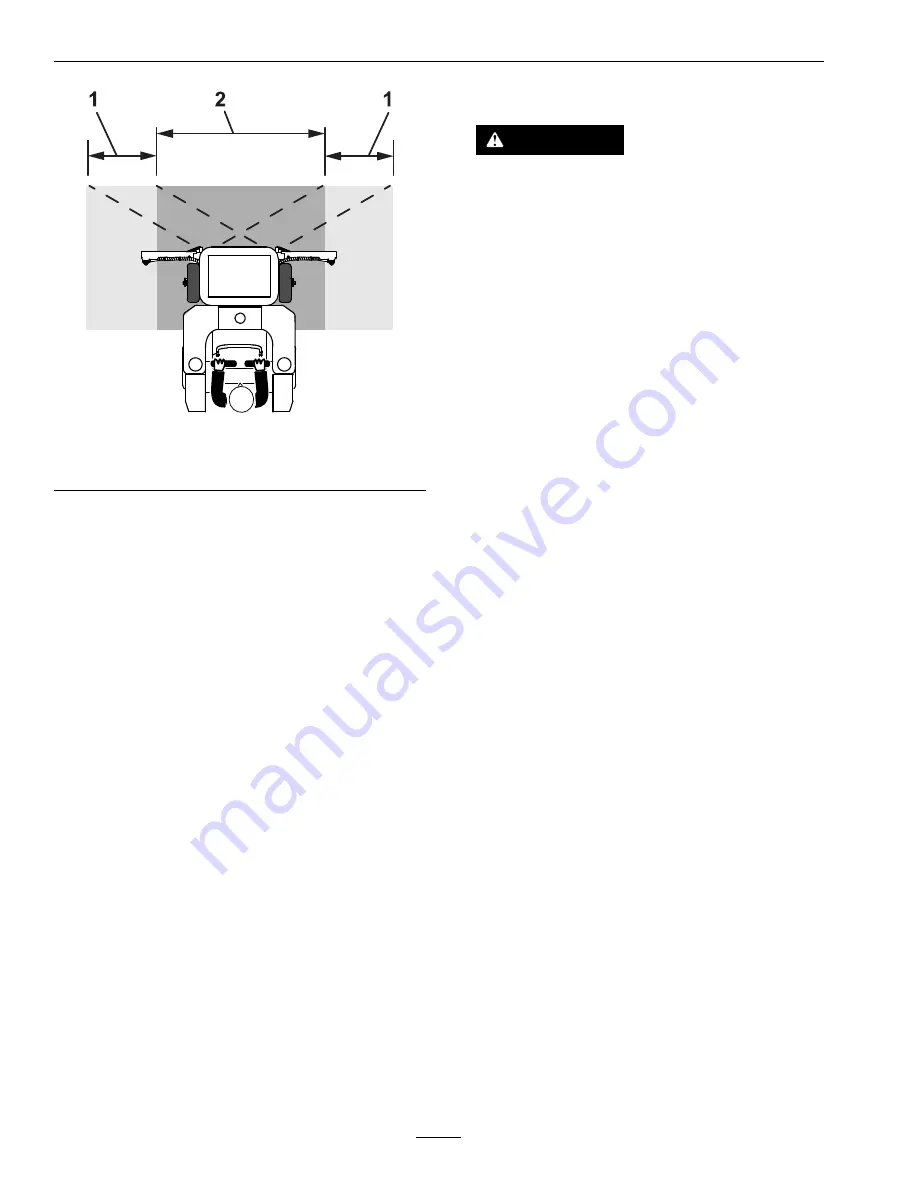
Figure 25
1.
Overlap area
2.
Effective spray area
•
Watch for plugged nozzles.
•
Disengage spray control levers to stop the spray
flow before stopping the motion of the sprayer.
Once stopped, leave the motion control lever in
neutral and keep the pump running.
•
Better results are obtained if the sprayer is moving
when spray controls are turned on.
•
Watch for changes in the application rate that may
indicate that your speed has changed beyond the
range of the nozzles or there is a problem with
the spray system.
Note:
Make sure the machine has been calibrated
properly before starting spray application
1.
Make sure the spray pump is on.
2.
Drive to the work area to be sprayed.
3.
Adjust the spray pressure to the appropriate
setting.
4.
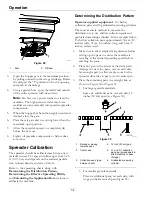
Turn on the appropriate spray control:
The sprayer and spreader can be operated
either together or individually (spray liquid and
spread granular at the same time or separately).
Regardless of the situation, make sure that the
machine is running at full throttle.
When finished spraying, turn off the spray control
lever and the spray pump switch.
The spray pump switch can be left on for tank
agitation.
To use the spray wand:
WARNING
Spray wand traps liquids under high pressure,
even when engine is off. High pressure spray
discharge could cause serious injury or death.
•
Keep clear of nozzle and Do Not direct
spray or stream at people, pets, or
non-work area property.
•
Do Not direct spray on or near electrical
power components or source.
•
Do Not repair spray wand, hoses, seals,
nozzle, or other wand components; replace
them.
•
Do Not attach hoses or other components
to the end of the spray wand nozzle.
•
Do Not attempt to disconnect the spray
wand from the unit while the system is
pressurized.
•
Do Not use spray wand if trigger lock is
damaged or missing.
•
Do Not keep spray wand in locked-open
position when job is complete.
A.
Remove the wand from the holder on the left
side of the machine.
B.
Turn the spray wand flow valve on.
C.
Firmly grip and hold the spray wand. Point it
in the direction to be sprayed.
Note:
Wand may kickback; make sure to hold
the wand securely.
D.
Adjust the spray wand flow using the wand
flow control.
E.
Squeeze the trigger to the spray wand handle
to begin spraying; lock the trigger in place if
desired.
5.
When finished spraying:
•
From the front spray nozzles:
Turn the three section valves off.
•
From the spray wand:
A.
Release the trigger and its lock (if
applicable).
B.
Turn the spray wand flow valve off
30

