18
MASTERseries - Release 7.0
MASTERseries Quick Start Guide
2-Slot Chassis Installation
Application Module Installation
z
When installing
two
modules in a 2-slot chassis, install the first in slot 1 (first slot from the
left).
z
When only using
one
module, install it in slot 2. This is to ensure optimal cooling
performance.
To install an application module:
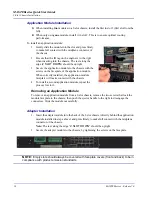
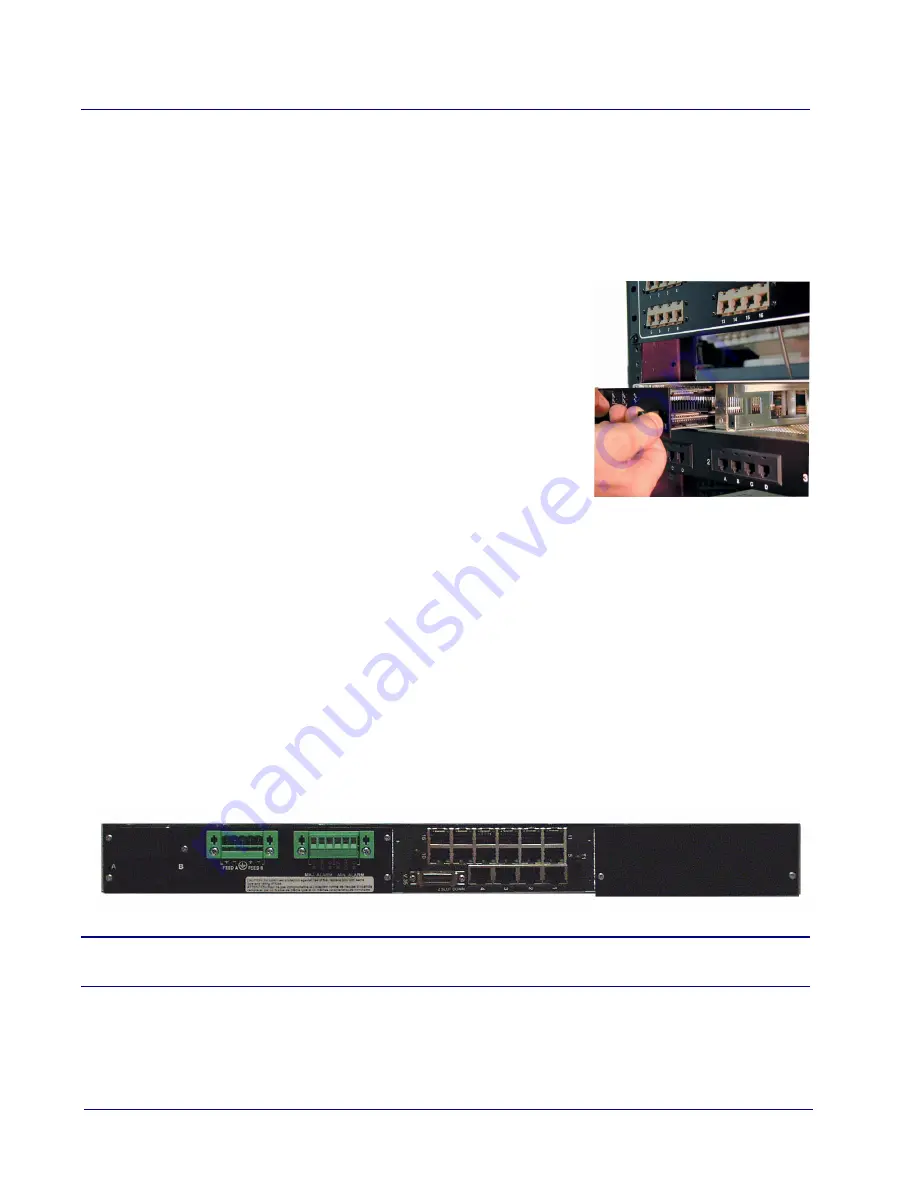
1. Gently slide the module into the slot and press firmly
to make full contact with the midplane connector of
the chassis.
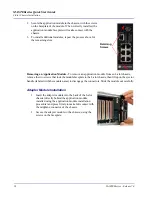
2. Be sure that the ID tag on the engine is to the
right
when inserting into the chassis. The text along the
edge (
2 SLOT DOWN
) should be upright.
3. Secure the application module to the chassis with the
screws on the faceplate of the application module.
When correctly installed, the application module
faceplate will make contact with the chassis.
4. To install a second application module, repeat the
process for slot 2.
Removing an Application Module
To remove an application module from a 2-slot chassis, remove the two screws that lock the
module faceplate to the chassis, then push the ejector handle to the right to disengage the
connectors. Slide the module out carefully.
Adapter Installation
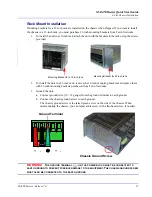
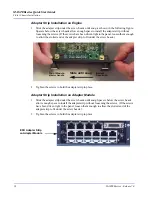
1. Insert the adapter module into the back of the 2-slot chassis (directly behind the application
module installed in steps above) and press firmly to make full contact with the midplane
connector of the chassis.
Note:
The text along the edge “
2 SLOT DOWN
” should be upright.
2. Secure the adapter module to the chassis, by tightening the screws on the faceplate.
NOTE:
Empty slots should always be covered with faceplate covers (front and back) to be in
compliance with product emission standards.

