


9
The units of measure can be changed to ounces (OZ), pints
(PT), quarts (QT), gallons (GAL), or liters (LITER) without
recalibrating the meter. If special units are desired, see note
below.
1. Hold buttons 2 and 4 for three seconds. Display will
read "7r1.02".
2. Press button 3 . Display will show the current units.
3. To change units, press the ON button repeatedly until the
desired unit is displayed.
4. Press button 2 . Display will read "7r1.02".
5. To return to normal operating mode press button 2 again.
The units selected will be displayed. Current or
accumulated total will be changed to reflect the new units.
Special Units
To use special units, you need to know how many ounces are
in your special unit.
Here is an example: You want to use "acres"
as your "special" unit. The fluid is to be applied at 18 ounces per
acre.
These are the additional steps to set the meter to "special"
units (ignore steps 4 & 5 above):
a. After selecting "special" in step #3 above, press button
2 .
b. Enter the number of ounces in a special unit by pressing
button 4 to increment the digit, and the ON button to
move the flashing digit to the right. If you make a mistake,
press button 2 to start back at the left most digit.
Per our
example, we would enter 018.0.
c. Press the ON button again. Display will read "7r1.02".
d. To get back to the normal operating mode, press button
2 .
1. Press 2 and 4 at the same time and hold for 3 seconds.
Display will read the version of the software loaded in the
meter (example: "7 r1.02).
2. Press ON to display accumulated total. If over 9999,
display will scroll across the screen
3. Hold buttons ON and 4 for 5 seconds to reset accumu-
lated total.
4. Press button 2 twice to get back to normal operating
mode.
You can check the calibration in your meter.
1. Set to CAL 4 (See "to change the claibration factor").
2. Hold button 4 for 3 seconds. Meter will display "FLSH".
3. Hold buttons ON & 3 together. A number will display that
indicates the pulses per unit used to calculate flow (ie:
pulses per gallon). When new, this number is between
120.0-127.0 pulses per gallon.
*If you find a number higher than 127, recalibrate with water
(see Appendix-B). If this number is lower than 120, the meter
chamber may need to be replaced.
4. Press 2 to get back to normal operating mode.
TO CHANGE UNITS OF MEASURE
RESET ACCUMULATED TOTAL
000.0
GAL
196.4
GAL
r 1. 0 2
7
APPENDIX-A
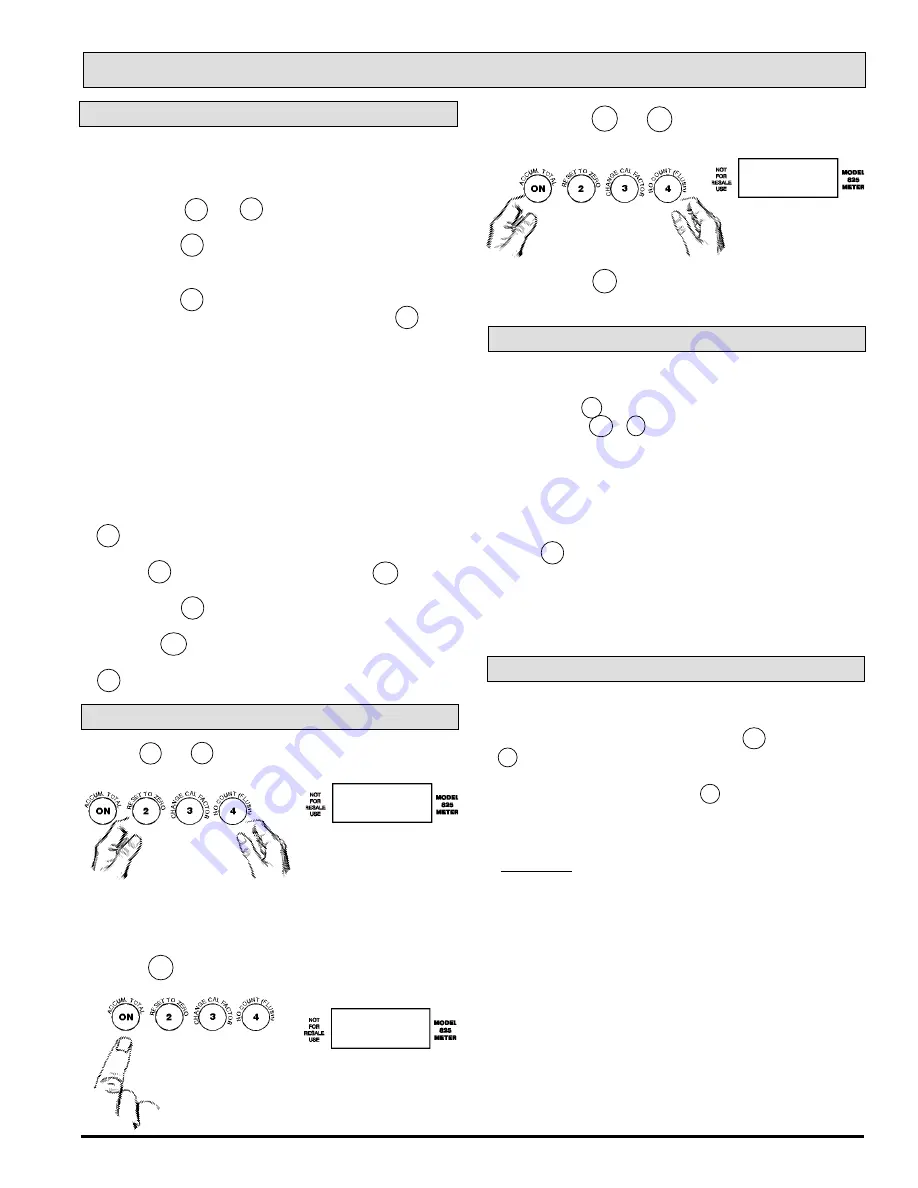
METER CHECK
The 825 Meter can be flushed without adding to the
totalizer. Turn meter on by pressing the
ON
button. Press
4 and hold for 3 seconds. Display will show FLSH. Flush
meter with suitable fluid (water is suitable for most herbi-
cides). When completed, press 2 to leave FLSH mode
and return to normal operation. Quantity of fluid flushed
will not be added to total.
CAUTION:
CAUTION:
CAUTION:
CAUTION:
CAUTION: Do not leave meter in FLSH mode. Batteries
will completely drain within 20 days if left in FLSH mode.
FLSH (FLUSH) MODE


