50
6.4.7 Setting Network Configurations in TViX HD
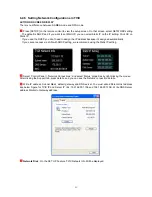
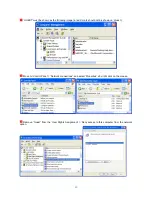
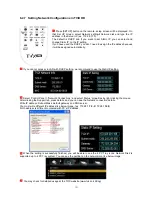
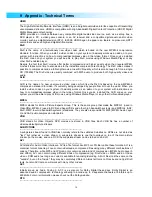
Press [SETUP] button on the remote. setup screen will be displayed. On
that Set UP screen, select Network setting
Æ
Network disk and type the IP
address in the Server IP. (ex: 172.28.1.70)
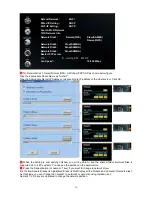
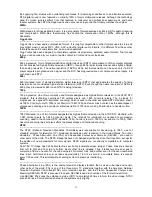
The default is DHCP and if you want to set Static IP, you can select and
change Static IP on the IP setting.
If you have used the DHCP you don’t need to assign the IP address because
it will be assigned automatically.
If you cannot access via LAN with DHCP setting, we recommend to use the Static IP setting.
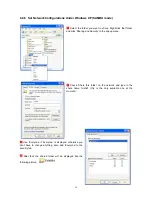
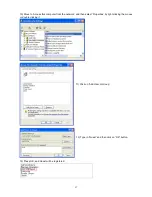
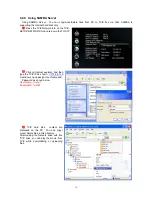
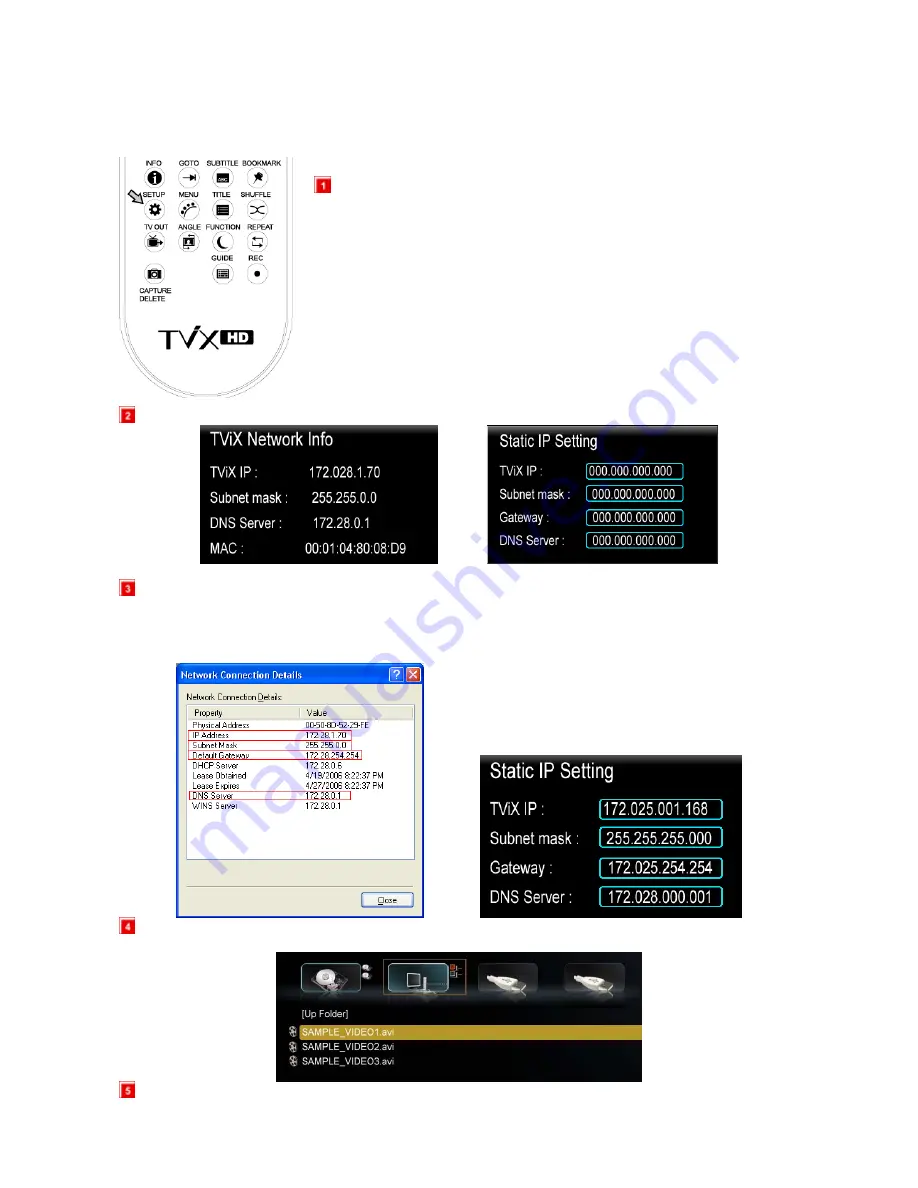
Select 'Control Panel > 'Network Connections', and select 'Status' properties by right clicking the mouse.
After clicking the Support tab, press details, and you can see the Network connection details.
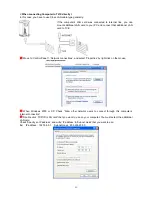
Write IP address, Subnet Mask, default gateway and DNS server.
You must write different IP address like below image. (ex: 172.28.1.
70
Æ
172.28.1.
168
)
Forth address is different compared with PC’s IP address.
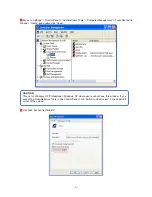
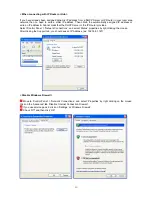
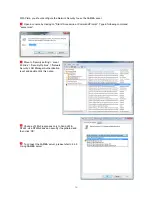
When the setting is successfully finished, you will be able to see the 4 PC Tray Icons. Network Disk is
supported up to 4 PC Tray system. You can see the partition on the network icon like below image.
You may check for detailed usage at the TViX website (www.tvix.co.kr/Eng)


