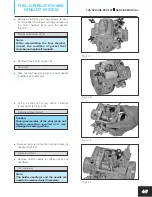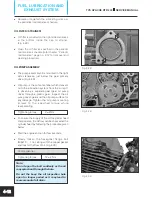
Fig. 4.24
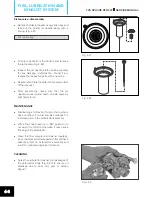
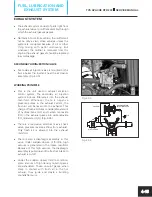
Fig. 4.25
l
After cleaning the carburettor pages properly
using the cleaner, blow the compressed air to
clean the passages throughly. (Fig. 4.24)
Caution:
Do not use wires to clean the jets.
R e m o v e a l l r u b b e r p a r t s f r o m t h e
carburettor assembly before cleaning it
with a cleaning solution. This will prevent
damage or deterioration of the rubber
parts.
D o n o t u s e c o m p r e s s e d a i r o n a n
assembled carburettor which may cause
damage to the float system.
INSPECTION
Needle valve assembly
l
Any foreign particles on float needle (needle
valve assembly) and its seating may cause
improper sealing resulting in over flow of
petrol. Similar kind of problem also occur in
case of float needle and its seating area are
worn-out.
l
Conversely if the float needle sticks, the petrol
does not flow into the float chamber.
l
If the float needle is worn-out as shown
(Fig. 4.25) replace it with a new one.
l
Inspect piston valve, needle jet, jet needle,
pilot jet, main jet, pilot screw and ‘O‘ rings for
any wear or abnormal damage. If any damage
is noticed, replace damaged parts with new
ones.
REASSEMBLY
l
Reassemble parts in the reverse order of
dismantling procedure while ensuring the
following.
l
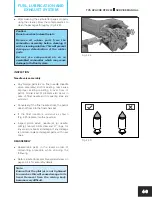
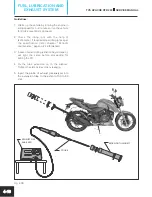
Refer carburettor assembly exploded view on
page
for assembly details.
no. 4-4
Note:
Ensure that the pilot jet is not tightened
too much as this will cause damage to its
head. Removal from the mixing body
becomes very difficult.
4-9
TVS APACHE RTR 200
SERVICE MANUAL
FUEL, LUBRICATION AND
EXHAUST SYSTEM


