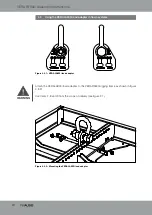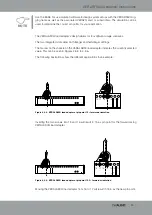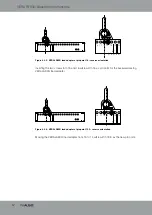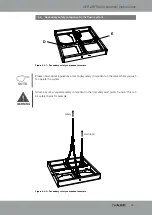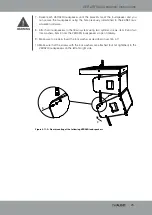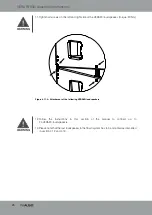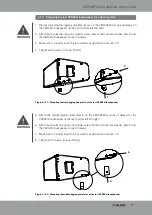
VERA RF600i Assembly Instructions
20
4.9 Setting up the first VERA20i loudspeaker in a flown system
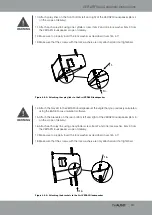
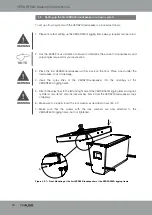
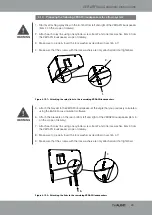
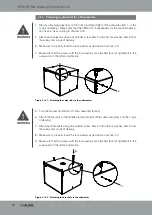
3. Place the first VERA20i loudspeaker with its back on the floor. Place a pad under the
loudspeaker to avoid damage.
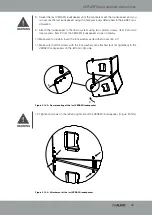
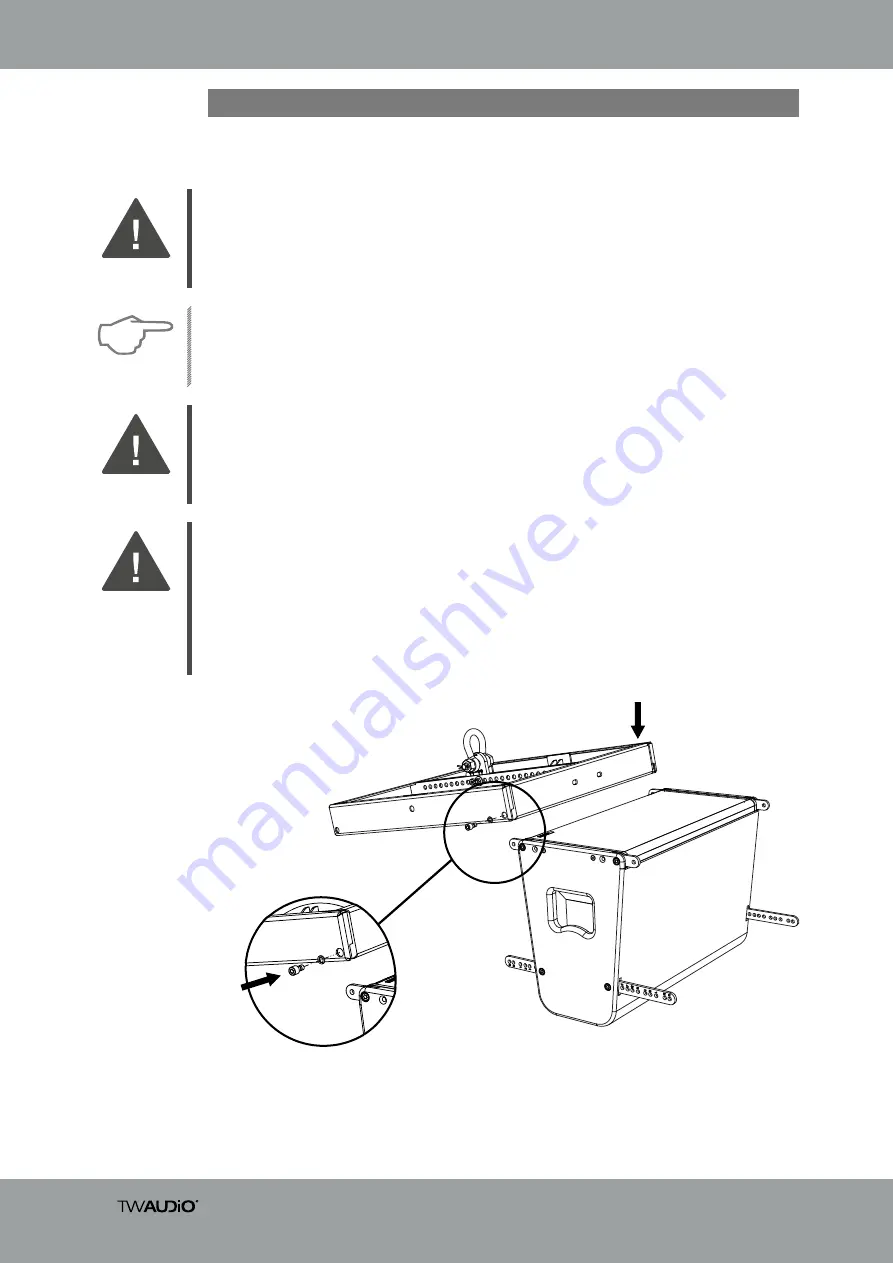
4. Insert the splay links of the VERA20i
loudspeaker into the openings at the
VERA RF600i rigging frame.
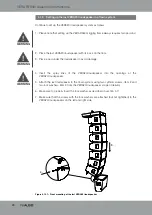
Figure 4.9.1 – Front Mounting of the first VERA20i loudspeaker at the VERA RF600i rigging frame
2. Use the EASE Focus simulation software to determine the amount of loudspeakers and
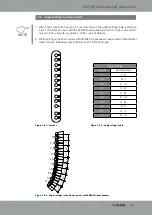
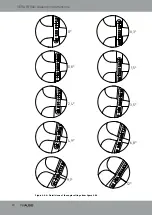
splay angles required for your application.
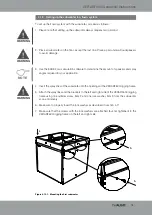
To set up a flown system with the VERA20i loudspeakers, proceed as follows:
1. Please note that setting up the VERA RF600i rigging frame always requires two persons!
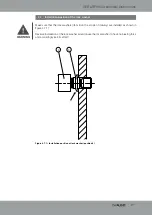
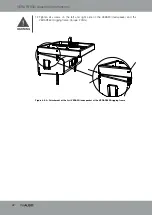
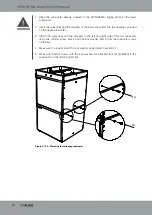
5. Attach the splay links to the left and right side of the VERA RF600i rigging frame using one
cylinder screw, item 2 and one lock washer, item 3 from the VERA20i loudspeaker scope
of delivery.
6. Make sure to properly insert the lock washer as described in section 4.7!
7. Make sure that the screws with the lock washers are only attached to the
VERA RF600i rigging frame, but not tightened.
4.
5.
WARNING
WARNING
WARNING
NOTE

