VERA RF600i Assembly Instructions
29
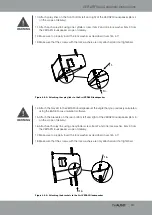
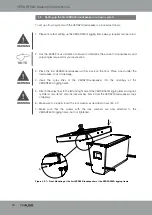
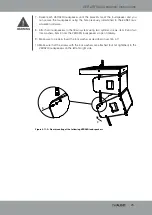
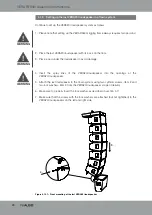
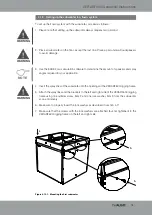
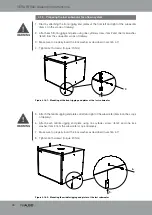
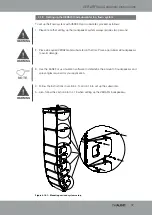
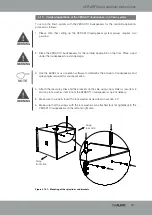
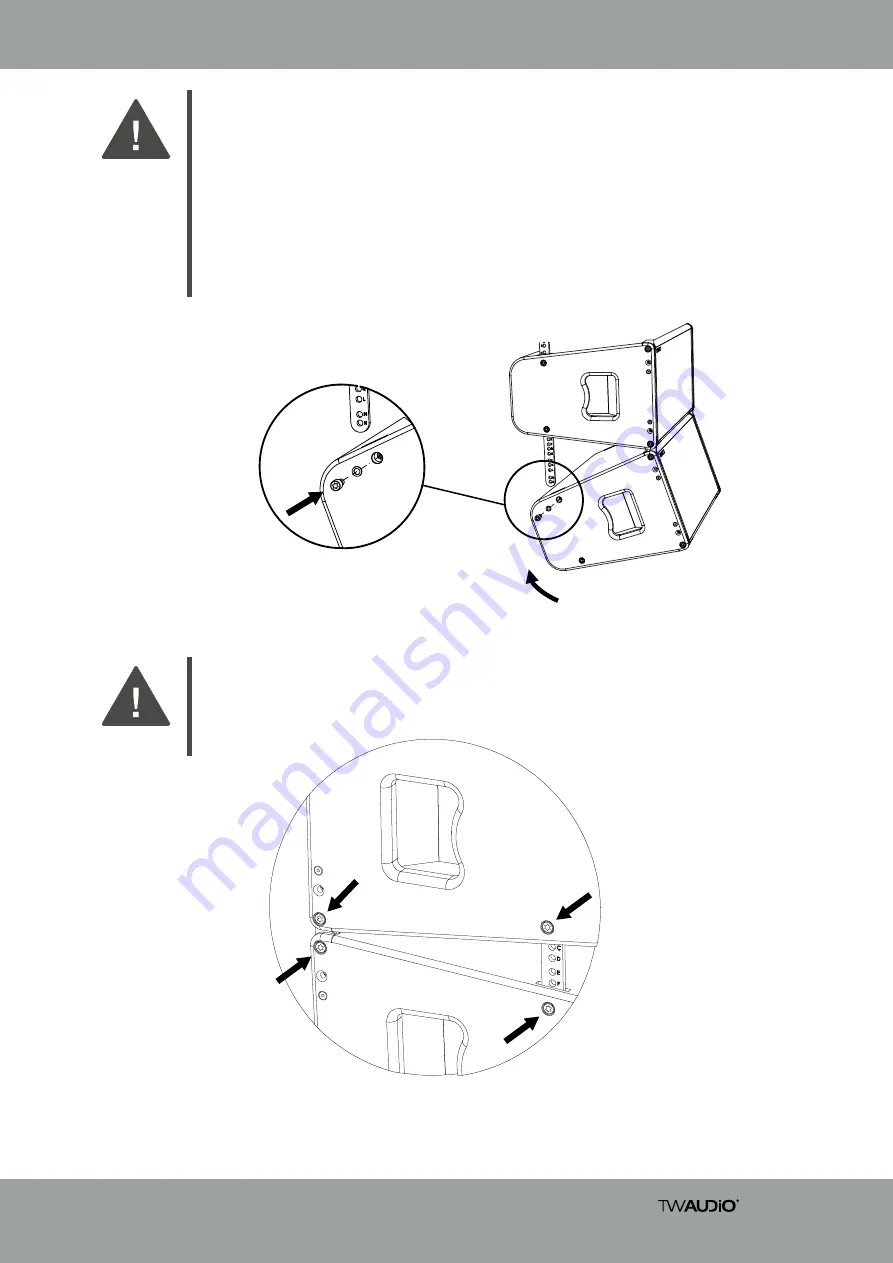
Figure 4.13.2 – Rear mounting of the last VERA20i loudspeaker
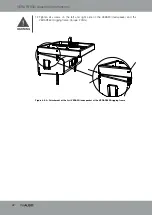
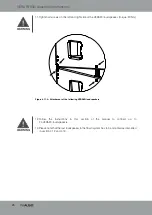
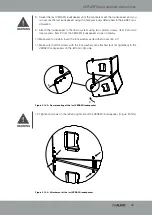
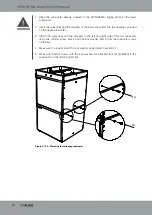
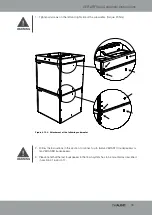
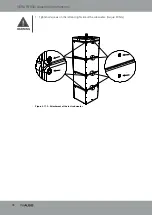
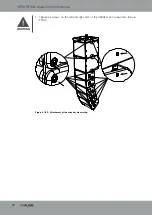
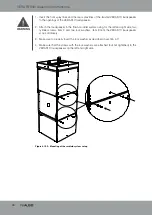
Figure 4.13.3 – Attachment of the last VERA20i loudspeaker
12. Tighten all screws on the left and right side of the VERA20i loudspeaker. (torque: 20 Nm)
8. Swivel the last VERA20i loudspeaker until the brackets meet the loudspeaker and you
can secure the last loudspeaker using the hole previously determined in the EASE Focus
simulation.
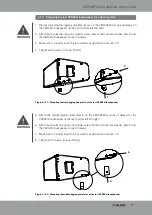
9. Attach the loudspeaker to the flown system using two cylinder screws, item 2 and two
lock washers, item 3 from the VERA20i loudspeaker scope of delivery.
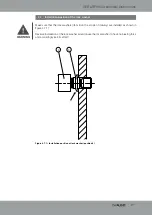
10. Make sure to properly insert the lock washer as described in section 4.7!
11. Make sure that the screws with the lock washers are attached (but not tightened) to the
VERA20i loudspeakers on the left and right side.
8.
7.
WARNING
WARNING

