4
LP GAS HOOK-UP
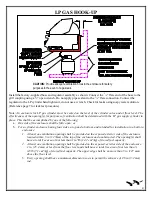
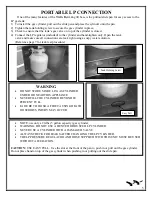
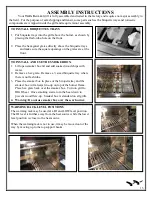
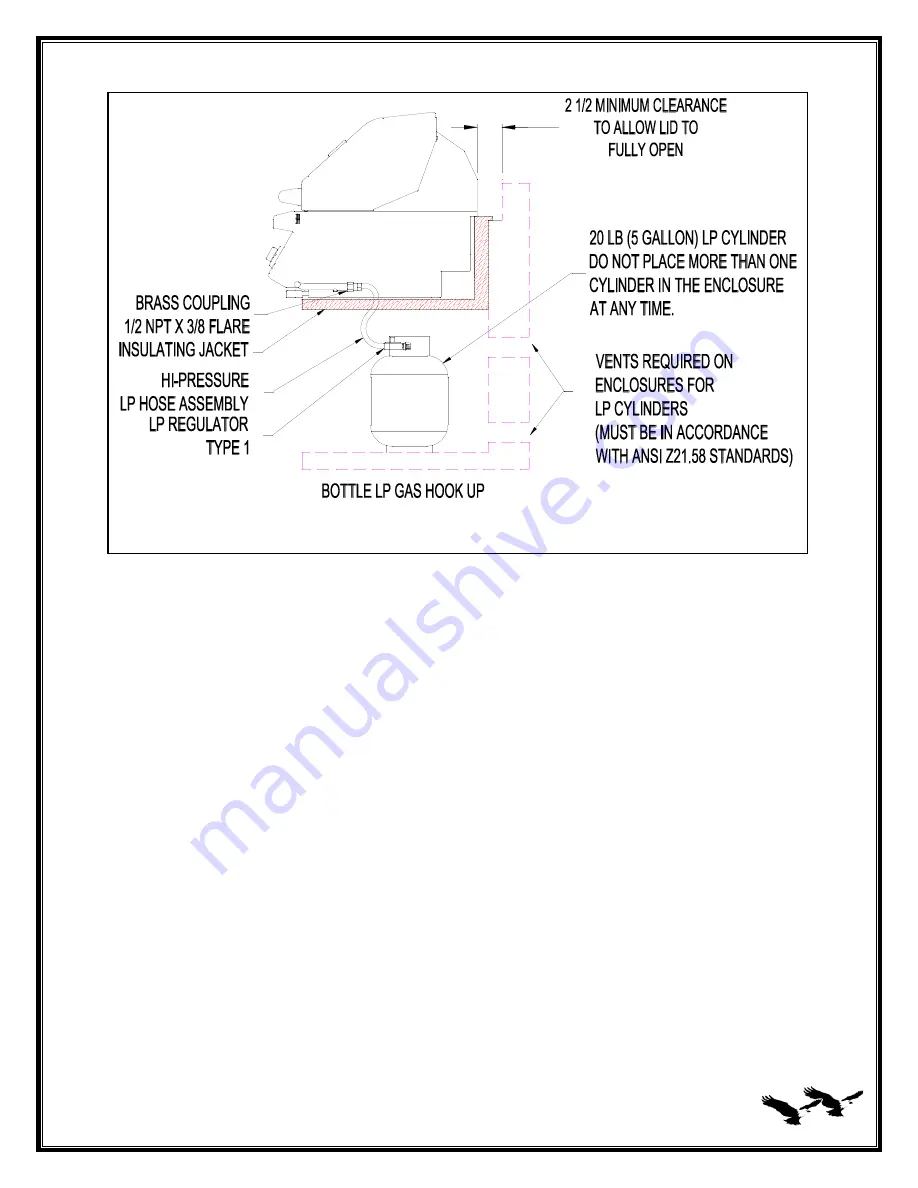
Install the factory-supplied hose and regulator assembly as shown. Connect the
3
/
8
” flare end of the hose to the
grill coupling using a ¾” open wrench. Do not apply pipe sealant to the
3
/
8
” flare connection. Connect the
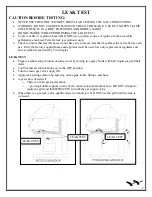
regulator to the LP cylinder hand tighten it, do not use a wrench. Check for leaks using soapy water solution.
(Reference page 7 for leak test procedure).
Note:
An enclosure for LP gas cylinder must be vented on the level of the cylinder valve and at floor level. The
effectiveness of the opening(s) for purposes of ventilation shall be determined with the LP gas supply cylinder in
place. This shall be accomplished by one of the following:
a.
One side of the enclosure shall be fully open; or
b.
For a cylinder enclosure having four sides, a top and a bottom, and intended for installation in a built-in
enclosure:
1.
At least one ventilation opening shall be provided on the exposed exterior side of the enclosure
located within 5 in (1.27mm) of the top of the enclosure and unobstructed. The opening(s) shall
have a total free area of not less than 1 in²/lb (14.2 cm²/kg) of stored fuel capacity.
2.
At least one ventilation opening shall be provided on the exposed, exterior side of the enclosure
1 in. (25.4 mm) or less from the floor level and shall have a total free area of not less than ½
in²/lb (7.1 cm²/kg) of stored fuel capacity. The upper edge shall be no more than 5 in (127 mm)
above the floor level.
3.
Every opening shall have a minimum dimension so as to permit the entrance of 1/8 in (3.2 mm)
rod.
CAUTION: Provide adequate ventilation holes in the enclosure for safety
purposes in the event of a gas leak.
Summary of Contents for TEBQ30G-C
Page 28: ...23 EXPLODED VIEW ...
Page 31: ...26 WIRING DIAGRAM ...


