background image

T O O L S   R E Q U I R E D


·  Philips screwdriver

  ·  3/8˝ Wrench or Socket Driver
  ·  7/16˝ Wrench or Socket Driver

  ·  T-25 Torx Driver

Visit our website at  
www.twistedaudioradios.com

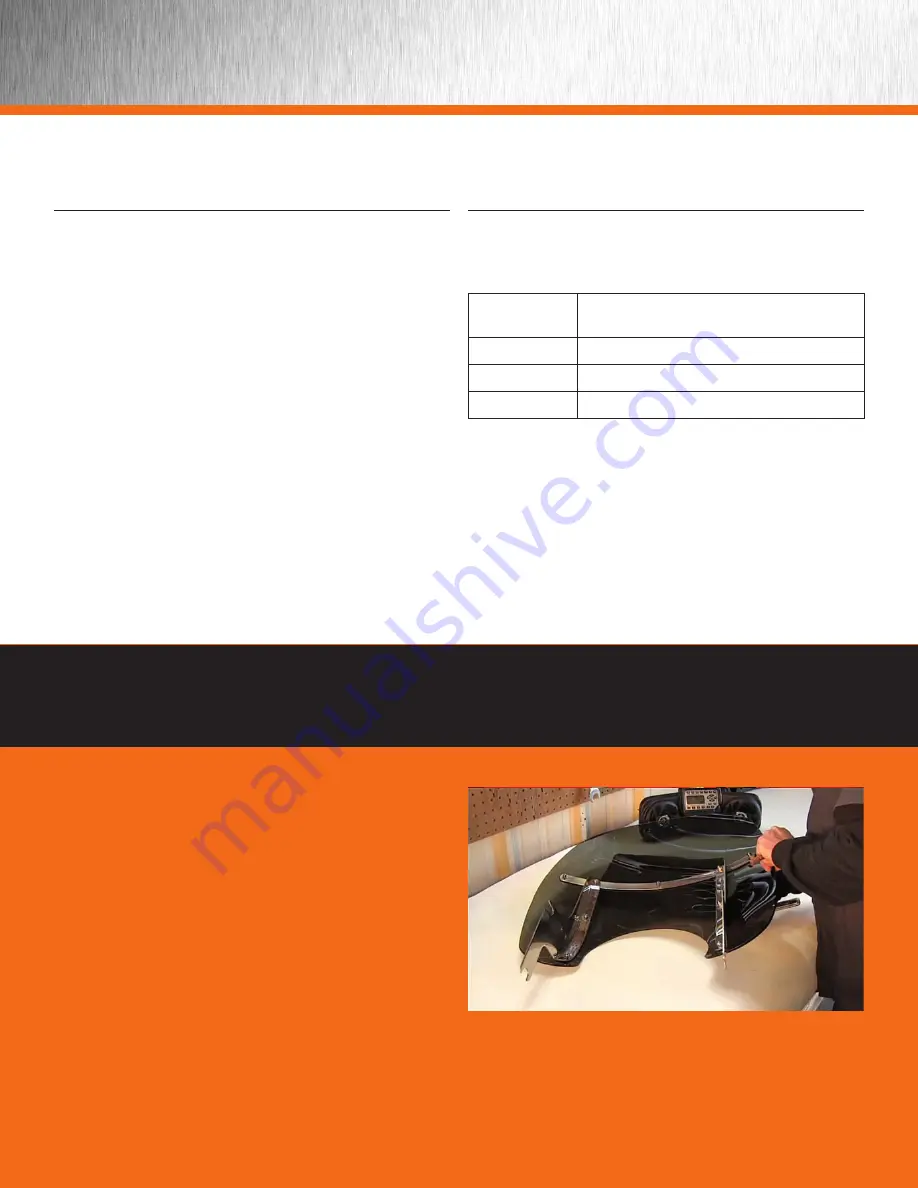
Remove the windshield from your motorcycle 

and work on a bench or other flat surface.

NOTE: You may want to use some type of soft 

surface to avoid scratches to the windshield.

3

FIRST STEP

M O D E L   C O M P A T I B I L I T Y


1994 and later Harley-Davidson non-fairing 
touring and Softail Models with windshields

NOTE:  For Road King Custom (FLHRS) models, 
the chrome wind deflector must be removed and 
the handlebar clamp cover and nacelle trim must be 
replaced with HD Road King Standard components.

Radio 

Model # 

Applications

FLHR 

Road King Standard

FLHRC 

Road King Classic

FLSTF 

Fat Boy

Summary of Contents for TAWAS100HD

Page 1: ...twisted Audio INSTALLATION MANUAL MODEL TAWAS100HD 100 WATT Windshield Mount Audio System For most Harley Davidson Non Fairing Motorcycles ...

Page 2: ...Clock Time When Detached Power Disconnected Windshield Lock Optional WARNINGS INSTALLATION The motorcycle s battery must be disconnected before installation and not reconnected until the installation is complete OPERATION Riding a motorcycle requires your full attention at all times Do not attempt to operate or adjust the audio system while riding WATER MOISTURE EXPOSURE The components and overall...

Page 3: ... to use some type of soft surface to avoid scratches to the windshield 3 FIRST STEP MODEL COMPATIBILITY 1994 and later Harley Davidson non fairing touring and Softail Models with windshields NOTE For Road King Custom FLHRS models the chrome wind deflector must be removed and the handlebar clamp cover and nacelle trim must be replaced with HD Road King Standard components Radio Model Applications F...

Page 4: ...shorter than the center screw The three screws indicated here across the top horizontal frame a And the two here on the vertical frames b Keep the two top longer bolts and nuts to use when installing the radio d Hold the radio housing from the front Insert the longer screw just removed from the radio through the center hole in the windshield bracket ATTACHING THE AUDIO SYSTEM TO THE WINDSHIELD Ali...

Page 5: ...ing fasteners h so you can check proper alignment as you go On the lower bracket screws you will need to use the wrench while you tighten with the torx drive i Your audio system is now installed on the windshield NOTE THIS LOCKING SYSTEM DOES NOT GUARANTEE TO PREVENT THE THEFT OF THE WINDSHIELD OR AUDIO SYSTEM First remove the windshield s stock locking spring hardware Insert the bolt through the ...

Page 6: ...er bike that does not have this accessory plug you should obtain an additional fused battery direct harness from Twisted Audio for your installation is fully inserted under the gasket from one end of the console to the other m Replace and tighten the hardware that attaches the console Now plug the wiring harness into the accessory plug under the seat n and secure the harness to the bike s wiring w...

Page 7: ...le in the lock hook aligns with the hole in the windshield frame w Secure the harness in front of the tank using a tie wrap s Be sure to switch on the Harley Davidson accessory switch located in front of the gas tank otherwise no power will get to your audio system t Insert the lock screw x and tighten with the Torx driver Repeat on the other side Now the windshield cannot be removed without remov...

Page 8: ...RY IMPORTANT NOTES The audio system is weather resistant However don t expose the system to high pressure hose nozzel water spray Detach windshield audio system when washing the motorcycle Evidence of excessive water exposure will void the warranty ALWAYS PAY FULL ATTENTION WHEN RIDING YOUR MOTORCYCLE DO NOT OPERATE OR ADJUST YOUR SYSTEM WHEN RIDING ...

Reviews: