83
http://www.TYAN.com
5.
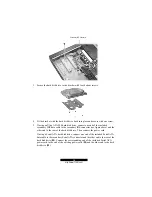
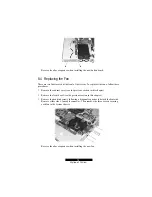
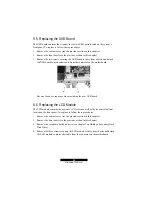
Remove the heatsink screws following a diagonal sequence to detach the heatsink
and remove the CPU from its socket.
6.
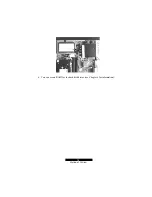
Detach the DIMM from the socket on the motherboard.
7.
Detach the riser card from the PCI slot on the motherboard.
8.
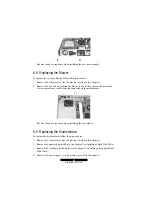
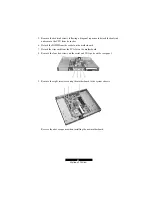
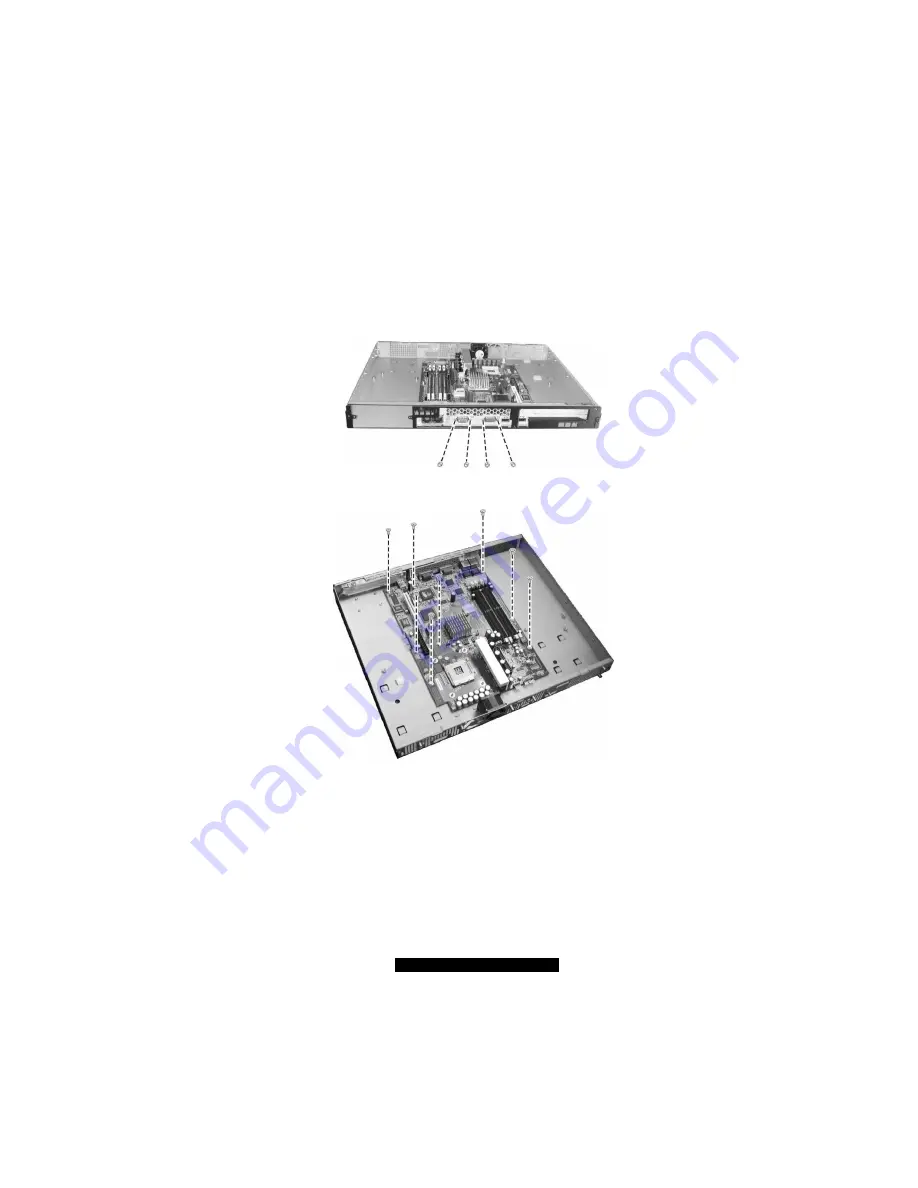
Remove the four hex screws on the serial and VGA ports on the rear panel.
9.
Remove the eight screws securing the motherboard to the system chassis.
Reverse the above sequence when installing the new motherboard.
Summary of Contents for B5103G12S2
Page 6: ......
Page 12: ......
Page 40: ......
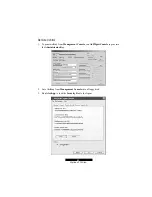
Page 60: ...60 http www TYAN com 4 Click on Create to create the new RAID volume 5 Click on OK to finish ...
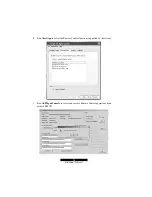
Page 62: ...62 http www TYAN com 3 Click on Yes Y to continue 4 Click on Yes Y to continue ...
Page 76: ......
Page 84: ......

