


http://www.tyan.com
68
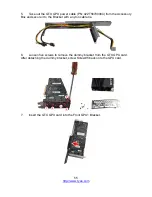
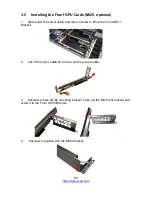
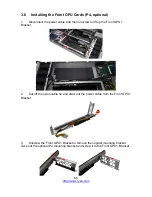
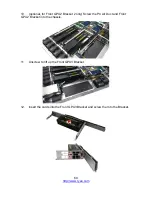
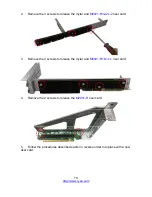
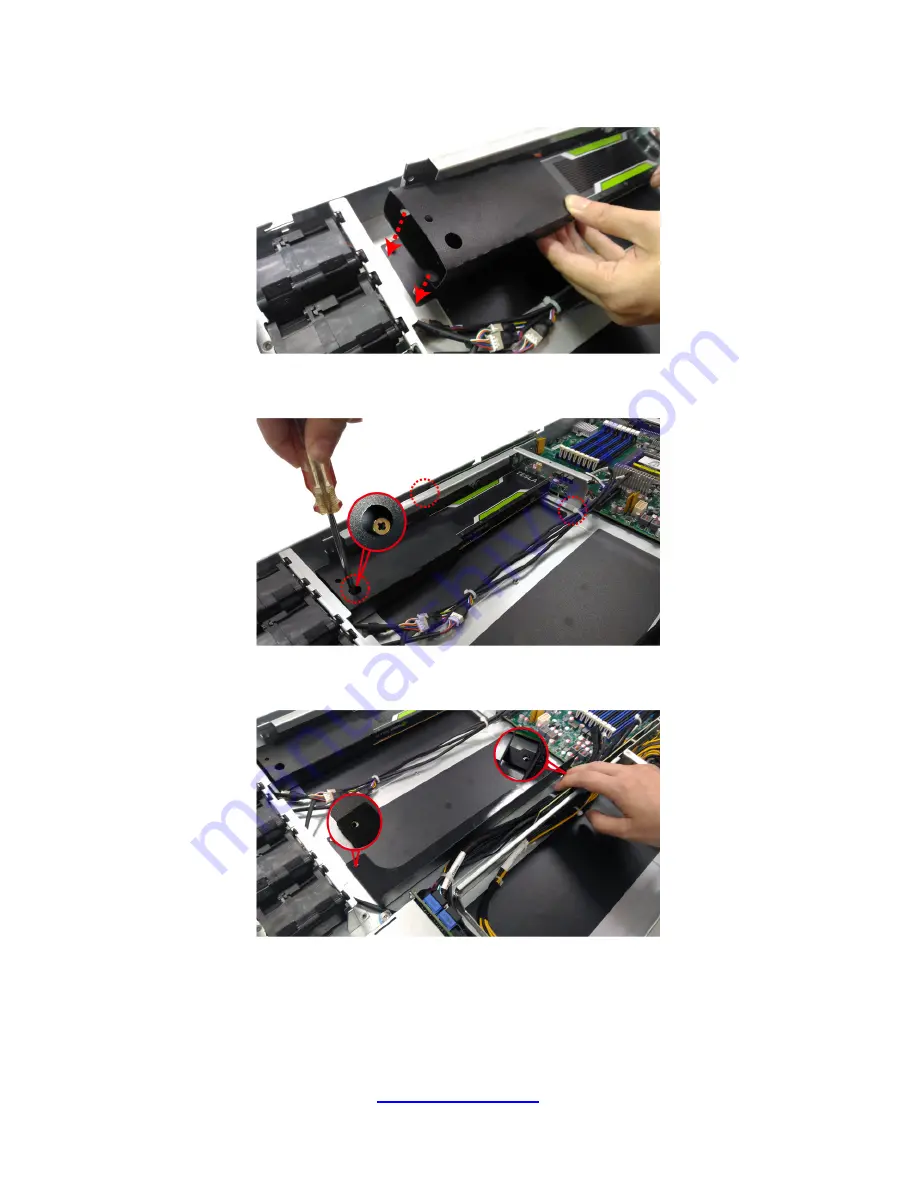
7.
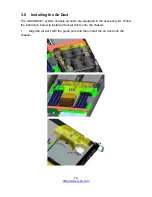
(optional, for Front GPU1&2 Bracket only) Align the GPU Air Duct with the
guide pins and install the GPU Air Duct to Front GPU1 as shown.
8.
(optional, for Front GPU1&2 Bracket only) Screw the GPU Air Duct and Front
GPU1 Bracket to the chassis.
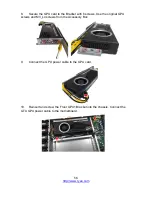
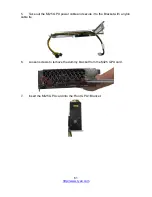
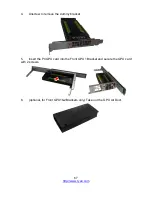
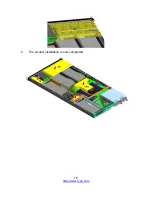
9.
(optional, for Front GPU2 Bracket only) Insert the P4 Air Duct Wall into the
chassis. Align the P4 Air Duct Wall with the guide pins as shown below.
Summary of Contents for GA88-B8021
Page 1: ...1 http www tyan com GA88 B8021 Service Engineer s Manual ...
Page 12: ...12 http www tyan com NOTE ...
Page 16: ...http www tyan com 16 NOTE ...
Page 30: ...http www tyan com 30 NOTE ...
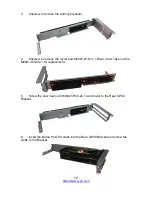
Page 44: ...http www tyan com 44 3 Pull the inner sliding rail forward to secure it to the chassis ...
Page 46: ...http www tyan com 46 NOTE ...
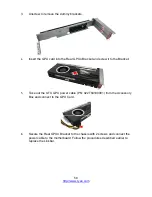
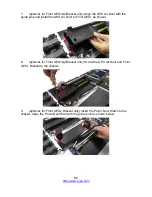
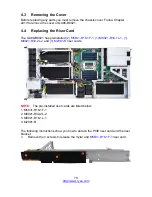
Page 48: ...http www tyan com 48 2 Unplug the power cable and lift up the Front GPU1 Bracket ...
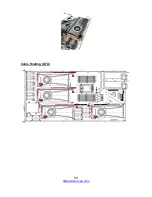
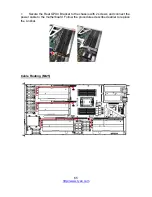
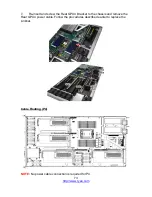
Page 59: ...http www tyan com 59 Cable Routing GTX ...
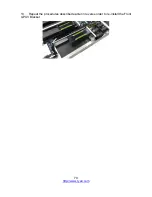
Page 75: ...http www tyan com 75 2 The air duct installation is now completed ...
Page 76: ...http www tyan com 76 NOTE ...
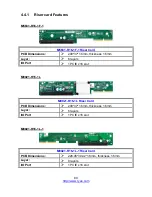
Page 97: ...http www tyan com 97 5 2 Block Diagram S8021 ...
Page 98: ...http www tyan com 98 5 3 Motherboard Mechanical Drawing ...
Page 112: ...http www tyan com 112 NOTE ...
Page 119: ...http www tyan com 119 6 3 1 1 Node0 Information Read only ...
Page 121: ...http www tyan com 121 Serial IRQ Mode Configure Serial IRQ Mode Quiet Continuous ...
Page 128: ...http www tyan com 128 6 3 7 AST2500 Super IO Configuration Super IO Chip Read only ...
Page 143: ...http www tyan com 143 6 3 13 SATA Configuration Read only ...
Page 149: ...http www tyan com 149 6 4 1 2 Socket 0 Information Read only ...
Page 186: ...http www tyan com 186 BIOS Temp Sensor Name Explanation ...
Page 187: ...http www tyan com 187 ...
Page 190: ...http www tyan com 190 NOTE ...


