409-10016
ELT Machine 1338600-[
Rev H
18 of 34
Tyco Electronics Corporation
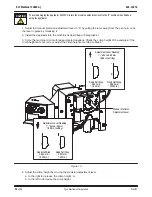
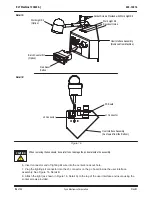
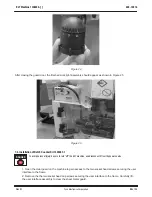
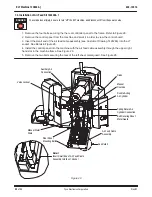
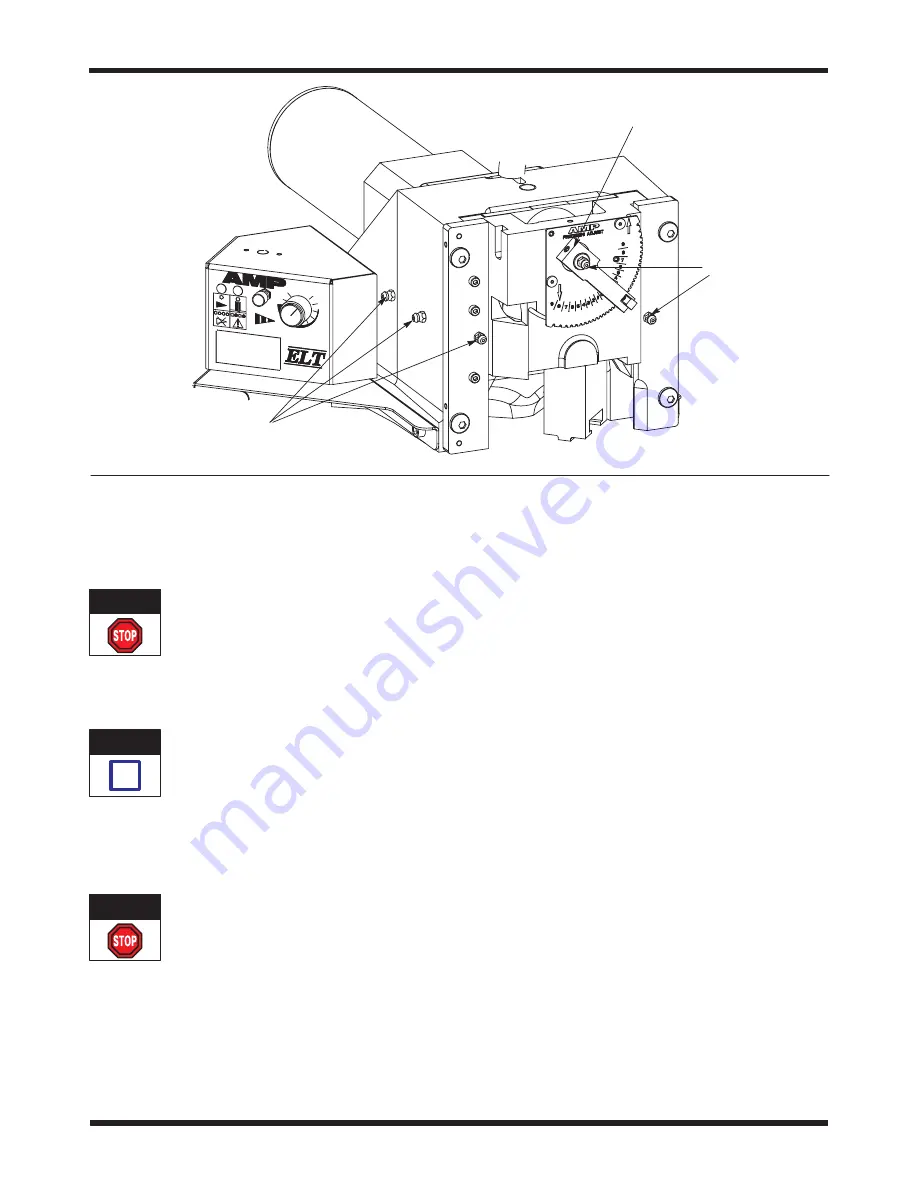
Figure 12
Lubrication Points
Lubrication Points
Shown with Optional Precision Crimp
Height Adjustment Mechanism
6. ADJUSTMENTS
The following adjustments are necessary to maintain the machine in operating condition, and to set up the
machine after replacing parts.
To avoid personal injury, ALWAYS disconnect electrical and air supplies before performing adjustments.
6.1. Measuring the Shut Height
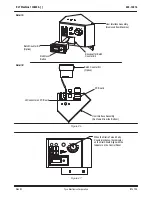
The shut height is the distance between the bottom surface of the ram post adaptor and the top surface of the
machine base plate as shown in Figure 13.
Shut Height Gage 679655-2 is recommended for measuring shut height (refer to 408-8535 for instructions on use of
the gage).
1. If installed, adjust the manual precision adjustment lever to the “0” setting.
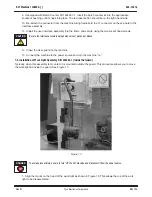
2. Remove the access cover (Figure 7) on the end of the motor.
3. Insert a 6–mm hex wrench into the end of the motor until it completely engages the hex key in the
end of the motor. Use the hex wrench to manually rotate the motor.
Be sure to remove the hex wrench before operating the machine.
4. Follow the procedure for measuring the shut height as described in 408–8535.
5. Install the access cover onto the end of the motor.
6.2. Shut-Height Adjustment
The shut height is pre–set at the factory and should not require further adjustment unless it is necessary to
replace parts. Before you make any changes to the machine, contact your local Field Service Engineer, or call
the Tooling Assistance Center at 1–800–722–1111.
DANGER
NOTE
i
DANGER


