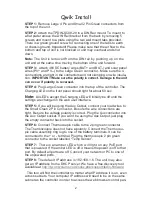
3
el of the controller.
Note:
System and Control pages are broken into small sections. If
you make changes to the small section you need to save each section
individually.
STEP 9:
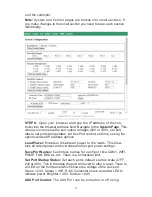
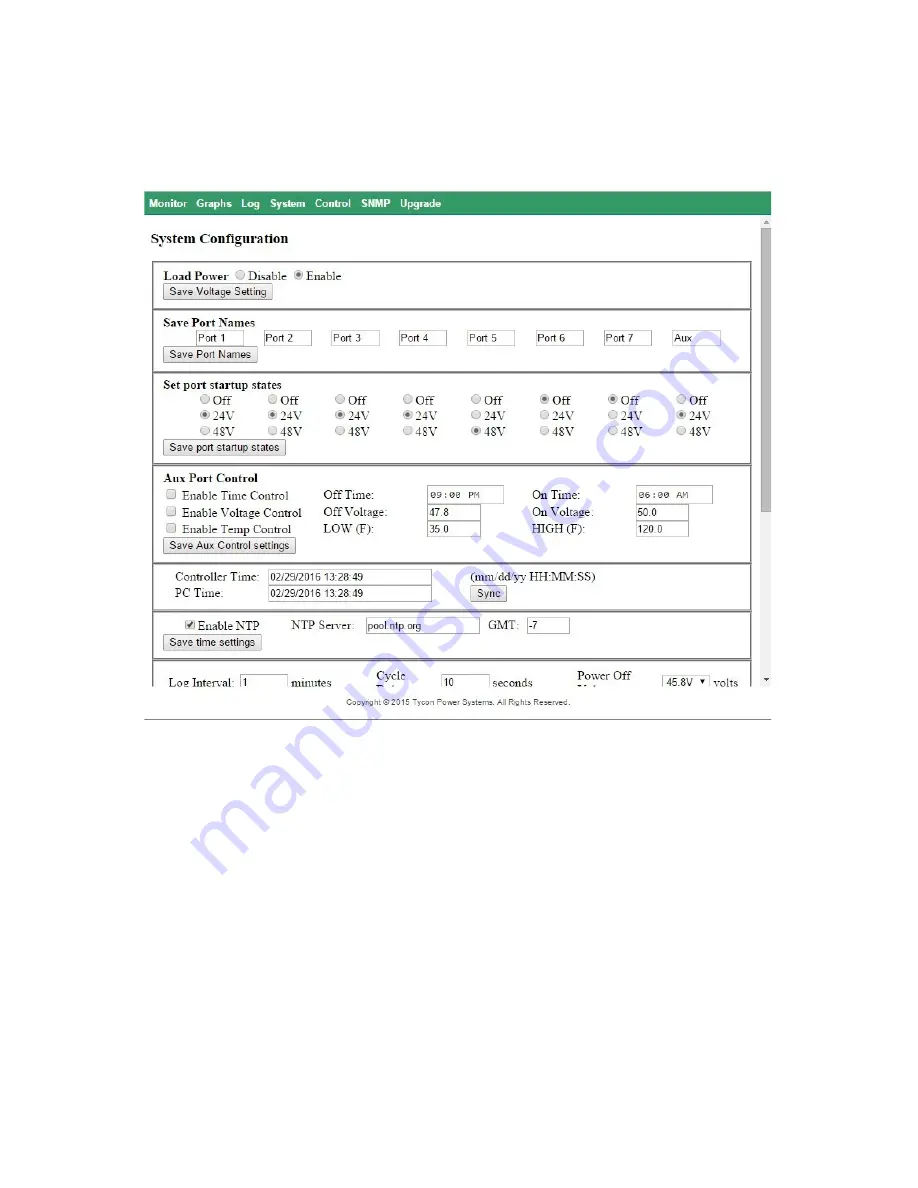
Open your browser and type the IP address of the con-
troller into the browser address field. Navigate to the
System Page
. This
where you can setup the port output voltages (24V or 48V), set port
labels, set port startup states, set Aux Port control, set time, set log file
options and set IP address options.
Load Power:
Enable or disable all power to the loads. This disa-
bles all output power and overrides all other port power settings.
Save Port Names:
Customize names for each port like CAM1, WIFI,
PUMP, FAN, BHAUL, etc. There is a 6 character limit.
Set Port Startup States:
Set each ports default startup state (OFF,
24Vor 48V). This is the state the port will revert to after a reset. There is
an LED on the front panel which shows the voltage of the Aux port.
Green = 24V, Amber = 48V. RJ45 Connectors have an amber LED to
indicate power. Brighter = 48V, Dimmer = 24V.
AUX Port Control:
The AUX Port can be turned on or off using


