TLM, TLF, TLD
Page 30
Lift-Glass Gas Piston Replacement
WARNING
The TL series cases rely upon gas pistons
to assist lifting the glass and holding it in
the raised position. The glass is heavy and
difficult for one person to lift alone while
replacing a gas piston. Use an assistant
to prevent possible glass breakage and/or
personal injury.
Since gas pistons are very powerful when
in compressed state, follow these cautions
during replacement:
• Do not attempt to perform any work on
case while piston is in compressed state.
• Raise glass to full UP position before
beginning any work involving gas
pistons.
• Do not attempt to alter a gas piston in
any way.
• Do not expose a gas piston to excessive
heat.
• Dispose of gas piston as soon as
possible after removal.
Each lift glass panel uses four gas pistons and
two hinges to support it.
Example:
8’case has
2 lift glass panels with 4 hinges and 8 gas
pistons.
1. Have an assitant lift and hold the glass in
the full UP position.
Note position and
relationship of all glass lift components.
April, 2007
NOTE
Note positioning and installation of top
edge channel before removing.
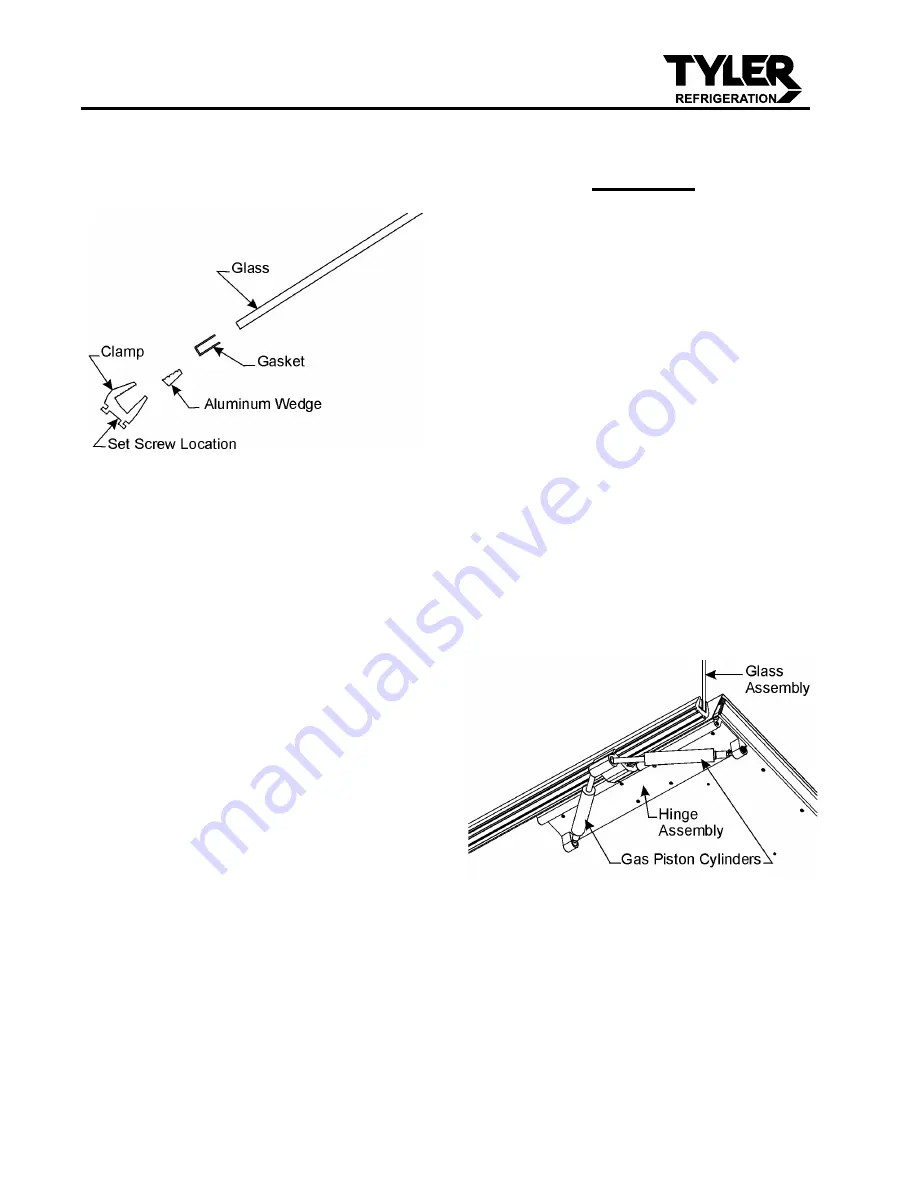
3. Loosen set screws in back of top edge
channel.
4. Using a flathead screwdriver, push
down aluminum wedge inside top edge
channel, until it rests in bottom of the
channel. After wedge has been released
from glass, remove the old glass from
the top edge channel.
5. Position the top edge channel on the new
glass panel in same position as removed.
NOTE
Glass must be fully inserted into top edge
channel before tightening.
6. After glass is positioned in the top edge
channel, tighten each set screw until
glass is held into place by the aluminum
wedge.
Do not overtighten.
6. With aid of assistants, lift and tentatively
position new glass assembly in the hinge
slots. Tighten the hinge set screws.
Do
not overtighten.
7. Slowly lower glass to check position. If
adjustment is necessary, raise glass and
have assistants hold both ends. Loosen
the hinge set screws, adjust the glass
assembly position and retighten set
screws to secure top edge channel in
hinge slot.
Do not overtighten.
Summary of Contents for Allegro TLD
Page 5: ...Installation Service Manual TLM TLF TLD Page 5 April 2007 ...
Page 6: ...TLM TLF TLD Page 6 April 2007 ...
Page 14: ...Page 14 TLM TLF Domestic Export 50 Hz Case Circuits 4 6 8 and 12 Cases July 2005 ...
Page 15: ...Page 15 July 2005 ...
Page 16: ...Page 16 July 2005 ...
Page 17: ...Page 17 July 2005 ...
Page 18: ...Page 18 TLD Domestic Export 50 Hz Case Circuits 4 6 8 and 12 Cases July 2005 ...
Page 19: ...Page 19 July 2005 ...
Page 20: ...Page 20 July 2005 ...
Page 21: ...Page 21 July 2005 ...


