9
Memory
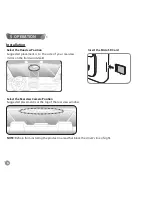
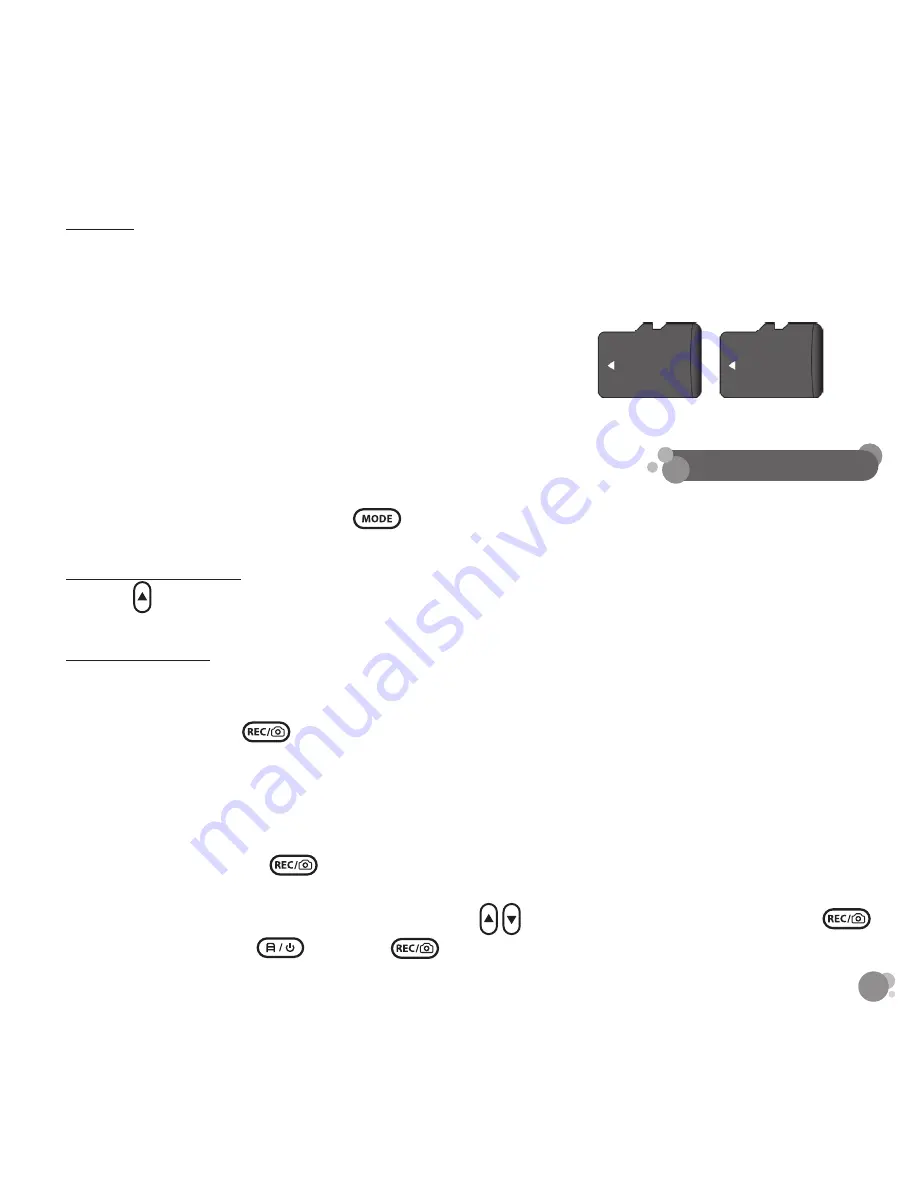
i. Insert the Micro SD card (Class 10) by gently pulling off the socket cover on the camera and place the
Micro SD card in the slot and pushing till it clicks. Then replace the socket cover and push till it is secure.
ii. To remove the Micro SD Card, push once till the card releases from the port.
iii. Camera will hold up to 32GB Micro SD Card
iv. Camera should be powered down before adding or removing
the Micro SD Card
v. Micro SD Card Recording Capacity Guide
*Capacity guide are based on 1280 front/ 720 rear resolution recording
16GB
32GB
1 hr 30 mins
3 hrs
The Duoview has several different functions available for your use.
To access the shooting modes, press the
buttons on the camera.
SWITCHING VIEWS
Press the key to cycle through the following views: duoview > front view > rear view.
LOOP RECORD
• This is the default recording setting. The camera will start recording video automatically once it is turned on.
• The camera will not record automatically when you switch back to record mode from other shooting modes.
You need to press the
key manually to start recording.
• A red dot “REC” on the screen flashing indicates recording.
• Files are looped or recorded over by the default of 3 minutes.
The Micro SD Card will hold 3 minute segments and record over them as space is needed.
• Files saved under folder ”MOVIE”.
• Stop Loop Video: Press the
button while videoing to pause recording.
Resolution Setting: FULL HD1080P (1920 x 1080) 30fps, HD720P (1280 x 720) 30fps, WV6A (848 x 480), VGA
(640 x 480) 30fps. The default setting is HD1080P. Using
to set the resolution and then press the
to save the setting. Press
to exit and
to record.
6. SETTINGS


