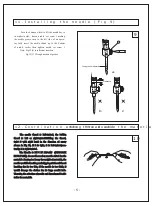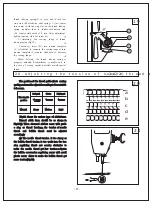
The position of the thread guide affects sewing
quality, so it must be adjusted according to the materials
to be sewn.
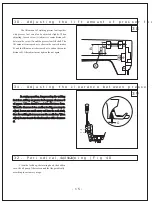
20.Adjusting the tension of needle thread & bobbin thread (Fig20
、
21 22)
、
21
-9-
20
19
A
B
C
D
5-8mm
a
b
c
d
e
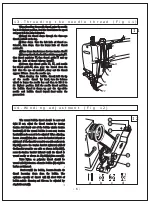
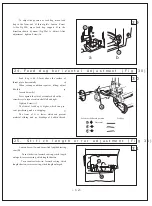
Fig.20 shows the various type of stitch forms.
Normal stitch form should be as shown in
Fig.20(a). When abnormal stitches occur with puck-
e ring or thread breakage, the tension of needle
thread and bobbin thread must be adjusted
accordingly
(a) The needle thread tension is too strong or
the bobbin thread tension is too weak. turn the ten-
sion regulating thumb nut counter clockwise to
make the needle thread get less tension or tignten
the bobbin case tension regulating screw with small
plastic screw driver to make the bobbin thread get
more tension(Fig.21).
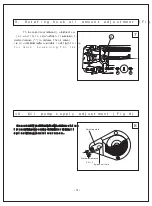
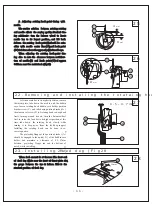
thread take-up spring(C) to zero, and to turn ten-
sion stud (B) clockwise until spring ( C ) just comes
into contact with the stop slot on the thread take-up
spring regulator, then to further turn tension stud
(B) counter-clockwise by 1/2 turn After adjustment,
tighten tension stud set screw (A).
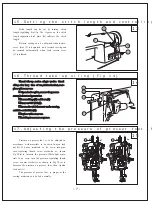
2) Adjusting the sewing range of thread
take-up spring (Fig 19)
Loosen set screw (B), turn tension complete
( C ) clockwise to inerease the sewing range or turn
tension complete (C) counter clockwise to decrease
the sewing range.
Before delivery, the thread take-up spring is
properly adjusted, Readjustment is needle only in
the case of sewing special materials or with special
thread.
.
.
.
.
Thread guide
position
Material
Heavy
Medium
Light
Leftward
Center
Rightward


