10
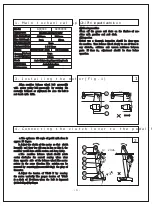
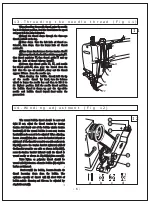
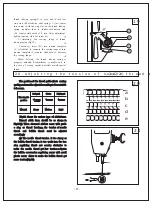
Turn the balance wheel to lift the needle bar to
its highest point, loosen needle set screw l, making
the needle groove turn to the left side of an opera-
tor, fully insert the needle shank up to the bottom
of needle socket, then tighten needle set screw l.
Note: Fig.12(b) insufficient insertion
Fig.12(C) Wrong direction of groove
.
.
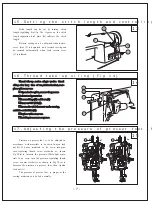
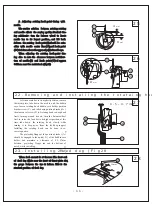
The needle thread is le t-twisted, the bobbin
thread is left or right-twisted.Holding the thread,
twist it with right hand in the direction of arrow
shown in Fig 10, if it is tight, it is left-twisted,con-
trarily, it is right-twisted.
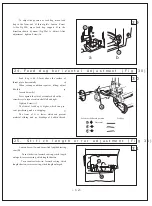
The Needle is DP
×
17 20#~24# (GC0303CX
DP
×
17 25#), the needle number must be fitted for the
materials. Sewing too heavy the weight of materials, the
needle would be breaking and skipping stitch and thread
breaking for its too thin, if the needle is too thick, it
would damage the clothes for its large needel hole.
Therefor, the selection of needle and thread must be fit-
ted to the materials.
f
.
.
12.Coordination among the needle
、
the thread and the material(Fig 10)
11.Installing the needle (Fig 9)
-5-
9
a
b
c
1
Long groove leftward
Clearance


