EASYGET Portable Fiber End-face Visual Inspector
8
2 Equipment installation
2.1 Interface to install
In order to be able to make EASYGET measurement of various products, we currently have
many different adapter interface, in the process of use, you can accord to different need to
replace the corresponding adapter interface.
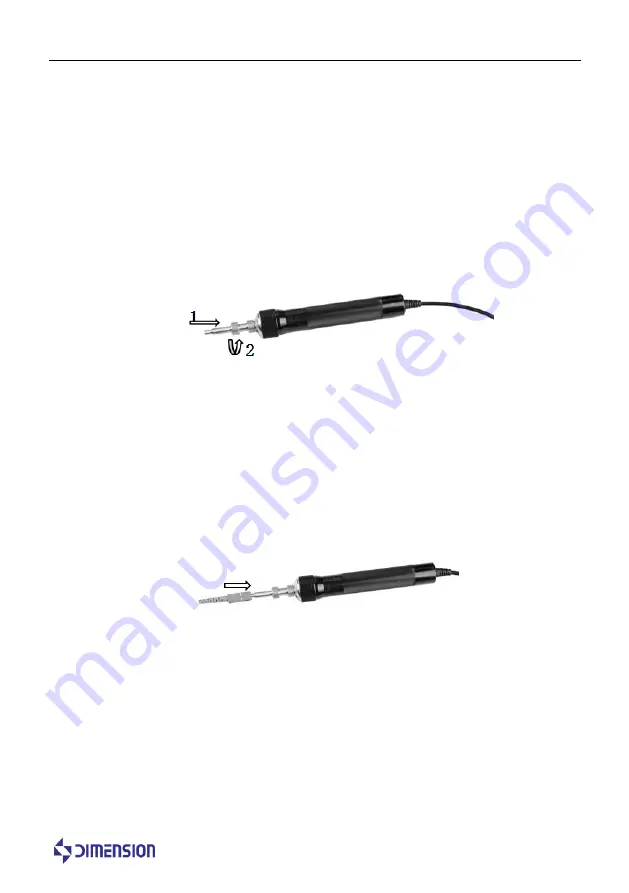
Adapter interface installation drawing
:
Installation steps
:
1. A groove of the adapter aimed at the connector
2. Rotate the nut fixed up adapter interface
2.2 Connected to the device
2.2.1 Connected to the connector
EASYGET can fast and convenient and connectors, as shown in figure:
NOTE
:
1. According to the different adapter interface, select the corresponding connector to use.
2.2.2 Handheld display connection
EASYGET use spring line USB2.0 interface connected to the handheld display
communication interface, as shown in figure:
Summary of Contents for EASYGET
Page 1: ......
Page 2: ...EASYGET 1 EASYGET EASYGET 1 2 3 1 2 TFT 3 4...
Page 3: ...EASYGET 2 1 1 2 3 4 5 6...
Page 4: ...EASYGET 3 1 2 3 4...
Page 6: ...EASYGET 5 3 3 2 12 3 3 3 PC 13 3 3 4 13 14 14...
Page 7: ...EASYGET 6 1 1 1 1 1 1 1 1 2...
Page 8: ...EASYGET 7 1 2 1 2 1 1 2 3 4 5 6 USB 7 8 1 2 2 1 2...
Page 10: ...EASYGET 9 2 2 1 EASYGET EASYGET 1 2 2 2 2 2 1 EASYGET 1 2 2 2 EASYGET USB2 0...
Page 11: ...EASYGET 10 2 2 3...
Page 13: ...EASYGET 12 3 3 3 3 1 1 MICROSCOPE MONITOR 2 ADAPTER 3 3 3 2 MICROSCOPE USB BNC USB BNC...
Page 14: ...EASYGET 13 3 3 3 PC PC 3 3 4 12V 8 MONITOR POWER TEST...
Page 16: ...EASYGET 15...
Page 17: ......
Page 26: ...EASYGET Portable Fiber End face Visual Inspector 9 2 2 3 Connected to the desktop display...


