www.U-LineService.com
12
02/2007
2275DWRWS/2275DWRWOL —
Drawer Model Wine Captain
®
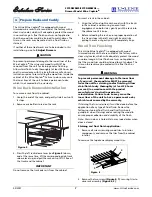
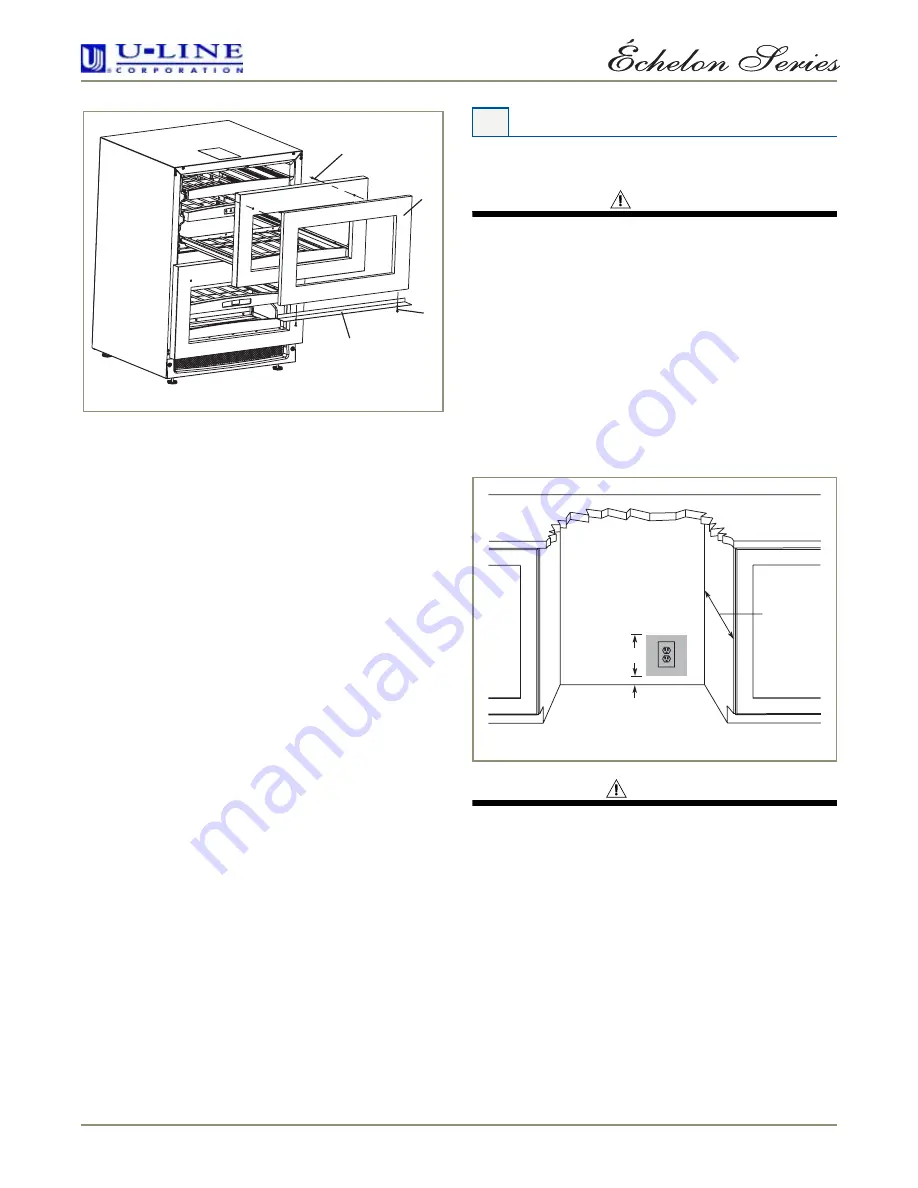
3. Place finished drawer overlay panel
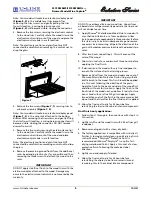
(Figure 17, 3)
over
front of drawer and using masking tape, tape to front
of drawer, making sure to center overlay and making
the top and bottom flush with drawer.
4. Place drawer overlay bracket
(Figure 17, 1)
on bottom
of drawer making sure to catch the back of the drawer
with the short lip on bracket.
Also align the wood overlay with the ends of the
bracket, and tape in place.
5. Mark center of holes from mounting bracket onto the
wood overlay.
6. Using an ice pick, or similar tool, mark the location of
the top mounting screws on the wood overlay.
7. Remove the lower mounting bracket and wood overlay
from the drawer.
8. Using a #44 (0.094) drill, pre-drill pilot holes in the
locations noted from steps 5 and 6, be sure to NOT drill
through the overlay.
Drill the pilot hole from step 5, 9/16" deep and the
ones from step 6, 1/4" deep.
9. Attach the bottom bracket to the wood using 2 of the
5/8" screws
(Figure 17, 2)
included with the unit.
10. Attach the wood overlay assembly to the drawer
starting at the bottom of the drawer, then re-centering
it on the drawer front.
11. Secure the top of the wood panel by placing 2 of the
1-1/2" wood screws
(Figure 17, 4)
through the top
holes in the drawer, and tighten securely.
12. Repeat steps for bottom drawer.
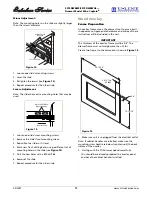
Electrical Specifications
CAUTION
Electrical installation must observe all state and local
codes. This unit requires connection to a grounded (three-
prong), polarized receptacle that has been placed by a
qualified electrician.
The unit requires a grounded and polarized 115 VAC,
60 Hz, 15A power supply (normal household current).
An individual, properly grounded branch circuit or circuit
breaker is recommended. GFCI (ground fault circuit
interrupter) is usually not required for fixed location
appliances and is not recommended for your unit because
a GFCI could be prone to nuisance tripping. However, be
sure to consult your local codes.
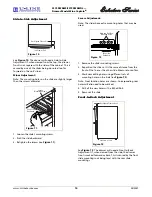
See
Figure 18
for recommended receptacle location.
WARNING
SHOCK HAZARD — Electrical Grounding Required.
• Never remove the round grounding prong from
the plug and never use a two-prong grounding
adapter.
• Never use an extension cord to connect power to
the unit.
Go on to
7 Level the Unit
.
4
3
2
1
ULIN_0154a_A
Figure 17
6 Prepare Power Supply
1-1/2"
7"
23-11/16"
Figure 18


