PAGE 5 OF 39
0318 IH-7095
OPERATION
CAUTION! Read and understand all of the
safety statements listed in the safety section of
these instructions prior to use.
POWERING THE METER
1. Turn the rotary function switch to any position to
power the meter. Check the batteries if the unit fails
to power on. Refer to the Maintenance section for
battery and fuse replacements.
2. Turn the function switch to the off position to power
off the meter.
3. The meter has an auto power off feature (APO),
where the meter switches off after 15 minutes of
inactivity. When APO is enabled, the APO icon
will show on the display when the meter is powered
on. To disable APO, refer to the next section.
DISABLE AUTO POWER OFF
The meter will auto power off after fifteen minutes of
inactivity. To defeat this feature, follow the steps below.
1. With the meter OFF, press and hold the
M
(mode)
button; while continuing to hold, turn the rotary
function switch to any position to power on the
meter.
2. The meter will beep five times.
3. Release the button.
4. APO will now be disabled until the next cycle of
power.
DISPLAY BACKLIGHT
With the meter powered on, press and hold the
BACKLIGHT
button
for two seconds to switch the
backlight on or off.
NOTE: Excessive use of backlight will shorten
battery life.
When the power supply voltage of the battery falls to
2.6V, the LCD backlight will be faint or unusable; the
measurement function can be used normally however.
DATA HOLD
To freeze the LCD meter reading, press the
H
(hold)
button. While data hold is active, the
H
display icon
appears on the LCD. Press the
H
button to return to
normal operation. The H icon will switch off.
VOLTAGE MEASUREMENTS
CAUTION! When connecting the test leads to
the circuit or device under test, connect the
black lead before the red. When removing the
test leads, remove the red before the black lead.
CAUTION! For safety, be sure to measure a
known voltage before using the instrument on
an unknown circuit.
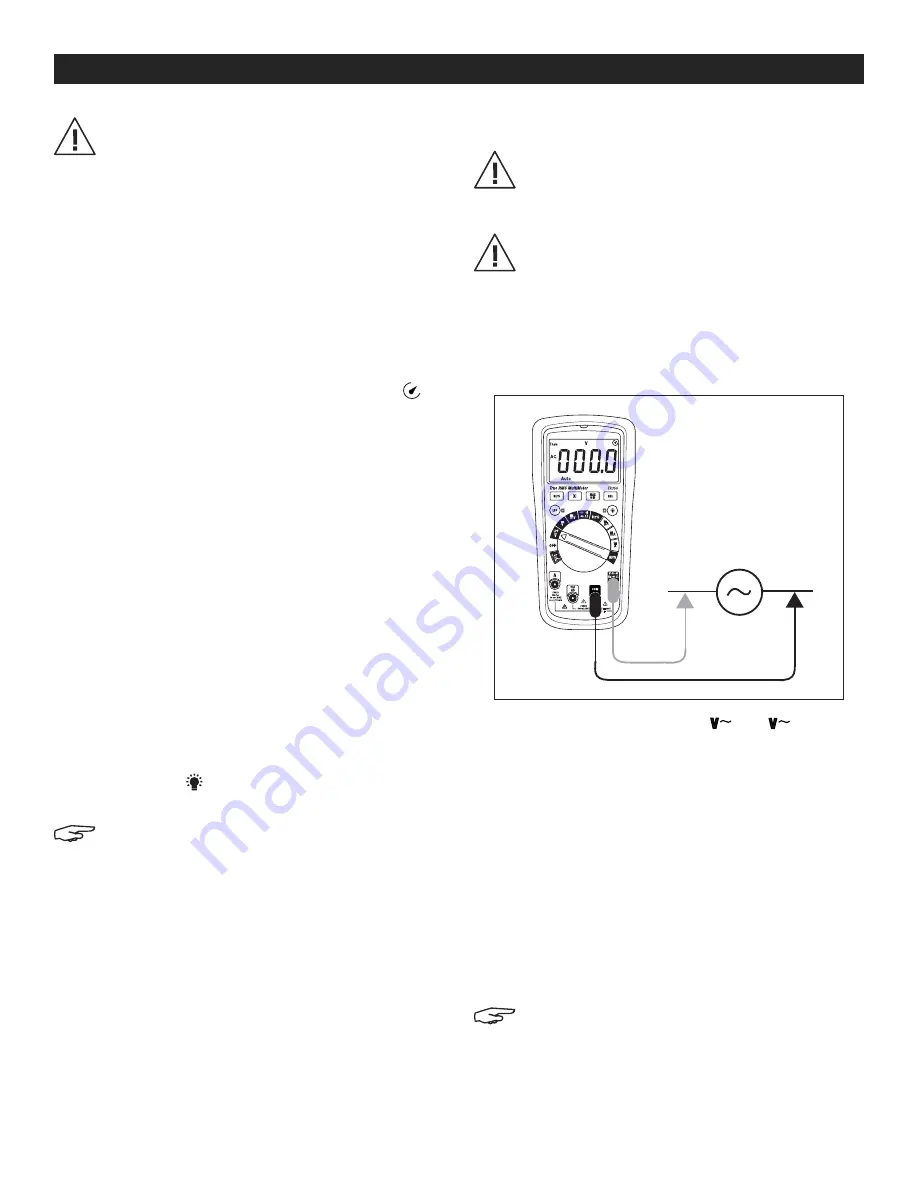
AC VOLTAGE MEASUREMENTS
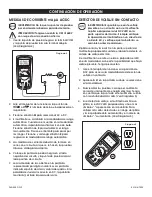
1. Insert the black test lead banana plug into the
negative (COM) jack and the red test lead banana
plug into the positive (V/
Ω
) jack. (See Figure 1)
2. Turn the function switch to the
or
m
position.
3. The meter defaults to the Auto Range mode (
Auto
displayed on LCD). Press the
R
button to access
the manual range mode. Press the
R
button to step
through the ranges. Press and hold the
R
button
to return to the auto range mode (
Auto
will be
displayed).
4. Touch the test probe tips to the circuit under test.
5. Read the digital value of the measurement in the
display. The display will also indicate the proper
decimal point and measurement type/units symbols.
6. Use the
Hz/%
button to view the frequency (Hz) or the
duty cycle (%) of the measured voltage.
NOTE: Duty cycle measurements are AC only
for this meter. Measurement signals must be
"
zero crossing
"
and must reach -0.7V for the
meter to properly display duty cycle percent.
Figure 1


