
PAGE 1 OF 7
0219 IH-7862
π
H-7862
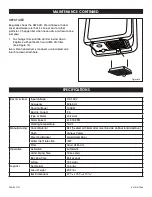
HANDS DOWN
HAND DRYER
1-800-295-5510
uline.com
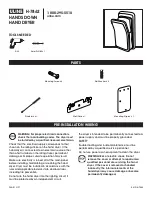
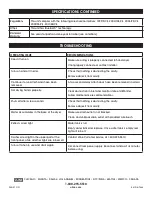
PARTS
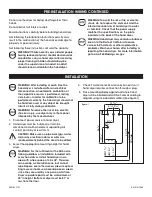
PRE-INSTALLATION WIRING
TOOLS NEEDED
Mounting Screw x 4
Wall Anchor x 4
Drill
8mm Drill Bit x 1
Wire Brush x 1
Wall Plate x 1
Mounting Display x 1
WARNING! For proper electrical connections,
check the local building codes. The dryer must
be installed by a qualified, licensed electrician.
Check that the electrical supply corresponds to that
shown on the rating sticker on the hand dryer. If the
hand dryer is connected to an electrical source other
than what is stated on the rating sticker, permanent
damage or improper, unsafe operation may result.
Make sure electricity is turned off at the main panel
before installing, maintaining or cleaning the hand
dryer. Dryer must be installed in accordance with the
rules and applicable federal, state and local laws,
including fire prevention.
Do not wire the hand dryer into the lighting circuit. It
must be protected by an independent circuit.
The dryer is intended to be permanently connected to a
power supply and must be properly grounded.
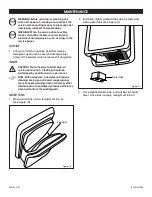
SAFETY
Troubleshooting and inside maintenance must be
performed by a qualified service personnel.
Do not use power wash equipment to clean the dryer.
WARNING! Risk of electric shock. Do not
remove the cover or attempt to repair unless
qualified personnel are servicing the hand
dryer. If the cover is removed or handled
incorrectly, the internal elements of the
hand dryer may cause damage or become
permanently damaged.


