background image

PAGE 5 OF 27 

0421 IH-8726

OPERATION CONTINUED

OPERATION MODES

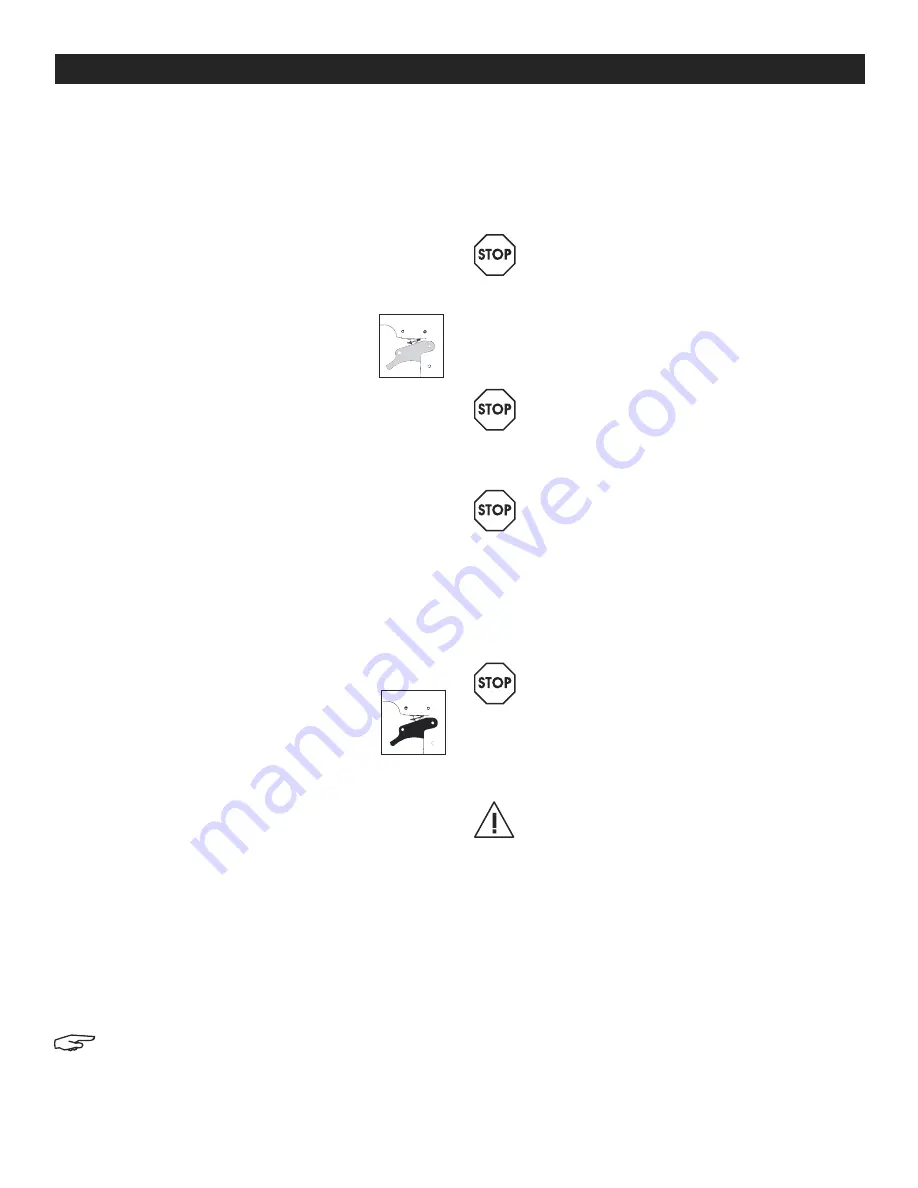
There are two types of triggers for pneumatic tools: 

Sequential Trip (gray trigger) and Contact Trip (black 

trigger). Each trigger has specific advantages. Evaluate 

particular construction project to determine which 

trigger is best.

This tool was shipped from the factory in the Sequential 

Trip (gray trigger) configuration. It can easily be converted 

to the Contact Trip (black trigger) mode of operation.

1.  SEQUENTIAL TRIP OPERATION  

(GRAY TRIGGER)

The Sequential Trip (gray trigger) gets its name 

from the "sequence" required to drive a fastener. To 

drive a fastener, the operator must first depress the  

 "trip" fully against the work surface and then pull the 

trigger. To drive a second nail, the operator must lift the 

tool from the work surface, release the trigger and then 

repeat the above sequence.

a. 

The Sequential Trip (gray trigger)

 offers a positive 

safety advantage since it will not accidentally 

drive a fastener if the tool is bumped against any 

surface or anybody while the operator is holding 

the tool with trigger pulled.

b. 

The Sequential Trip (gray trigger)

 allows "place 

nailing" without the possibility of driving a 

second, unwanted fastener on recoil as 

described below under "Contact Trip".

2.  CONTACT TRIP OPERATION  

(BLACK TRIGGER)

Your new tool can be configured for use in 

Contact Trip mode. To drive a nail, the  

 "trip" and the trigger must both be depressed. In 

Contact Trip tools, the trigger may be depressed and 

held, and each "contact" between trip and work 

surface will drive a nail.

a. 

SINGLE FASTENER PLACEMENT (Place Nailing) – 

First position the "trip" fully on the work surface 

without pulling the trigger. Depress the "trip" 

FULLY until the nose of the tool touches the work 

surface and then pull the trigger to drive a nail. 

Do not press the tool against the work surface 

with extra force. Instead, allow the tool to recoil 

off the work surface to avoid a second unwanted 

fastener.

NOTE: Remove your finger from the trigger after 

each operation.

b. 

RAPID FIRE OPERATION (

"

Bump

"

 Nailing) – 

First, 

hold the tool with the "trip" pointing towards but 

not touching the work surface. Pull the trigger 

and then tap or "bump" the trip against the work 

surface using a bouncing motion. Each depression 

of the "trip" will cause a nail to be driven.

WARNING! The Contact Trip (black) will not 
prevent a nail from being accidently driven 
if the trigger is depressed and the 

"

trip

"

 is 

bumped against any object or person. Never 
hold or carry the tool with your finger on the 
trigger. Only depress and hold trigger when 
you intend to rapidly drive multiple nails and 
the tool is pointed at the work surface.

WARNING! Never use contact trigger (black 
trigger) with metal connector attachment.  

Only use sequential trigger (grey trigger) with 

metal connector attachment. Refer to trigger 

conversion instruction included in the kit.

WARNING! When using conventional Contact 
Trip for Place Nailing, the tool may bounce due 
to recoil and if the tool is allowed to re-contact 
the work surface while you are holding the 
trigger pulled, a second unwanted nail will be 

driven. You should allow the tool to recoil far 
enough to release the trip and avoid a second 
cycle. Don't push the tool down extra hard; let 

the tool do the work. 

WARNING! Operator must not hold the trigger 
pulled on contact trip tools, except during 
fastening operation, as serious injury could 
result if the trip accidentally contacted 
someone or something, causing the tool to cycle.

TOOL OPERATION CHECK

CAUTION! Remove all fasteners from tool before 

performing tool operation check.

1. SEQUENTIAL TRIP OPERATION

a.  Press the contact trip against the work surface 

without touching the trigger. 

The tool must not 

cycle.

b.  Hold the tool off the work surface and pull the 

trigger. 

The tool must not cycle. 

Release the 

trigger. The trigger must return to the trigger stop 

on the frame.

c.  Pull the trigger and press the contact trip against 

the work surface. 

The tool must not cycle.

d.  With finger off the trigger, press the contact trip 

against the work surface. Pull the trigger.  

The tool must not cycle.

Summary of Contents for H-8726

Page 1: ...nd debris which could cause severe eye injury Employer and or user must ensure that proper eye protection is worn Eye protection equipment must conform to the requirements of the American National Sta...

Page 2: ...may be driven possibly causing injury WARNING Check operation of the contact arm mechanism frequently Do not use the tool if the arm is not working correctly as accidental driving of a fastener may r...

Page 3: ...of the 7 7 c f m 218 liters per minute which is required to operate the tool at 100 nails per minute LOADING CAUTION Follow all safety precautions listed on pages 1 and 2 of these instructions 1 Open...

Page 4: ...SPECIFICATIONS for setting the correct operating pressure for the tool FILTER Dirt and water in the air supply are major causes of wear in pneumatic tools A filter will help to get the best performanc...

Page 5: ...ener NOTE Remove your finger from the trigger after each operation b RAPID FIRE OPERATION Bump Nailing First hold the tool with the trip pointing towards but not touching the work surface Pull the tri...

Page 6: ...nd water in the system Restricted air flow will prevent the tool from receiving an adequate volume of air even though the pressure reading is high The results will be slow operation misfeeds or reduce...

Page 7: ...striction Tool dry lack of lubrication Worn head valve O rings Broken cylinder cap spring Check air supply equipment Use BOSTITCH Air Tool Lubricant Replace O rings Replace cylinder cap spring Lack of...

Page 8: ...umper Disassemble and clean nose and driver Replace quick disconnect fittings Replace O ring check driver Use BOSTITCH Air Tool Lubricant Replace spring Check air supply system to tool Tighten all scr...

Page 9: ...ing Lubricate assembly Inspect pawl and spring on door Must work freely Set canister bottom for length of nails being used Remove coil of nails and use another coil Fasteners jam in tool canister Wron...

Page 10: ...odr an causar graves lesiones oculares El empleador y usuario deben asegurarse de que se use la protecci n ocular adecuada El equipo de protecci n ocular debe ajustarse a los requisitos del Instituto...

Page 11: ...sujetador y por lo tanto se podr a impulsar un segundo sujetador no deseado lo cual podr a causar lesiones ADVERTENCIA Revise la operaci n del mecanismo del brazo de contacto con frecuencia No utilic...

Page 12: ...ra operar la herramienta a 100 clavos por minuto CARGAR PRECAUCI N Siga todas las precauciones de seguridad listadas en las p ginas 10 y 11 de estas instrucciones 1 Abra el cargador Jale el seguro hac...

Page 13: ...ACIONES DE LA HERRAMIENTA para configurar la presi n de operativa correcta de la herramienta FILTRO La suciedad y el agua en el suministro de aire son las causas principales de desgaste en las herrami...

Page 14: ...Clavado por Impacto Primero sostenga la herramienta con el disparo apuntando hacia la superficie pero sin tocarla Accione el gatillo y despu s golpee o impacte el disparo de contacto contra la superfi...

Page 15: ...ior o por los efectos de suciedad y agua en el sistema El flujo de aire restringido impedir que la herramienta reciba un volumen de aire adecuado a n cuando la lectura de presi n sea alta Los resultad...

Page 16: ...os t ricos desgastados en la v lvula cabezal Resorte en la tapa del cilindro roto Revise el equipo de suministro de aire Use Lubricante BOSTITCH para Herramientas Neum ticas Reemplace el anillo t rico...

Page 17: ...mpie la punta y el impulsor Reemplace los accesorios de desconexi n r pida Reemplace el anillo t rico revise el impulsor Use Lubricante BOSTITCH para Herramientas Neum ticas Reemplace el resorte Revis...

Page 18: ...l ensamble Inspeccione el trinquete y el resorte de la puerta Deben funcionar libremente Ajuste la parte inferior del dep sito seg n el largo de los clavos que se utilizan Retire la bobina de clavos y...

Page 19: ...projet s qui pourraient provoquer de graves blessures aux yeux L employeur et ou l utilisateur doit s assurer qu un dispositif de protection oculaire appropri est port en tout temps L quipement de pro...

Page 20: ...n risque de blessures AVERTISSEMENT V rifiez souvent le fonctionnement du m canisme du bras de contact N utilisez pas cet outil si le bras ne fonctionne pas correctement cela pourrait provoquer la pro...

Page 21: ...lous par minute ARR T CHARGEMENT MISE EN GARDE Suivez toutes les consignes de s curit figurant sur les pages 19 et 20 de ce manuel 1 Ouvrir le magasin Abaissez le loquet de la porte et faites pivoter...

Page 22: ...pression de service appropri e de l outil FILTRE La pr sence de salet et d eau dans l air d alimentation est une cause majeure d usure des outils pneumatiques Un filtre contribuera obtenir la meilleu...

Page 23: ...FONCTIONNEMENT TIR RAPIDE clouage par but e Tenez d abord l outil avec le d clencheur orient vers la surface de travail mais sans la toucher Appuyez sur la d tente et tapez ou butez ensuite le d clen...

Page 24: ...air restreint emp chera l outil de recevoir un volume d air ad quat m me si la pression d air affich e est lev e Il en r sultera une lenteur de fonctionnement des d fauts d alimentation ou une r ducti...

Page 25: ...iques de soupape de t te us s Ressort de couvercle de cylindre bris V rifiez le mat riel d alimentation d air Utilisez l huile pour outils pneumatiques BOSTITCH Remplacez les joints toriques Remplacez...

Page 26: ...on Remplacez les raccords d gagement rapide Remplacez le joint torique v rifiez la tige de propulsion Utilisez l huile pour outils pneumatiques BOSTITCH Remplacez le ressort V rifiez le syst me d alim...

Page 27: ...nspectez le cliquet et le ressort de la porte Ils doivent fonctionner librement R glez le fond de la cartouche pour la longueur de clous utilis s Retirez le rouleau de clous et utilisez en un autre Le...

Reviews: