


PAGE 1 OF 12
0322 IH-9932
1-800-295-5510
uline.com
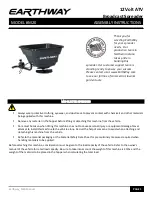
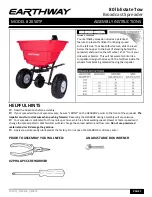
ICE MELT SPREADER
H-9932
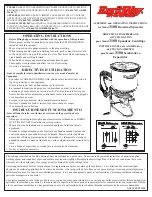
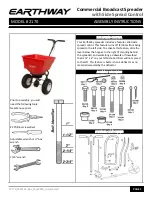
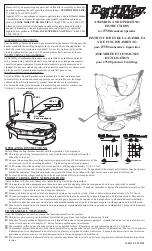
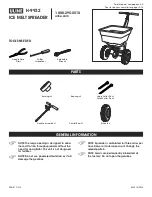
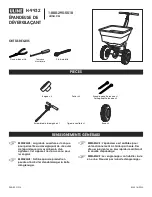
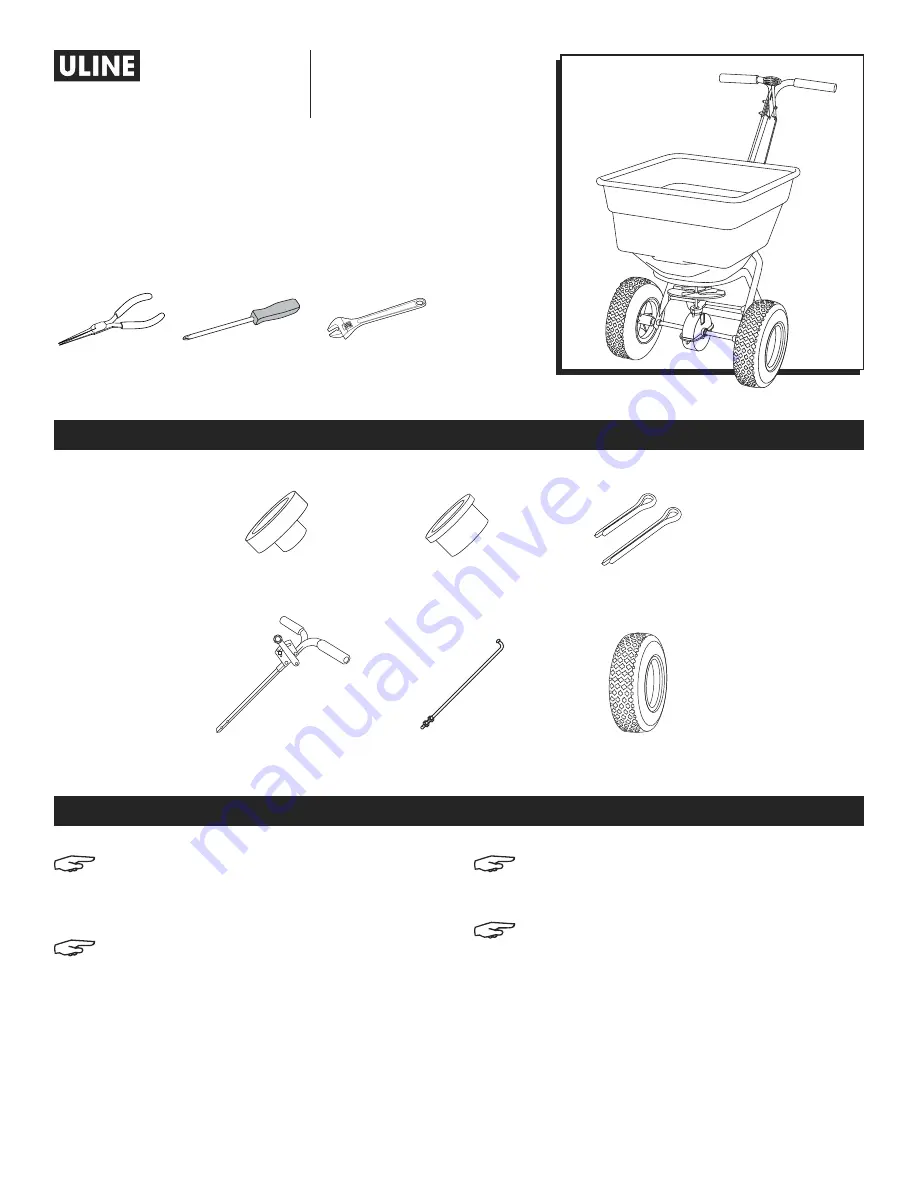
PARTS
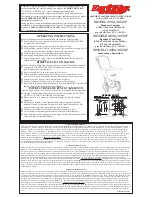
TOOLS NEEDED
Needle Nose
Pliers
Phillips
Screwdriver
Adjustable
Wrench
Large Cotter Pin x 1
Small Cotter Pin x 2
Bearing x 2
Bushing x 2
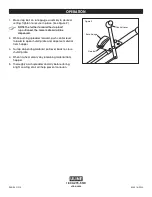
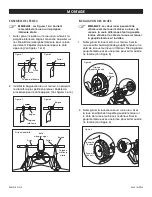
GENERAL INFORMATION
NOTE: The large opening is designed to allow
ice melt to flow through spreader without the
need for an agitator. This unit is not designed
for fertilizer.
NOTE: Do not use powdered materials as it will
damage the gearbox.
NOTE: Spreader is calibrated for three miles per
hour. Slower or faster speeds will change the
spread pattern.
NOTE: Gears are permanently lubricated at
the factory. Do not open the gearbox.
Control Rod x 1
Handle Assembly x 1
Wheel x 2
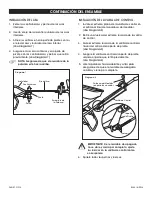
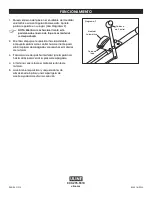
Para Español, vea páginas 5-8.
Pour le français, consulter les pages 9-12.