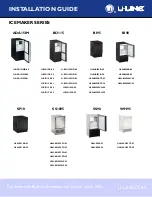


®
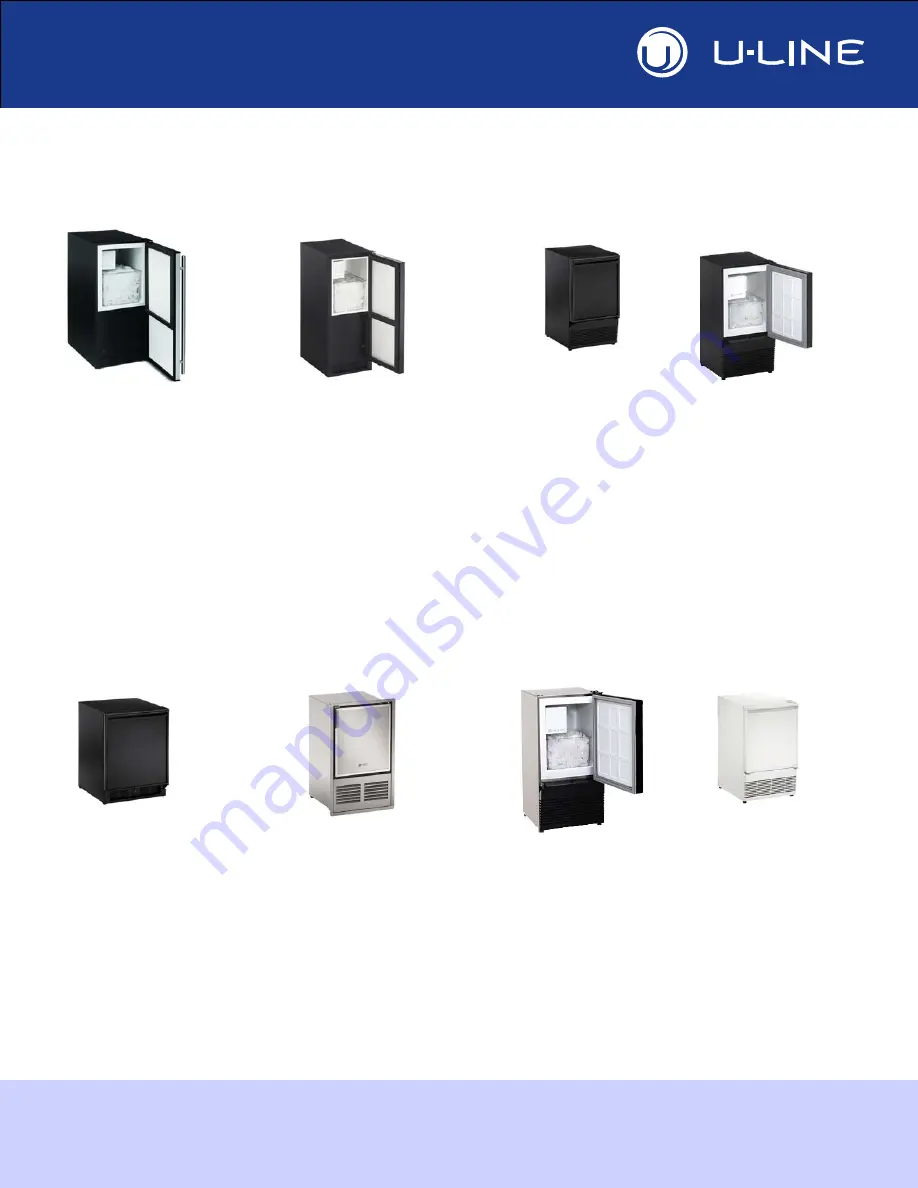
ICEMAKER SERIES
U-LINE.COM
INSTALLATION GUIDE
WH95
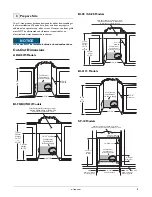
BI2115
ADA15IM
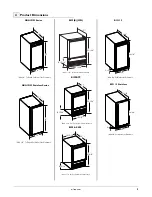
BI98
SS98
SS1095
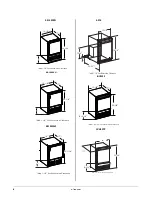
SP18
U-BI2115B-00
U-BI2115SOD-00
U-BI2115B-20
U-BI2115SOD-01
U-BI2115S-00
U-BI2115SOD-20
U-BI2115S-01
U-BI2115SOD-22
U-BI2115S-20
U-BI2115W-00
U-BI2115S-22
U-BI2115W-20
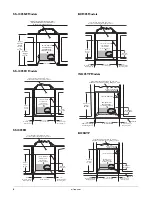
ULN-BI95B-00
ULN-BI95B-20
ULN-BI95BTP-03
ULN-BI95BTP-20
ULN-BI95WH-00
ULN-BI95WH-20
BI95
U-ADA15IMB-00
U-ADA15IMS-00
U-ADA15IMS-01
ULN-BI98B-00
ULN-BI98B-20
ULN-BI98WH-00
ULN-BI98WH-20
ULN-SS98-03
ULN-SS98-20
ULN-WH95TP-03
ULN-WH95TP-20
ULN-SP18B-03
ULN-SP18B-20
ULN-SS1095FC-03
ULN-SS1095FC-20
ULN-SS1095FD-03
ULN-SS1095FD-20
ULN-SS1095NF-03
ULN-SS1095NF-20
The American Built-In Undercounter Leader Since 1962


