
7
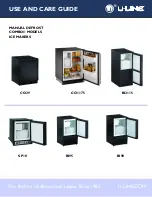
U-Line Combo® Models and Ice Makers Maintenance
1
6 Maintenance
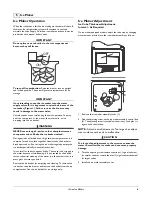
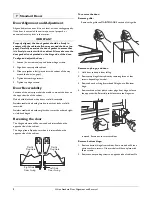
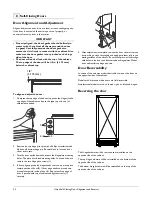
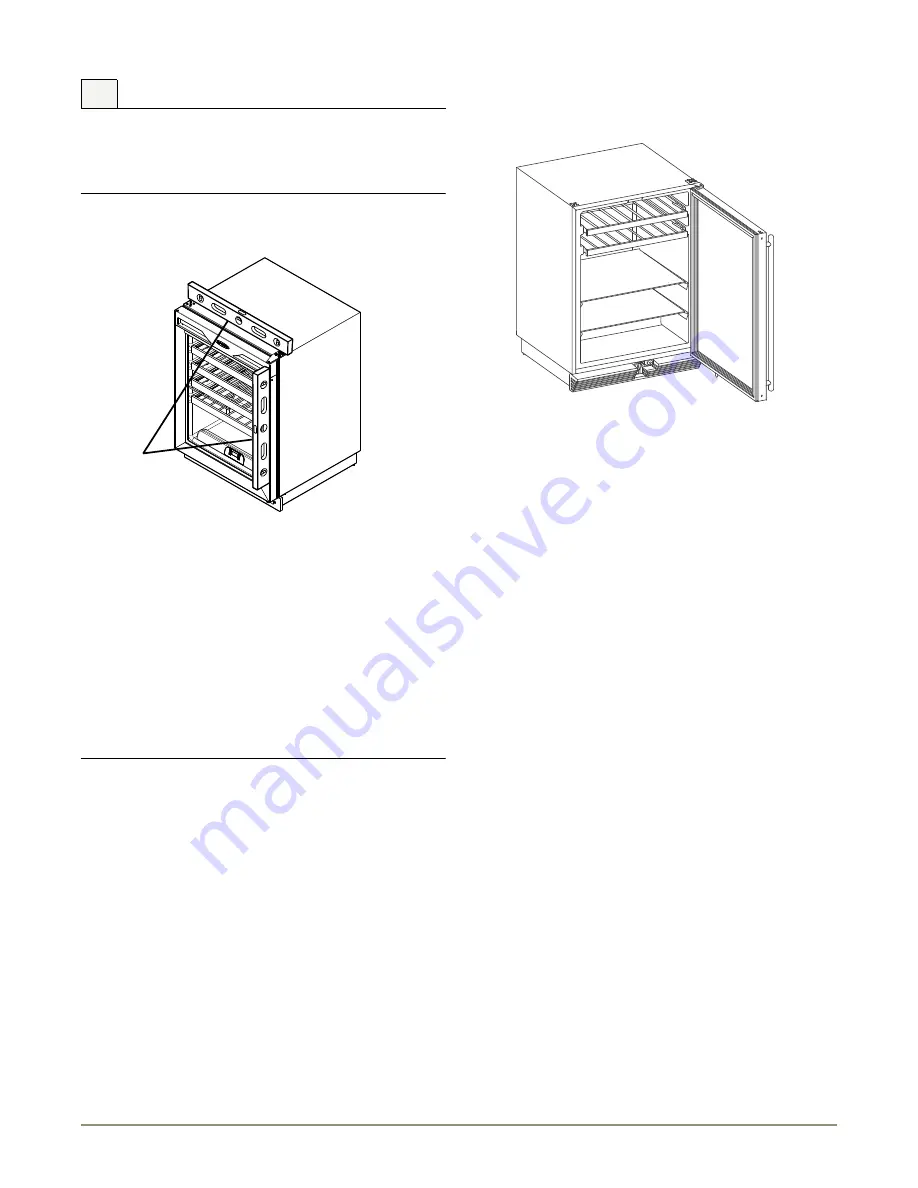
For Models with adjustable leveling feet:
1. Use a level to check the levelness of the unit from front to back
and from side to side. Place the level along top edge and side
edge as shown (1).
2. If the unit is not level, rotate the adjustable leveling legs to raise
or lower each corner of the unit (5) as necessary.
3. Check levelness after each adjustment and repeat the previous
steps until the unit is level.
Leveling
IMPORTANT
IMPORTANT
Unit must be level, for proper door and ice maker (if
equipped) operation.
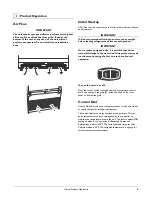
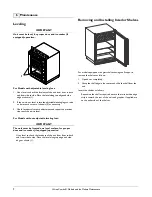
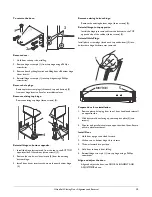
Removing and Installing Interior Shelves
For models equipped with glass shelves having shelf supports,
remove the shelves as follows:
1. Open door completely.
2. Grasp the shelf edge in the center and slide the shelf from the
unit.
Insert the shelves as follows:
Reposition the shelf as required, ensure the raised white edge
strip is toward the rear of the unit and graphics, if applied, are
on the underside of the shelves.
For Models without adjustable leveling feet:
IMPORTANT
IMPORTANT
The unit must be located on a level surface, for proper
door and ice maker (if equipped) operation.
Use a level to check the levelness of the unit from front to back
and from side to side. Place the level along top edge and side
edge as shown (1).


