16
2-Compare
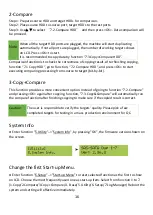
Step 1: Prepare source HDD and target HDDs for comparison.
Step 2: Place source HDD to source port, target HDDs to the rest ports.
Step 3: Use
▲▼
to select
“
7.2.Compare HDD
”
and then press <OK>. Data comparison will
be proceed.
Note
When all the target HDD ports are plugged, the machine will start duplicating
automatically. If not all ports are plugged, the number of working targets shows
on LCD. Press <OK> to start.
It is recommended to copy data by function “7.3.Copy+Compare HDD”.
Comparison function is to check the correctness of copying result. After finishing copying,
function “7.1 Copy HDD”, go to Function, “7.2 Compare HDD”, and press <OK> to start
executing comparing processing from source to target (bit-by-bit).
3-Copy+Compare
This function provides a more convenient option. Instead of going to function “7.2.Compare"
and pressing <OK> again after copying, function, "7.3.Copy&Compare" will automatically run
the compare function after finishing copying to make sure if the copied result is correct.
Caution
The user is responsible to verify the targets' quality. Please pick a few
completed targets for testing in a mass production environment for QC.
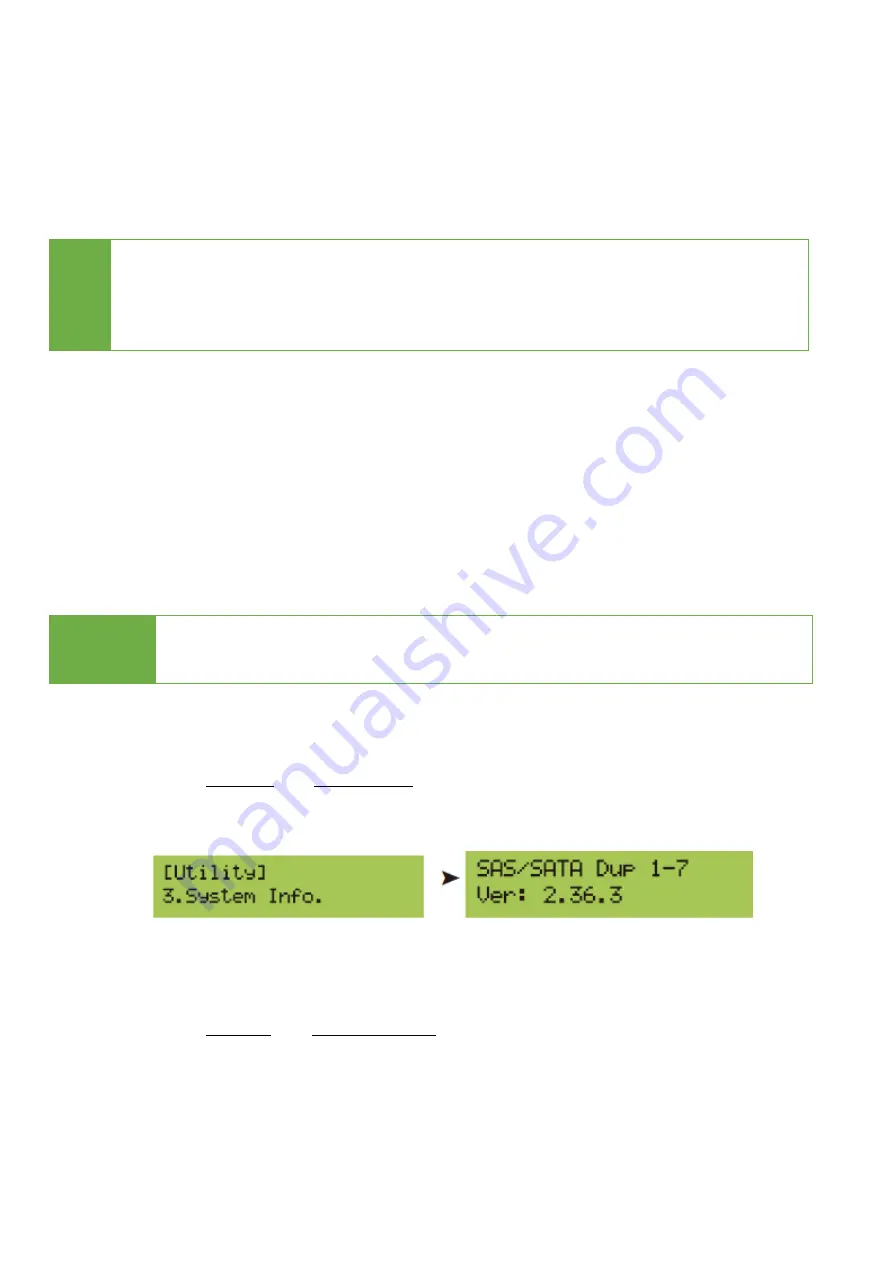
System Info
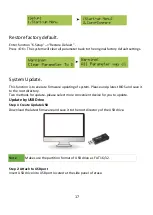
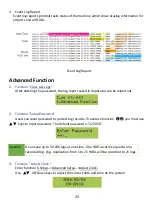
● Enter function "5.Utility"-->"System Info", by pressing "OK", the firmware version shown on
the screen.
Change the first Start-up Menu.
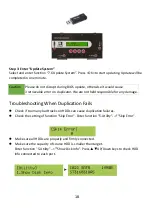
● Enter function "6.Setup"-->"Start-up Menu" to reset selected function as the first to show
on LCD. Choose the most frequently used one as start-up item. Select from function 1 to 7.
(1.Copy/2.Compare/3.Copy+Compare/4. Erase/5. Utility/6. Setup/7.Log Manager) Reboot the
system and setting will effective immediately.


