34
IX. System Start-up
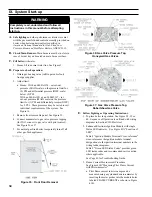
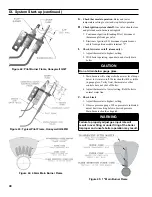
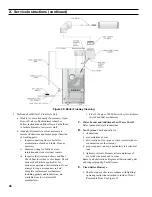
Figure 37: Gas Valve Pressure Tap,
Robertshaw Gas Valve
Figure 36: Gas Valve Pressure Tap,
Honeywell Gas Valves
Figure 35: Front Door Removal
WARNING
Completely read, understand and follow all
instructions in this manual before attempting
start up.
A.
Safe lighting
and other performance criteria were met
with the gas manifold and control assembly provided on
boiler when boiler underwent tests specified in
American National Standard for Gas-Fired Low-
Pressure Steam and Hot Water Boilers
, ANSI Z21.13.
B.
Check Main Burners.
Main burners must be in slots in
rear of burner tray and seated on main burner orifices.
C.
Fill boiler
with water:
1. Steam: fill to normal water line. See Figure 1.
D.
Prepare to check operation.
1. Obtain gas heating value (in Btu per cubic foot)
from gas supplier.
2. Adjust limit:
a. Steam: With an L404A1354 - set cut-out
pressure (MAIN scale) on the pressure limit for
(2) PSI and differential pressure (DIFF. scale)
below (2) PSI.
With an L404A1651 or an L404F1367 - set
cut-out pressure (MAIN scale) on the pressure
limit for (1) PSI and differential pressure (DIFF.)
for .5 PSI. These pressures may be varied to suit
individual requirements of the system. See
Figure 16.
3. Remove front removable panel. See Figure 35.
4. Connect manometer to gas valve pressure tapping
(for IN12 connect to gas valve with pilot control).
See Figure 36 or 37.
5.
For natural gas fired boiler, temporarily turn off all
other gas-fired appliances.
E.
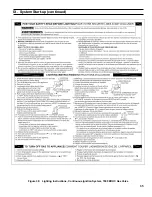
Follow Lighting or Operating Instructions.
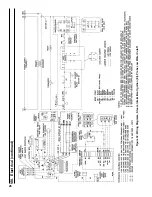
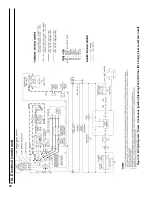
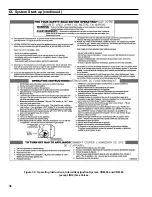
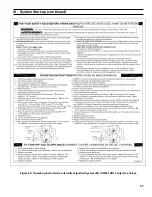
1. To place boiler in operation. See Figure 38, 39 or
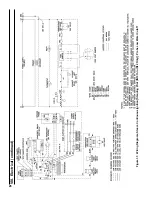
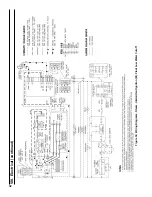
40. Sequence of Operation is outlined with wiring
diagrams in Section VIII: Electrical.
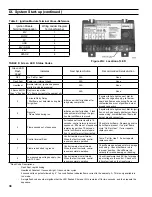
2. Enhanced Electronic Ignition Module with single
Status LED indicator. See Figure 41A "Location of
LED".
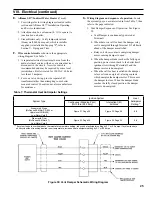
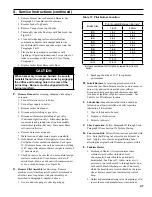
Table 8 "Ignition Module Terminal Cross-reference"
cross-references the ignition module terminal
designations to the ignition terminal numbers in the
wiring ladder diagrams.
Table 9 "Green LED Status Codes" provides green
LED status codes and recommended service action
where applicable.
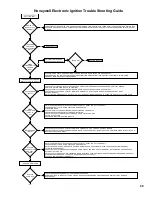
See Page 49 for Troubleshooting Guide.
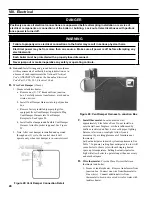
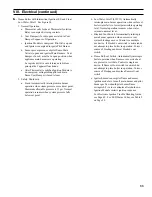
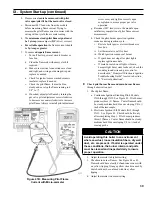
3. Flame Current Measurement Procedure
See Figure 41B "Measuring Pilot Flame Current
with Micro-ammeter".
a. Pilot flame current in micro amps can be
measured using any standard micro-ammeter by
inserting the meter probes into the module holes
labeled FLAME CURRENT as shown in Figure
41B.
Summary of Contents for INDEPENDENCE
Page 4: ...4 Figure 1 Dimensional Drawing...
Page 56: ...56 Manifold and 1 Main Burners XI Repair Parts continued...
Page 62: ...62 XI Repair Parts continued...
Page 64: ...64 XI Repair Parts continued...
Page 72: ...72 U S Boiler Company Inc P O Box 3020 Lancaster PA 17604 1 888 432 8887 www usboiler net...

