21
21
Step Six- Gluing the Fingerboard
1)
Locate the truss rod. The truss rod is a threaded steel rod embedded in
a square aluminum channel. It strengthens the neck and also allows
the counteraction of string pull over time. Make sure there is no
tension on the rod by turning the nut counterclockwise until you feel it
is free.
2)
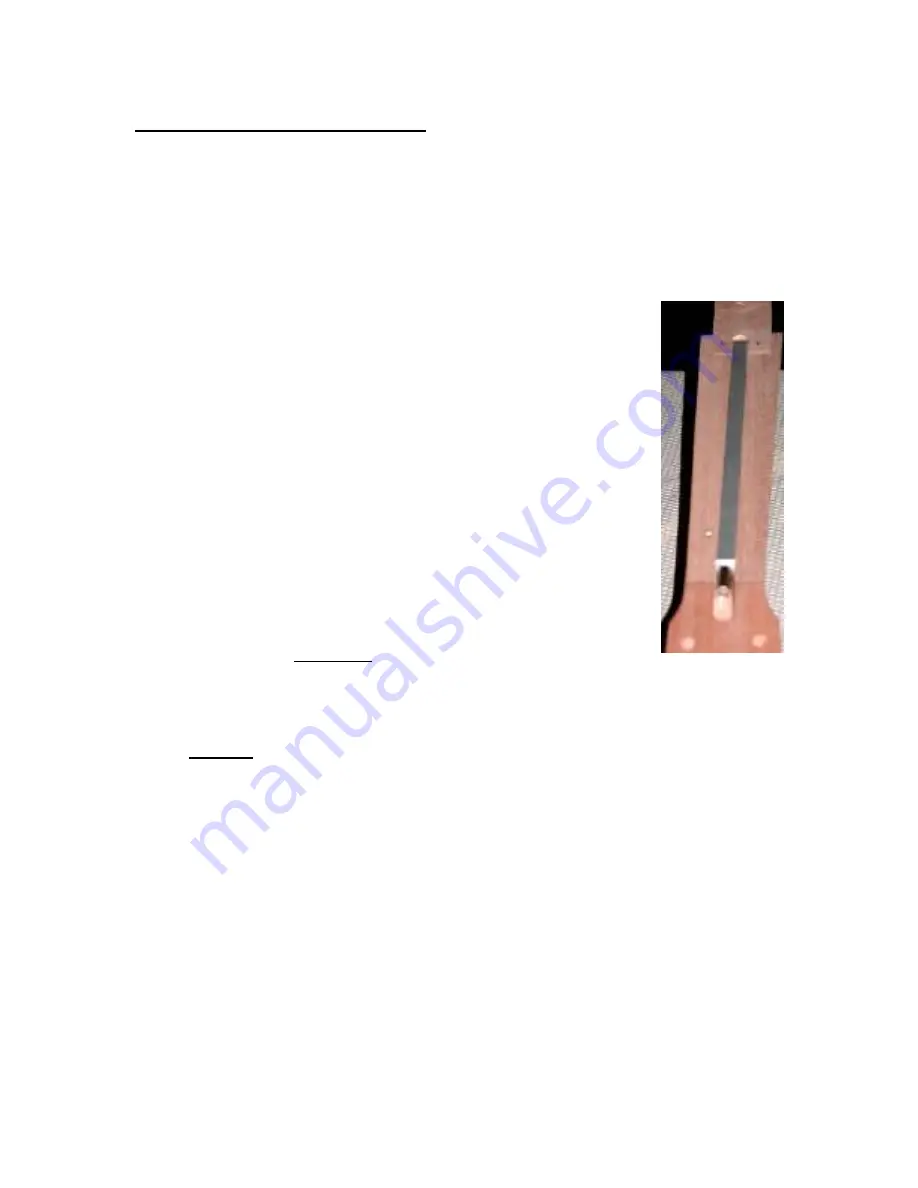
Insert the truss rod into the slot on the neck. Install it so that the allen
key adjuster is towards the headstock and is bottomed
out in the slot. Do not allow the truss rod to extend
into the headstock. The fit should be snug but not too
tight. If it is too tight, carefully open the slot with a
file or sandpaper. Ultimately the truss rod should be
flush or slightly below the surface of the neck.
3)
Locate the string nut- a small piece of hard material
with 6 slots in it. Place it temporarily on the neck
against the headstock veneer. Use the nut to hide the
seam in the headstock. Be sure it lays flat.
4)
Locate the fingerboard. Place the narrow edge at the
top of the neck against the nut, center it carefully
along the length of the neck
5)
Cover the truss rod with a length of masking tape then
apply glue sparingly to the remainder of the neck
surface. The masking tape is to avoid getting glue on the truss rod
which must act freely in order to work.
NOTE:
Before placing the fingerboard on the neck REMOVE the
tape used to prevent glue from getting on the truss rod.
6)
Replace the fingerboard on the neck and using the plastic wire ties or
c-clamps with a caul, anchor the fingerboard securely until the glue
sets. A perfect amount of glue will show itself as tiny dots of
squeezeout along the entire length of the fingerboard on both sides.
Rather than wiping off glue squeezeout wait a little while until it starts
to set and then scrape it off. If you use hide glue allow it to dry
completely then scrape it off. This will avoid finishing problems later.
7)
Set this assembly aside to dry and let it dry for at least 1-2 hours.
(assuming aliphatic resin-white or yellow glue)


