4
Opening the Configuration Utility
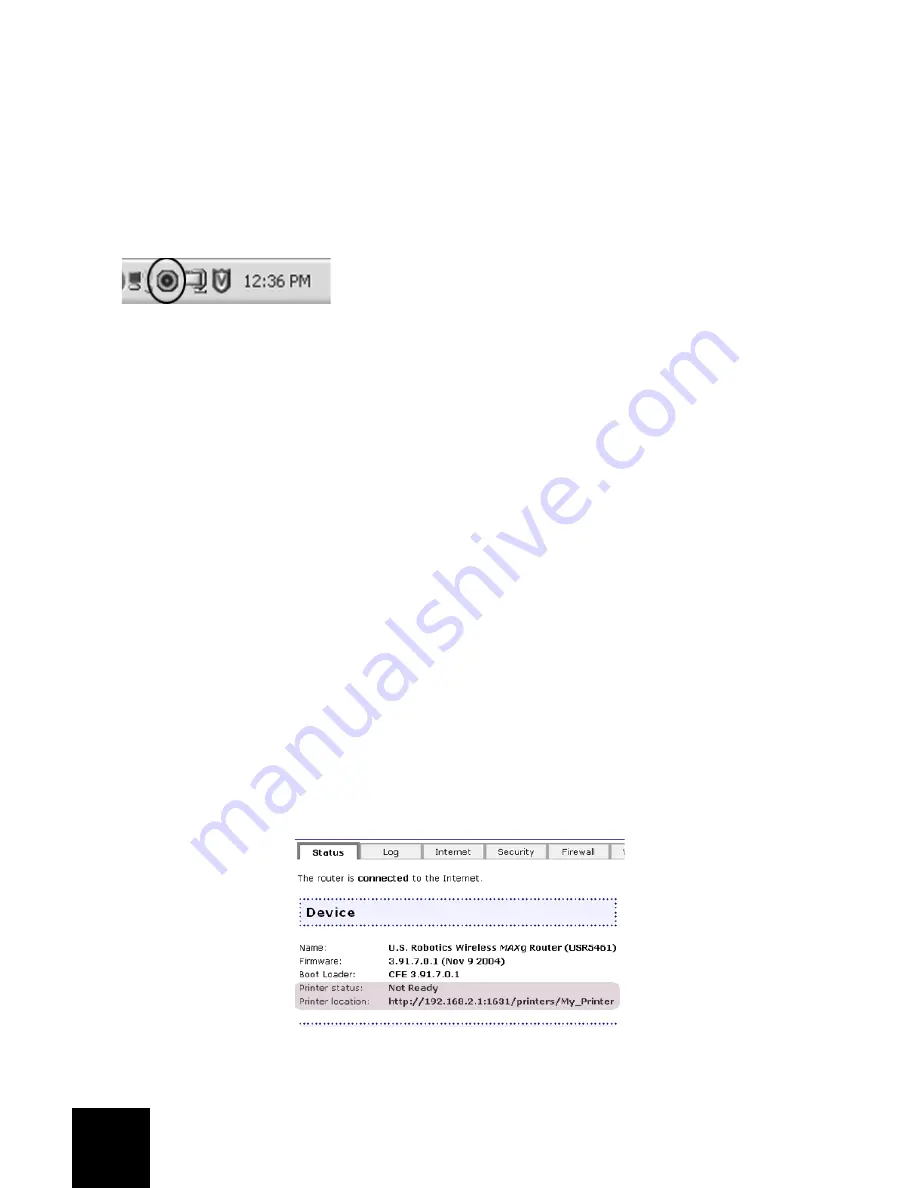
You should now see a small icon for the Configuration Utility in the system tray by your clock on
your computer desktop. You can open the Configuration Utility in two ways:
•
Right-click the icon and click
Open Utility
.
•
Left-click once on the Utility icon to open the quick connect screen. In the quick connect
screen, you can select an available network and enter the Network key, if applicable. Click
Connect
to establish a wireless connection. You can also click
Advanced
to open the full
Configuration Utility.
The Configuration Utility is used to change or verify the configuration information that relates to
your Wireless
MAX
g USB Adapter. The Configuration Utility icon will be colored to indicate the
status of your wireless network: red for disconnected and green for connected with good quality.
USB Printer Installation
A USB printer can be connected to the Wireless
MAX
g Router and used as a network printer if you
are using an operating system that supports printing to an Internet Printing Protocol (IPP)-based
printer. Windows XP and 2000 have built-in support for this function, but other Windows users
will need to download either a Microsoft patch for their version of Windows or a third party
application. Refer to the documentation for your version of Windows for more information. Other
operating systems will need to either already support IPP-based printing or download a third
party application for their operating system.
Perform the following steps to install and set up the printer.
Step One: Connect the printer to the Wireless
MAX
g Router
Plug the square end of a USB cable into the USB port on your printer. Plug the thin rectangular
end of the USB cable into the USB port on the Wireless
MAX
g Router. Connect the power supply
to your printer and turn your printer on.
Step Two: Set up your printer
Launch a Web browser. In the browser’s location or address line, type
http://192.168.2.1
to
access the Web User Interface.
Look on the Status page for the
Printer Status
and
Printer location
information in the Device
section. Write down the
Printer location
information since this is the network address of the
printer and you will need this to set up the printer.


