15
revised 09/09
Smog-Hog
SG Series Model
indicator light to flash. When the dead short condition
is removed possibly by the exhaust blower or In Place
Cleaning System (if so equipped) or manual cleaning
the high voltage output will return to normal. the
indicator light will be illuminated. the power pack is self
protecting from dead short conditions.
Each power pack enclosure is equipped with an
interlock switch for the power pack 120 Vac circuit.
the interlock switch should be engaged (manually or
by other means) after placing the toggle switch in the
on position and disengaged when placing the toggle
switch in the off position during the troubleshooting
procedures.
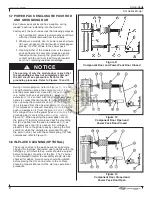
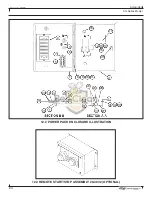
all connectors on the power pack are identified with
name and wire number with the exception of the
ground connector (green wire to this connection) refer
to Figure 19. Step 1 and Step 2 do not require a high
voltage probe.
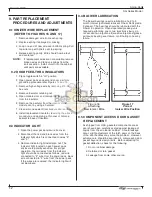
the ionizer section supports 10 mil tungsten wires
which apply a high voltage positive charge to the
contaminant particles.
the cell section contains plates alternately charged
collecting the charged particles from the ionizer section.
High voltage problems can generally be isolated
by reference to the indicator light. If the indicator
light(s) are illuminated and the unit is moving air
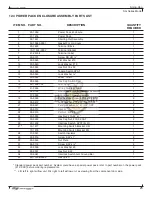
but efficiency is below normal (unicells not dirty,
smoke discharging from the exhaust blower) check
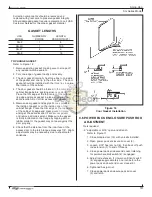
for properly aligned unicells, refer to Figure 20.
A high voltage probe is required to measure high
voltages to the ionizer and collector circuits to the unit
and performing the “Bench test Procedure.” as an
accessory, a high voltage probe can be purchased for a
multimeter.
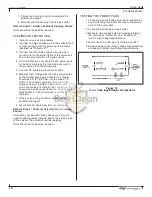
STEP 1
PROBLEM: Indicator light is flashing
or not illuminated
PROCEDURE: Checking the power pack
the toggle switch should be placed in the off position to
the power pack enclosure, open power pack enclosure
lid door, and disconnect both high voltage wires (ionizer
#8 and collector #7) from the power pack. the high
voltage wires should carefully be placed away from
the ionizer and collector cell power pack connectors,
eliminating the high voltage wires from contacting the
power pack connectors. Place the toggle switch in the
on position and engage interlock switch; the indicator
light should be illuminated. if the indicator light is
illuminated the power pack is operational, proceed to
step (2). if the indicator light is flashing (high voltage
wires #8 and #7 disconnected from the power pack),
the power pack requires replacement. If the indicator
light is not illuminated proceed with following until the
problem is corrected.
Verify there is 120 Vac to the power pack, place the
toggle switch in the off position and remove the 120
Vac wires from the power pack terminals 5 and 6.
connect the multimeter to the two 120 Vac wires and
place the toggle switch in the on position and engage
the interlock switch. if 120 Vac is not present there are
problems upstream from the power pack.
The following steps refer to the wiring diagram
within the power pack enclosure or In Section 12.2.
1. confirm 120 Vac to the power pack enclosure
terminals
2. Verify the interlock switch operation (120 Vac) to
the power pack enclosure (measure voltage to the
primary side of the interlock switch and engage
interlock switch before measuring voltage to the
secondary side). the mechanical engagement
of the limit switch should be checked. refer to
Section 9.6.
3. inspect the fuses or circuit breaker to the power
pack circuit.
4. ensure the tightness of all wire terminal screws
and inspect for disconnected wires at the power
pack enclosure or remote electrical panel terminal
blocks.
5. indicator light and circuit should be checked.
check wire connections (#9 and #2) to the power
pack, and to the indicator light assembly. a LeD
requires correct wiring polarity. The LED will not
illuminate if the wiring polarity is incorrect. the
power pack has two terminals for the indicator
light, identified as #9 (positive, red), and #2
(negative, black). the factory wiring numbers are
identical.
6. LeD with two wires (red and black) from the LeD
assembly, wire #9 to the red wire, wire #2 to the
black wire.
7. VDc measurement with wires #9 and #2
disconnected from the power pack: 7.9 to 10.0,
with connected 3.8 to 5.0, #9 and #2.
8. Place toggle switch in the off position and connect
all wires which have been disconnected.
9. Parts should be replaced as required.

