2
Installation
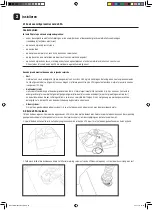
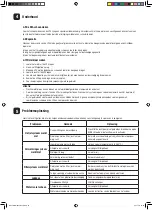
2.1 Select a safe location for the SPA
WARNING
Do not install your SPA in any of the following places:
• Underneath electrical power lines or close to underground electrical installations (if in doubt, ask your electrician)
• On an uneven surface
• On a balcony
• In a place where water and humidity can cause damage
• On carpets or other materials that can be damaged by moisture
• On a base consisting of loose, non-loadbearing stones, wooden blocks or other materials that can shift.
This can lead to damage to the whirlpool that is not covered by the warranty.
The base must fulfil the following conditions:
•
Stable
The base must be consolidated and be able to support a minimum weight of 360 kg/m2.
Concrete slabs and wooden planks must be capable of supporting this weight. The total weight of the SPA
when filled with water and four people is approximately 1,200 kg.
• Horizontal (level)
A horizontal surface is particularly important. The water level must always be horizontal. An even and horizontal base ensures
that the weight is evenly distributed between the ground (which supports most of the weight) and the external walls,
that form a self-supporting frame providing stability. The importance of adequate ground support cannot be overstated.
• Drainage system:
A functional drainage system must be provided for the collection and discharge
of any overflowing water.
2.2 Assembling the SPA
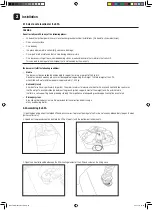
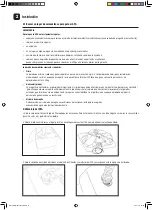
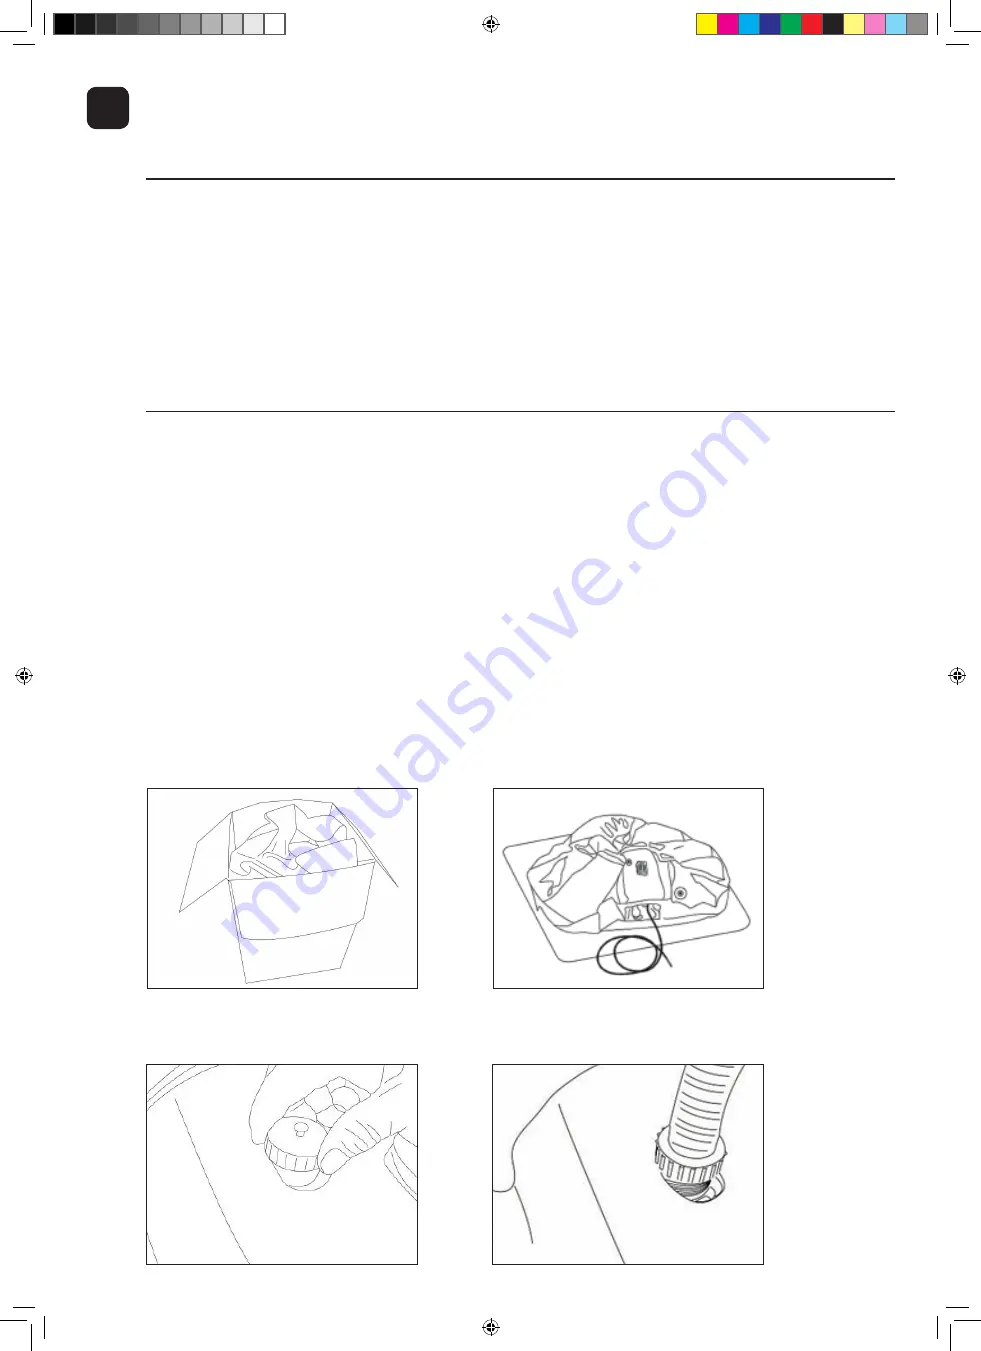
1. Open the box and pull out the folded SPA and accessories. To prevent damage to the film, do not use any bladed tools to open the box
(knives, cutters etc.).
2. Spread out the ground sheet and unfold the SPA on top of it, with the bottom part underneath.
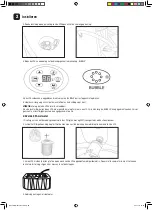
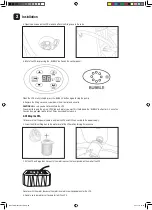
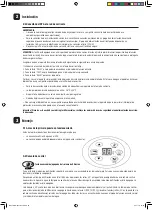
3. Open the air outlet located above on the filter-heating element of the SPA and screw on the filling hose.
3. Öffnen Sie den oben am Filter-Heizungselement des Whirlpools befindlichen Luftauslass und schrauben
Sie den Füllschlauch auf.
4. Öffnen Sie das Luftventil an der Whirlpool-Hülle und stecken Sie den Füllschlauch auf das Ventil.
5. Pumpen Sie nun den Whirlpool auf, indem Sie auf der Bedienungskonsole die Taste "BUBBLE" drücken.
Wenn der Whirlpool richtig aufgepumpt ist, drücken Sie erneut die "BUBBLE" -Taste, um das Aufpumpen zu
beenden.
6. Entfernen Sie den Füllschlauch und schrauben Sie Luftauslass und Luftventil wieder zu.
ACHTUNG. Achten Sie darauf, den Whirlpool nicht übermäßig stark aufzublasen.
Manual Whirlpool 2018.indd 37
20.11.18 16:45

