background image

          1

Safety Precautions

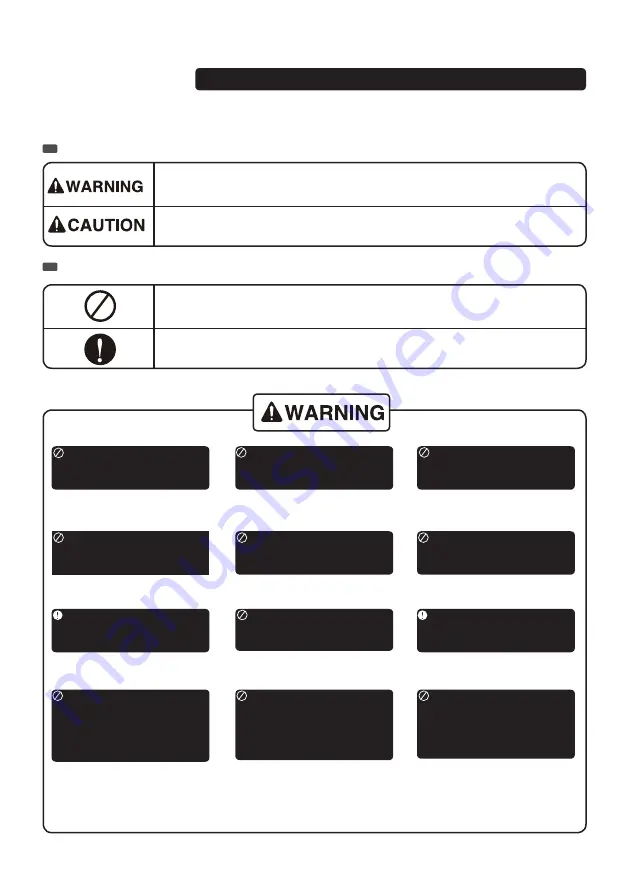
To prevent injury to the user or other people and property damage, the following instructions must 

be followed. Incorrect operation due to ignoring of instructions may cause bodily harm or damage.

      The seriousness is classified by the following indications.

This symbol indicates the possibility of death or serious injury.

BE SURE NOT TO DO

-

Otherwise, it may cause electric 

shock or fire due to excess heat 

generation. 

-

It may cause electric shock or 

fire due to heat generation.

-

It may cause electric shock or 

fire.

This symbol indicates the possibility of injury or damage to property.

BE SURE TO FOLLOW THE INSTRUCTIONS

Meanings of symbols used in this manual are as shown below.

    Do not operate or stop 

the unit by switching power 

on or off.

    Do not damage or use an 

unspecified power cord.

    Do not exceed the rating 

of the power outlet or 

connection device.

    Do not insert or pull out

plug with wet hands.

    Do not place the unit 

near a heat source.

    Do not modify power cord  

or plug ot ther appliances in  

the same outlet

    You should never try to 

take apart or repair the unit 

by yourself.

    Before cleaning, turn off 

the power and unplug the 

unit.

    Disconnect the power if

strange sounds, smell, or 

somke comes form the unit

    Do not drink or use the 

water drained from the unit.

    Do not take the water 

bucket out during operation.

    Do not use the machine 

near flammable gas or 

combustibles, such as 

gasoline, benzene, thinner, 

etc.

-

It may cause electric shock or

fire due to heat generation.

-

It may cause fire and electric

shock.

-

It may cause an explosion or 

fire.

-

It may cause electric shock.

-

It may cause failure of machine

or electric shock

-

It contains contaminants and

could make you sick.

-

Plastic parts may melt and 

cause a fire.

-

Otherwise, it may cause 

electrical shock or injury.

-

It may cause electric shock.

Summary of Contents for 15325002

Page 1: ......

Page 2: ...tion Installation Parts and Features Features Parts Control Panel and Operation Control Panel and Operation Removing the collected water Use of water tank Continuous drainage Maintenance Daily mainten...

Page 3: ...cord Do not exceed the rating of the power outlet or connection device Do not insert or pull out plug with wet hands Do not place the unit near a heat source Do not modify power cord or plug ot ther a...

Page 4: ...intake or exhaust openings with cloths or towels Do not use the unit in small spaces Do not place heavy objects on the power cord and take care so that the cord is not compressed Do not climb up on or...

Page 5: ...use is not adequately grounded or protected by a time delay fuse or circuit breaker have a qualified electrician install a proper receptacle Make sure the receptacle is accessible after the unit has...

Page 6: ...c dehumidification and defrostation After startup the dehumidifier automatically starts and stops compressor for dehumidification and defrostation in accordance with ambient temperatures Installation...

Page 7: ...ote if continuous drainage is required please use a drainage pipe of the following size 3 8 10 mm diameter Control Panel and Operation Timer Low wind Humidity Down Humidity Up Water Full Digital displ...

Page 8: ...Up button is 80 RH and the minimum level set with the Down button is 30 RH 4 3 If the Up button or Down button is pressed and held the set humidity increases or decreases in the range of 30 RH 80 RH o...

Page 9: ...an 35 C or lower than 5 C 2 When the water full indicator on the display becomes red the tank must be emptied and put back correctly in place for the unit to turn on again 3 In order to avoid damage t...

Page 10: ...r stopper back into the continuous drainage pipe and push continuous drainage pipe back in it will click in place Notice to avoid electric shock please turn off the dehumidifier and unplug from the ou...

Page 11: ...is sprayed onto the control panel or drips into the appliance The filter can be removed from the unit for cleaning Grab the filter by its handle to remove then rinse under running water Replace it in...

Page 12: ...to protect the compressor Ambient humidity is lower than the set humidity Adjust the set humidity of the dehumidifier to be lower than ambient humidity Ambient temperature is higher or lower We recom...

Page 13: ...chnicians at our toll free service line at 1 866 206 0888 from 8 AM to 6 PM Monday to Friday Eastern time RONA reserves the right to repair or replace the defective product at its discretion The produ...

Page 14: ...ntes Caract ristiques 16 Nom des composantes 16 Tableau de commandes et fonctionnement Tableau de commandes et fonctionnement 17 Evacuation de l eau Utilisation du r servoir d eau 19 Vidange continue...

Page 15: ...anneau lectrique principal Ne pas endommager o u u t i l i s e r u n co rd o n d alimentation non adapt N e p a s e x c d e r l a puissance nominale de la prise de courant ou du dispositif de branchem...

Page 16: ...s ouvertures et les sorties avec des linges ou des serviettes Ne pas placer d objets l o u r d s s u r l e c o r d o n d alimentation et s assurer qu il n est pas compress S i d e l e a u c o u l e da...

Page 17: ...a prise murale que vous avez l intention d utiliser n est pas mise la terre correctement ou prot g e par un dispositif de surcharge ou un disjoncteur demandez un lectricien qualifi d installer la pris...

Page 18: ...marrage le d shumidificateur d marre et stoppe le compresseur automatiquement selon le temp rature ambiante pour faire la d shumidification et d givrage Emplacements appropri s pour le d shumidificat...

Page 19: ...inage en continu est requis utilisez un boyau de 3 8 po 10 mm de diam tre Tableau de commandes et fonctionnement Minuterie Vent faible Diminution de l humidit Augmentation de l humidit Voyant de r ser...

Page 20: ...ut tre r gl e entre 30 et 80 l aide du bouton d augmentation diminution de l humidit 4 2 L humidit relative peut tre r gl e par intervalles de 5 le r glage maximal l aide du bouton haut est de 80 HR l...

Page 21: ...ant de r servoir plein s illumine et l appareil met un bip sonore le compresseur et le ventilateur s arr tent alors de fonctionner 2 Retirer le r servoir de l appareil pour le vider 3 Remettre le r se...

Page 22: ...ns le tuyau de vidange continue poussez ce dernier l g rement en place un clic se fera entendre Remarques Avertissement Pour viter tout choc lectrique veuillez arr ter le d shumidificateur et le d bra...

Page 23: ...e panneau de commandes ou l int rieur de l appareil Le filtre peut tre retir de l appareil pour le nettoyage Agrippez le filtre l aide de la poign e et rincez le l eau ti de Remettez le en place corre...

Page 24: ...biant La temp rature ambiante est elle plus lev e ou plus basse que celle r gl e Il est recommand d utiliser le d shumidificateur une temp rature ambiante de 5 35 C La d shumidification est inefficace...

Page 25: ...nicien au 1 866 206 0888 du lundi au vendredi de 8h 18 h heure normale de l Est RONA se r serve le droit de r parer ou remplacer le produit d fectueux sa discr tion Ce produit est garanti durant 36 mo...

Reviews: